
|
|
SUBSIM: The Web's #1 resource for all submarine & naval simulations since 1997
 |
SUBSIM: The Web's #1 resource for all submarine & naval simulations since 1997 |
|
|
 11-02-14, 11:57 AM
|
#1 |
|
Eternal Patrol
 |
Off to a great start!

__________________
“Never do anything you can't take back.” —Rocky Russo |

|

|
 11-08-14, 03:42 AM
|
#2 |
|
Starte das Auto
|
Hi, Steve! I asked on another thread a while back whether anyone had got this kit as it's a "must-get one day" for me, so thanks for posting these photos: I can at last see what's in the box. I had no idea you get a 72nd scale u-boat crew too: fantastic!
If it's not too late, how about regular bathroom silicone sealant around the inside of the seams to make it watertight? |

|

|
 11-08-14, 11:26 AM
|
#3 | |
|
Eternal Patrol
 |
Quote:
 For a different take on this model, see here: http://www.subsim.com/radioroom/showthread.php?t=123846
__________________
“Never do anything you can't take back.” —Rocky Russo |
|

|

|
 11-08-14, 01:21 PM
|
#4 |
|
Gefallen Engel U-666
|
^Thanks Steve! I was thinking about Siara's thread; still haven't had time to progress on mine but at least I know what paints to use!. The box and contents survived the earthquake atop my destroyed mancave so maybe it's a sign!

__________________
"Only two things are infinite; The Universe and human squirrelyness?!! |

|

|
 11-09-14, 06:52 AM
|
#5 |
|
Chief of the Boat
|
Awesome work going on there rimmer

|

|

|
 11-10-14, 02:19 AM
|
#6 |
|
Royal Kinotropist
Join Date: Mar 2007
Location: Sheffield, UK
Posts: 987
Downloads: 18
Uploads: 0
|
Thanks chaps! I got all the running gear installed this weekend, and got the hull together and ballasted. Pics to follow soon.
Hi mate, I used some epoxy putty around the prop shafts to seal them in, and tbh the hull seam is watertight just having glued it together with Mr Cement S and clamping it, however as with my corvette, I will be using some polyurethane furniture varnish I have. I coat the inside of the hull really well and it dries to a hard, durable coating.
__________________
Alex Don't judge a ship by the number of it's guns, but by the skill of it's crew. |

|

|
 11-11-14, 05:58 PM
|
#7 |
|
Royal Kinotropist
Join Date: Mar 2007
Location: Sheffield, UK
Posts: 987
Downloads: 18
Uploads: 0
|
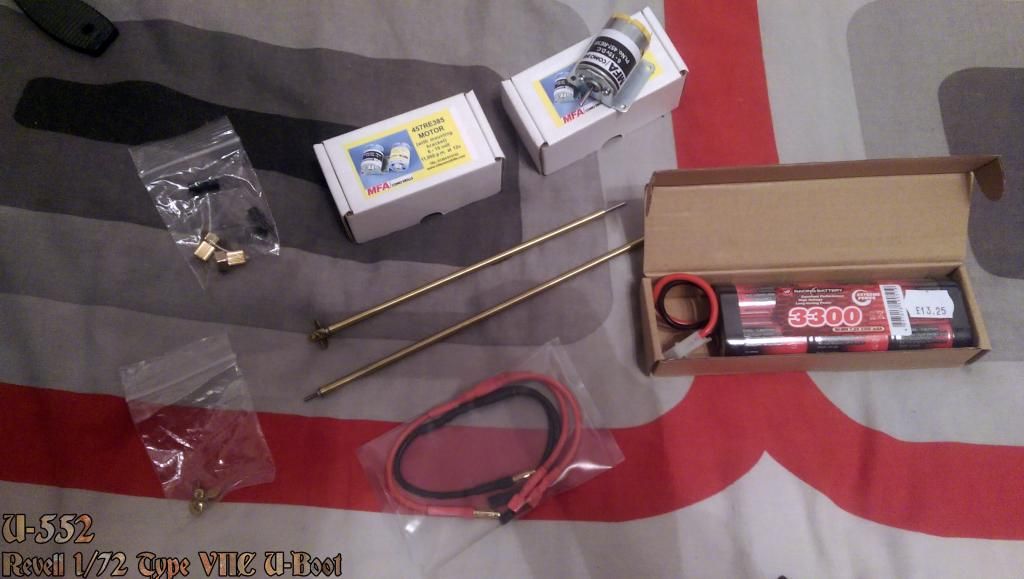 Got my stuff from Model Boat Bits last week  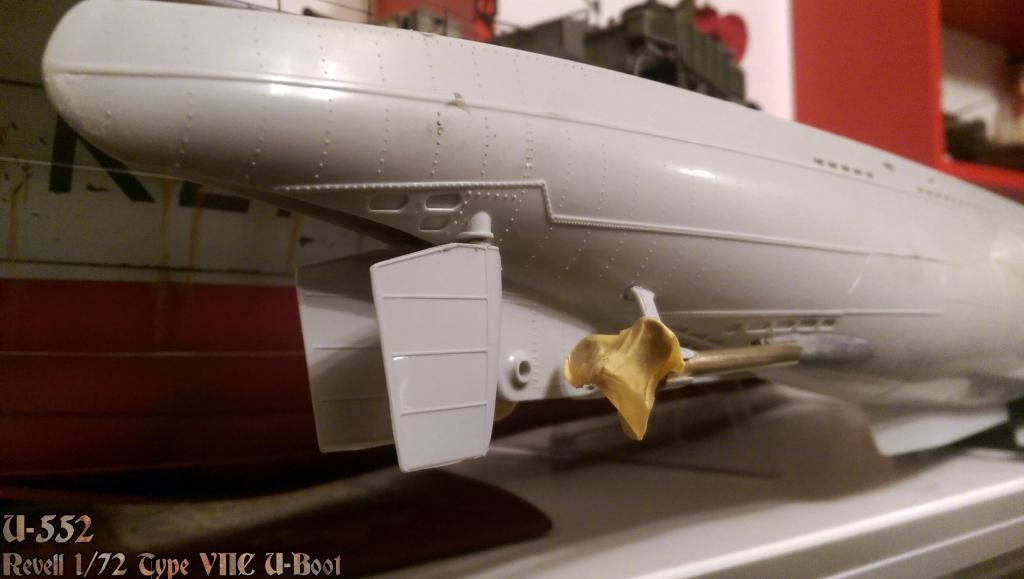 Installed the prop shafts no problem, I wanted to use the kit 'fairings' which the shafts emerge from through the hull but the holes through them were about half the size they needed to be and due to the angle I just couldn't get them drilled out. Instead I cut out the whole area of the hull, placed the shafts where they needed to be and covered them with epoxy putty. This was then sanded into shape. 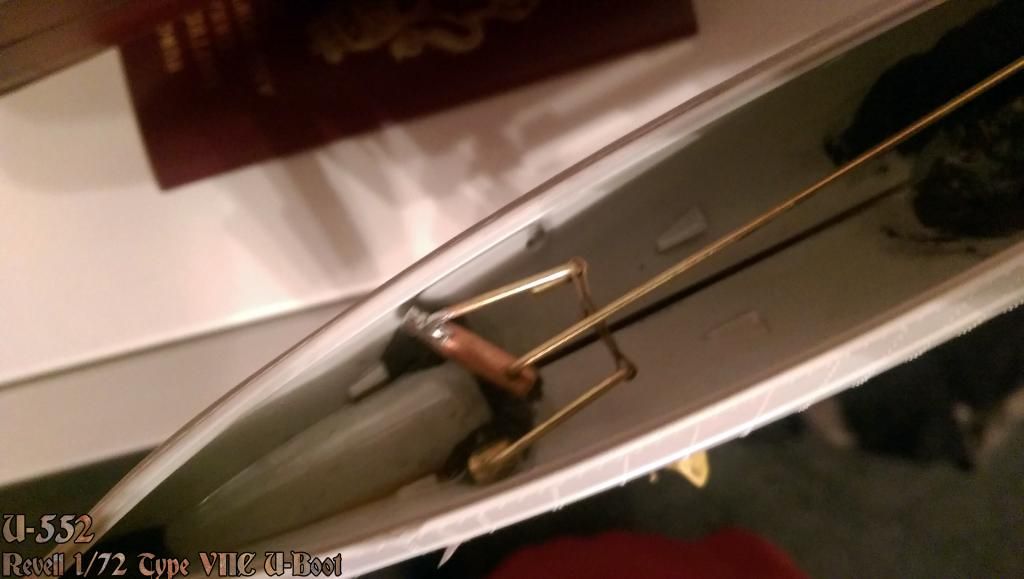 A rubbish picture of the rudder mechanism (see the vid below for a better view). This was about the 3rd or 4th attempt but it seems to work alright now. The only thing that's worrying me is how secure the actual rudders are on the shafts, I've used some 'shoegoo' to stick them but I'm not convinced they'll be ok so I'll have to check in the morning once the glue has set properly. 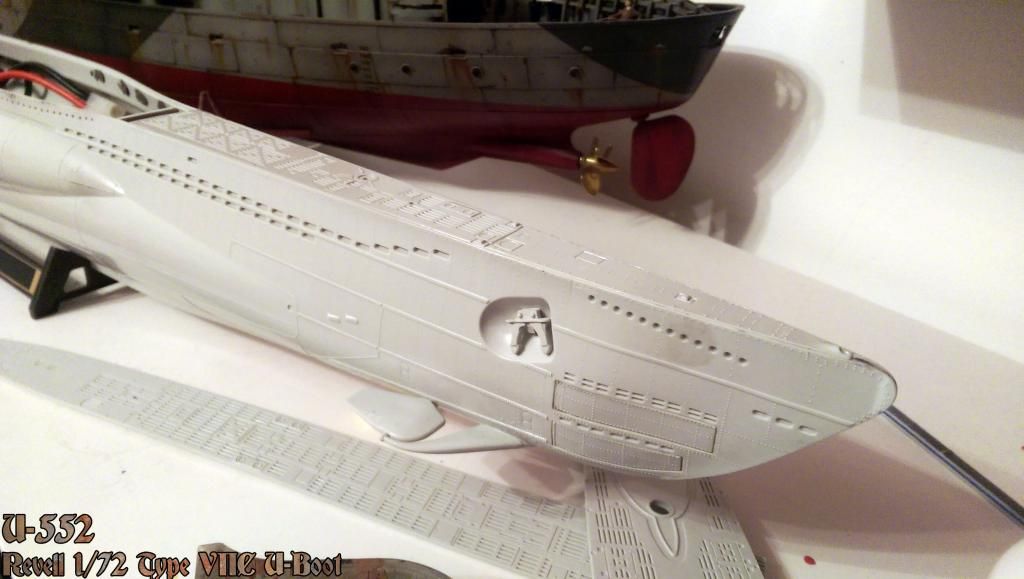 Finally, I installed the fore deck. You can also see the bowplanes which went in no problem. Must say the fit on this thing is exceptional. A quick vid of the rudders and props in action: I've ordered a fabric flag, along with one for my Corvette, plus I decided to push the boat out a bit, if you'll excuse the pun, with the figures. I've ordered these beauties from Andrea Miniatures  They look stunning and I can't wait till they arrive.
__________________
Alex Don't judge a ship by the number of it's guns, but by the skill of it's crew. |

|

|
 11-11-14, 06:52 PM
|
#8 |
|
Shark above Space Chicken
|
I use JB Weld for when strength matters. I can't wait to see this asea.
__________________
 "However vast the darkness, we must provide our own light." Stanley Kubrick "Tomorrow belongs to those who can hear it coming." David Bowie |

|

|
 11-12-14, 10:39 AM
|
#9 |
|
Chief of the Boat
|
Coming along nicely
Wish I still had my RN S-Class boat 
|

|

|
 11-13-14, 05:24 PM
|
#10 |
|
Royal Kinotropist
Join Date: Mar 2007
Location: Sheffield, UK
Posts: 987
Downloads: 18
Uploads: 0
|
Thanks fellas. I ended up using thin CA for the rudders, I think given the tight fit they should be ok.
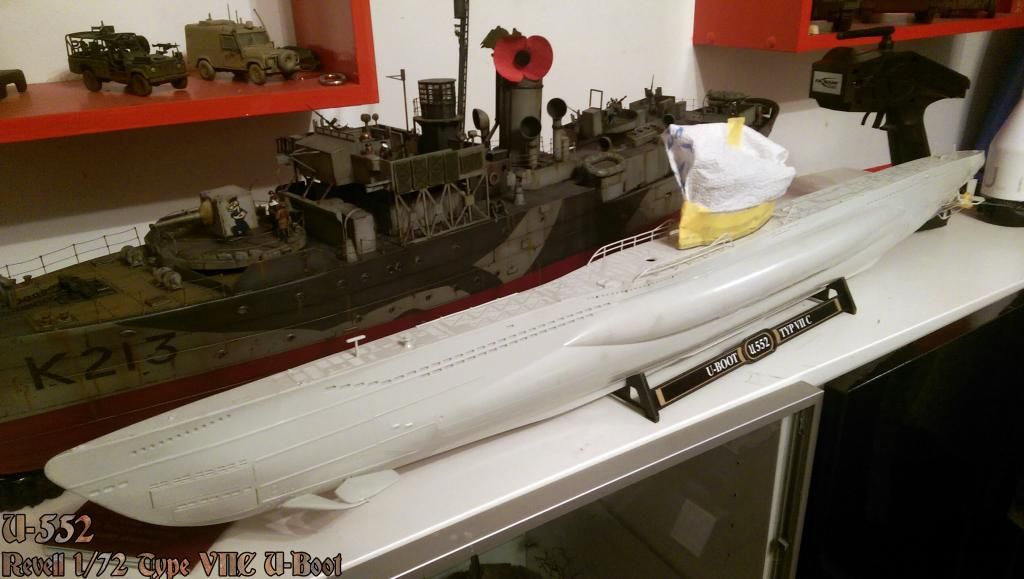 Got the boat all together ready for paint. It's a doddle after the Flower Class! 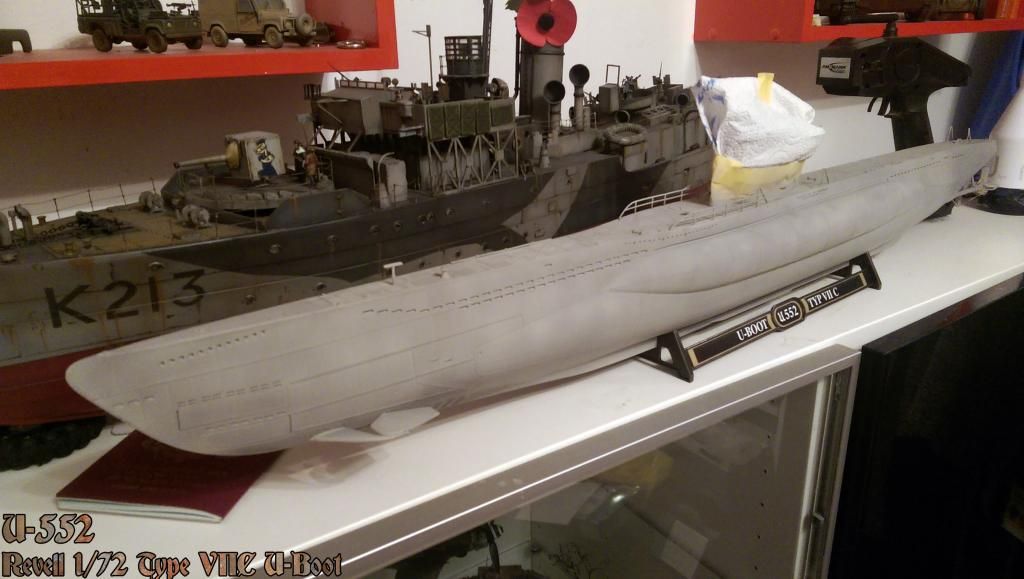 Primed in XF-19 (I ran out around 95% through haha) 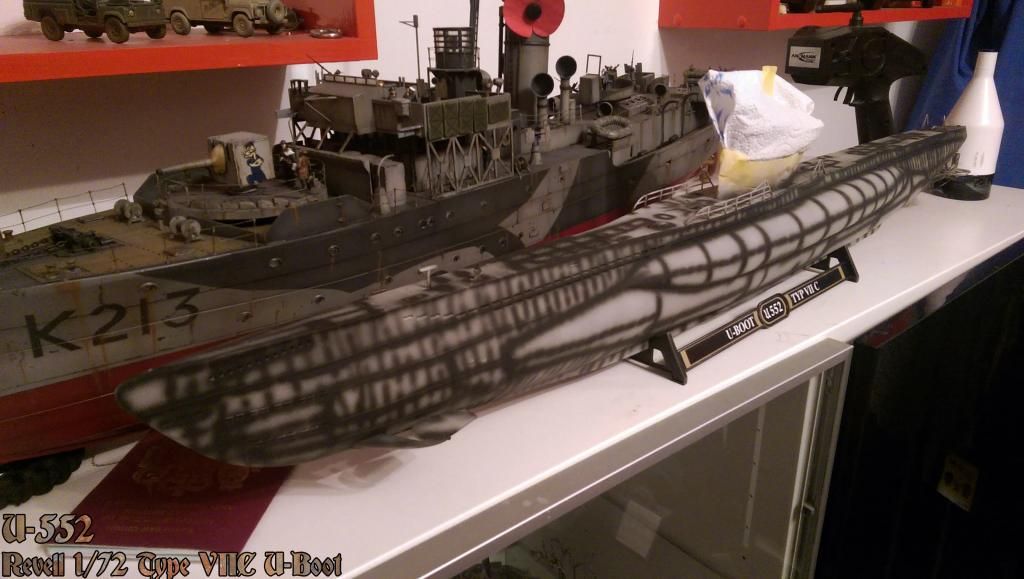 Preshaded in XF-85 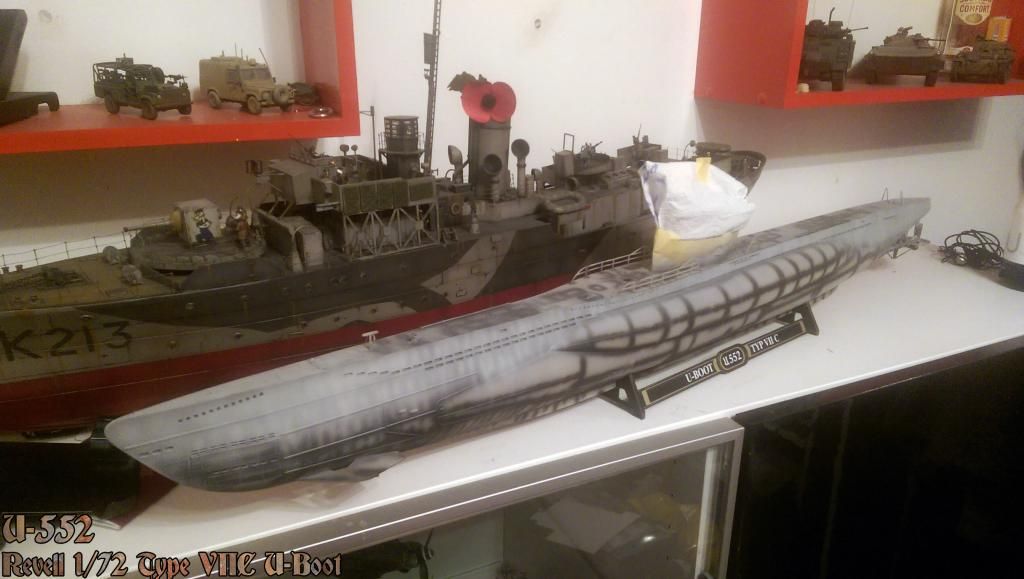 First grey on. A custom mix of XF-19, maybe a little lighter. Similar to what I used on the Flower. Post Shaded with lighter mixes. 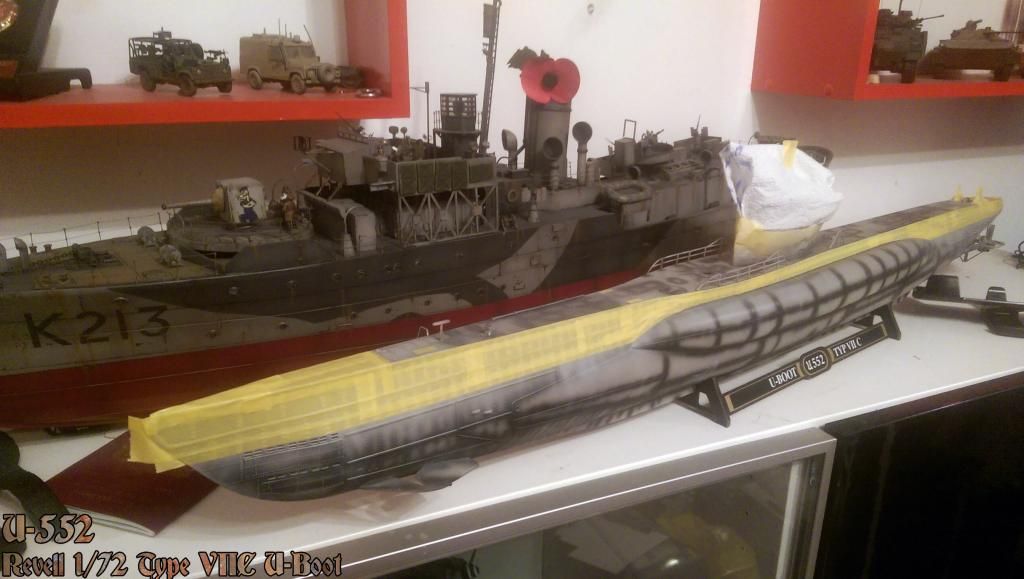 That was then masked off. 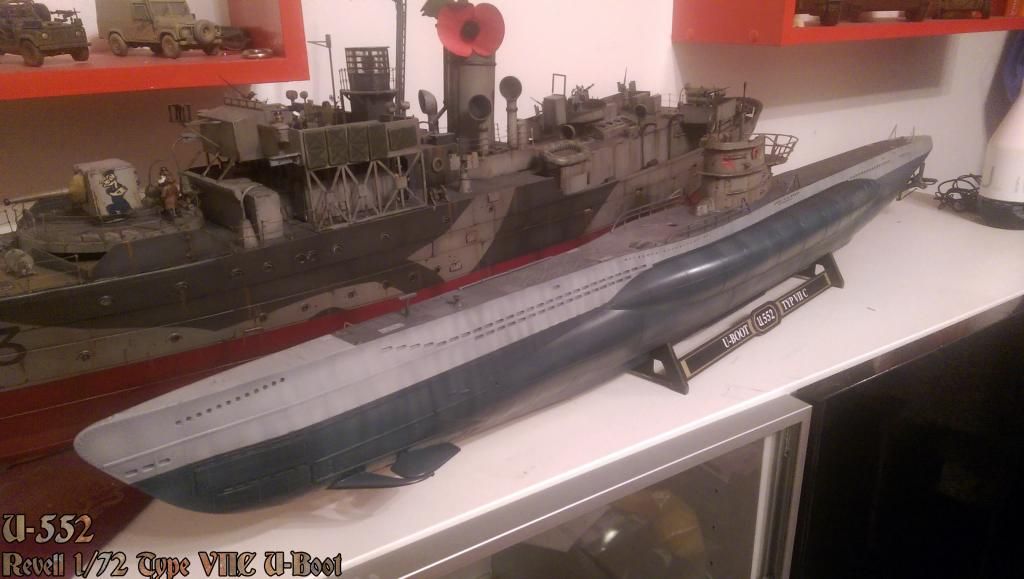 Ready for the deck and underside! 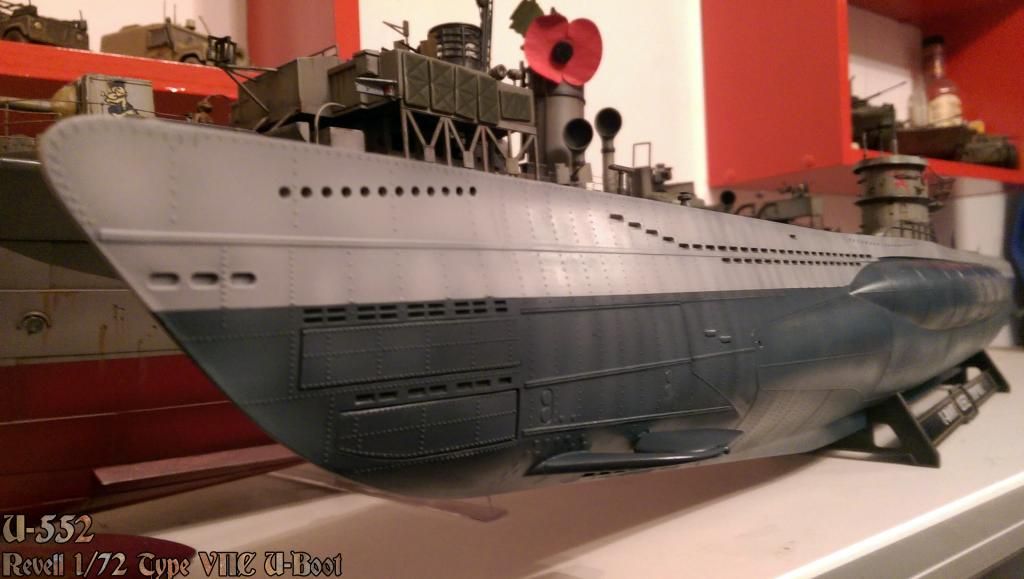 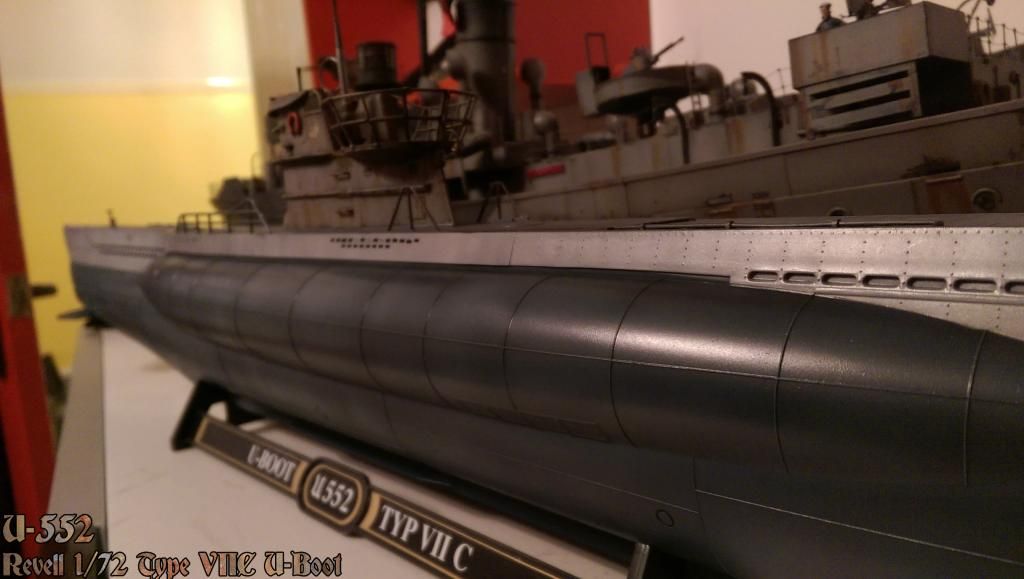 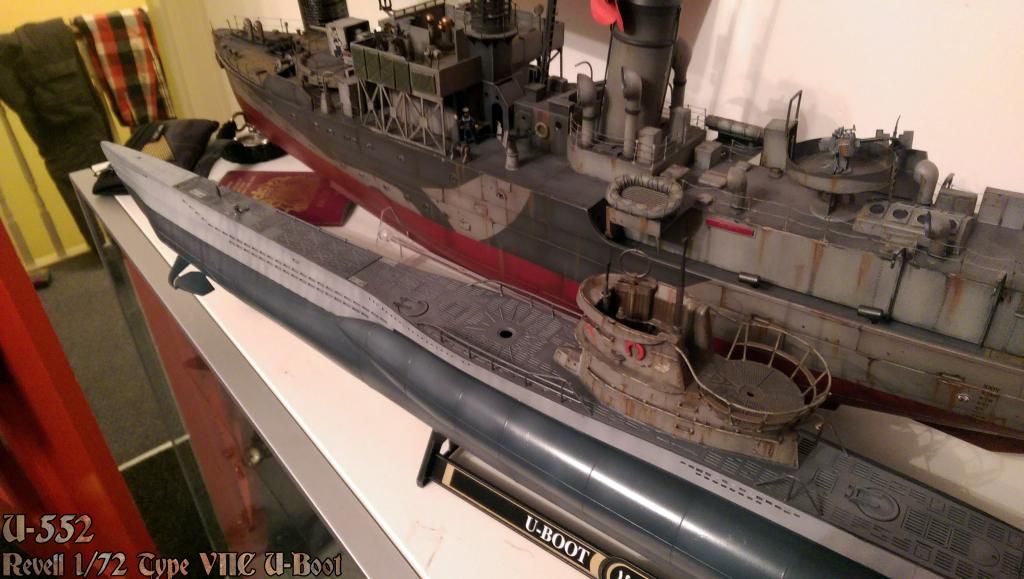 The deck was painted with essentially the same mix that I used for the dark grey on the Flower Class, I'm afraid I can't remember what I used. The Antifoul paint on the hull was again a custom mix of XF-85 and white, with a splash of blue. Both were postshaded with lighter mixes. She's had a coat of Klear and just need the waterline decals applying tomorrow before weathering can begin!
__________________
Alex Don't judge a ship by the number of it's guns, but by the skill of it's crew. |

|

|
 |
| Tags |
| model |
|
|
