
|
|
SUBSIM: The Web's #1 resource for all submarine & naval simulations since 1997
 |
SUBSIM: The Web's #1 resource for all submarine & naval simulations since 1997 |
|
|
 07-14-13, 11:25 AM
|
#1 |
|
Eternal Patrol
 |
It all depends on what you want to accomplish. Model building can be as simple as gluing it together and throwing on some paint, and as complex as making large-scale models out of original materials. I once read a article on a gentleman who made a 1/8 scale Hurricane for a museum. The aluminum parts were aluminum, turned on a lathe. The tires were rubber, the seat belts were fabric and every rivet was duplicated in scale. Pretty amazing, and beyond anything I'd want to do.
Then there's this guy: http://www.carrierbuilders.net/galle...prise_1-72.htm Or this one: http://www.kbismarck.com/models/graf-spee-terra.html Most tools you won't even know exist until you need them. My arsenal includes: Airbrush and compressor. If you are a serious modeller these are vital tools. At your stage I would say they are expensive toys, something to worry about later. Dremel Tool. This is a small drill designed specifically for modelling. It's made to work with plastic, and can make holes as small as .005". Again it's money you don't want to spend until you have to. Pin Vise. This is a tiny drill that takes the same bits as the Dremel, but is powered by twirling your fingers. Cheap and effective, but slow. Sandpaper, sanding blocks, sanding sticks. Handy for removing way-over-size rivets from older kits and for smoothing glue seams, which of course real planes don't have. Pounce Wheel. Originally designed for tracing patterns from paper to fabric for sewing. The one day somebody figured out that if used on a plastic model it made perfect little indented rivets, barely noticable unless you look real hard. The holes will be completely filled by paint, so it's only worthwhile if you're also using an airbrush. Rat-tailed file. Super glue. For applying tiny parts, and parts made of different materials. Gap-filling super glue. Handy for gluing parts end-on, such as metal struts. Zip-Kicker. A spray accelerator that makes super glues dry almost instantly. An assortment of paint brushes, from medium to ultra-tiny. Proper paints. Olive Drab is nothing like British Dark Green, or French Green or Italian Green or Japanese Green. Getting the colors right can make a big difference. Olive drab in the 1940s is also nothing like the Olive Drab from the 1920s (commonly called Field Drab just to note the difference). Everybody has their own grey/gray, and they are easy to tell apart if you know what you're looking at. So that's just the tip of the iceberg. The real tool, as always, is your brain. There are a lot more tips and tricks than there are tools, and the best way to learn is not to get too many tips at once, so I won't give you any. When you want to know how to do a particular thing, ask. There will always be somebody with an answer.
__________________
“Never do anything you can't take back.” —Rocky Russo Last edited by Onkel Neal; 02-17-15 at 04:45 AM. |

|

|
 07-14-13, 11:41 AM
|
#2 |
|
Eternal Patrol
 |
Well, it's mostly done. The biggest hangup now is my own lack of motivation. I realized there was no way I would have the rigging done before Thursday's game, so I didn't try. I took it to show it off anyway, and then Friday there was no longer any hurry so I didn't do anything. Yesterday I got started on the rigging but just couldn't get into it. Today I feel more like starting a new project, so this one is still unfinished.
I'm unhappy with the scuffs on the tail (though I did finally find some decal numbers the right size) and with the uneven look of the wheels. I'm going to try one more time, and if I'm still unhappy I'll apply the same camoflage as the rest of the plane. That should make it less noticable. Or maybe cut some masks and see if that works. Meanwhile... 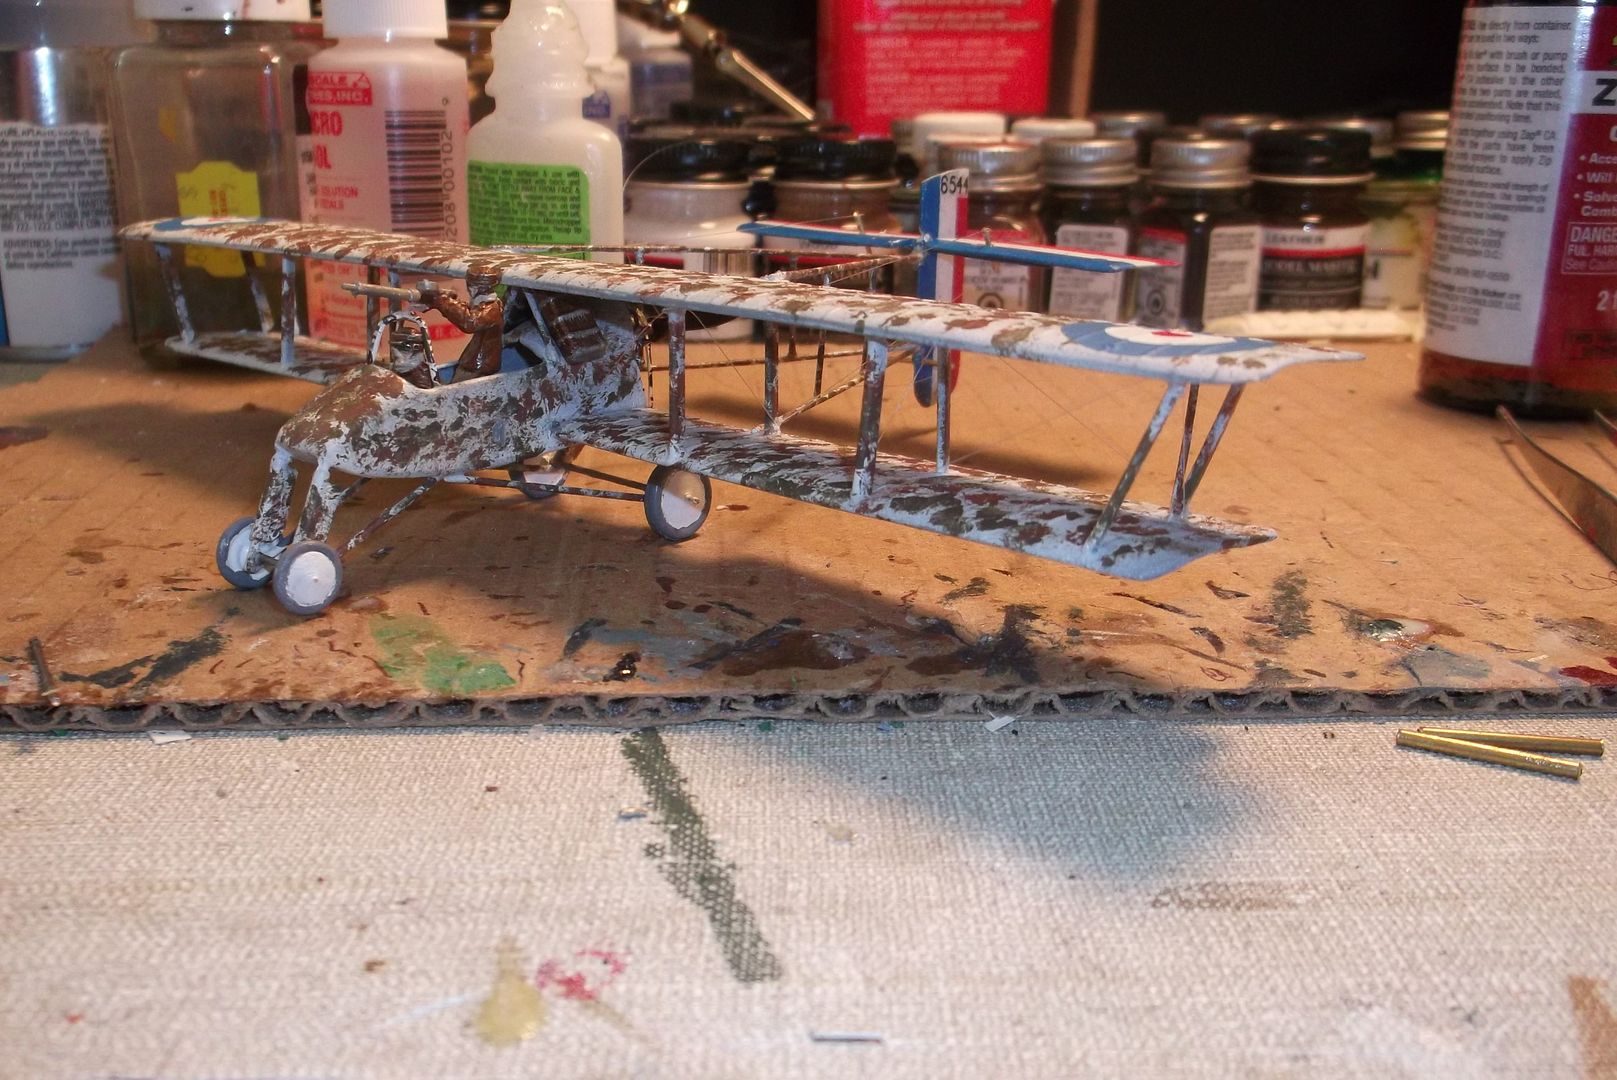 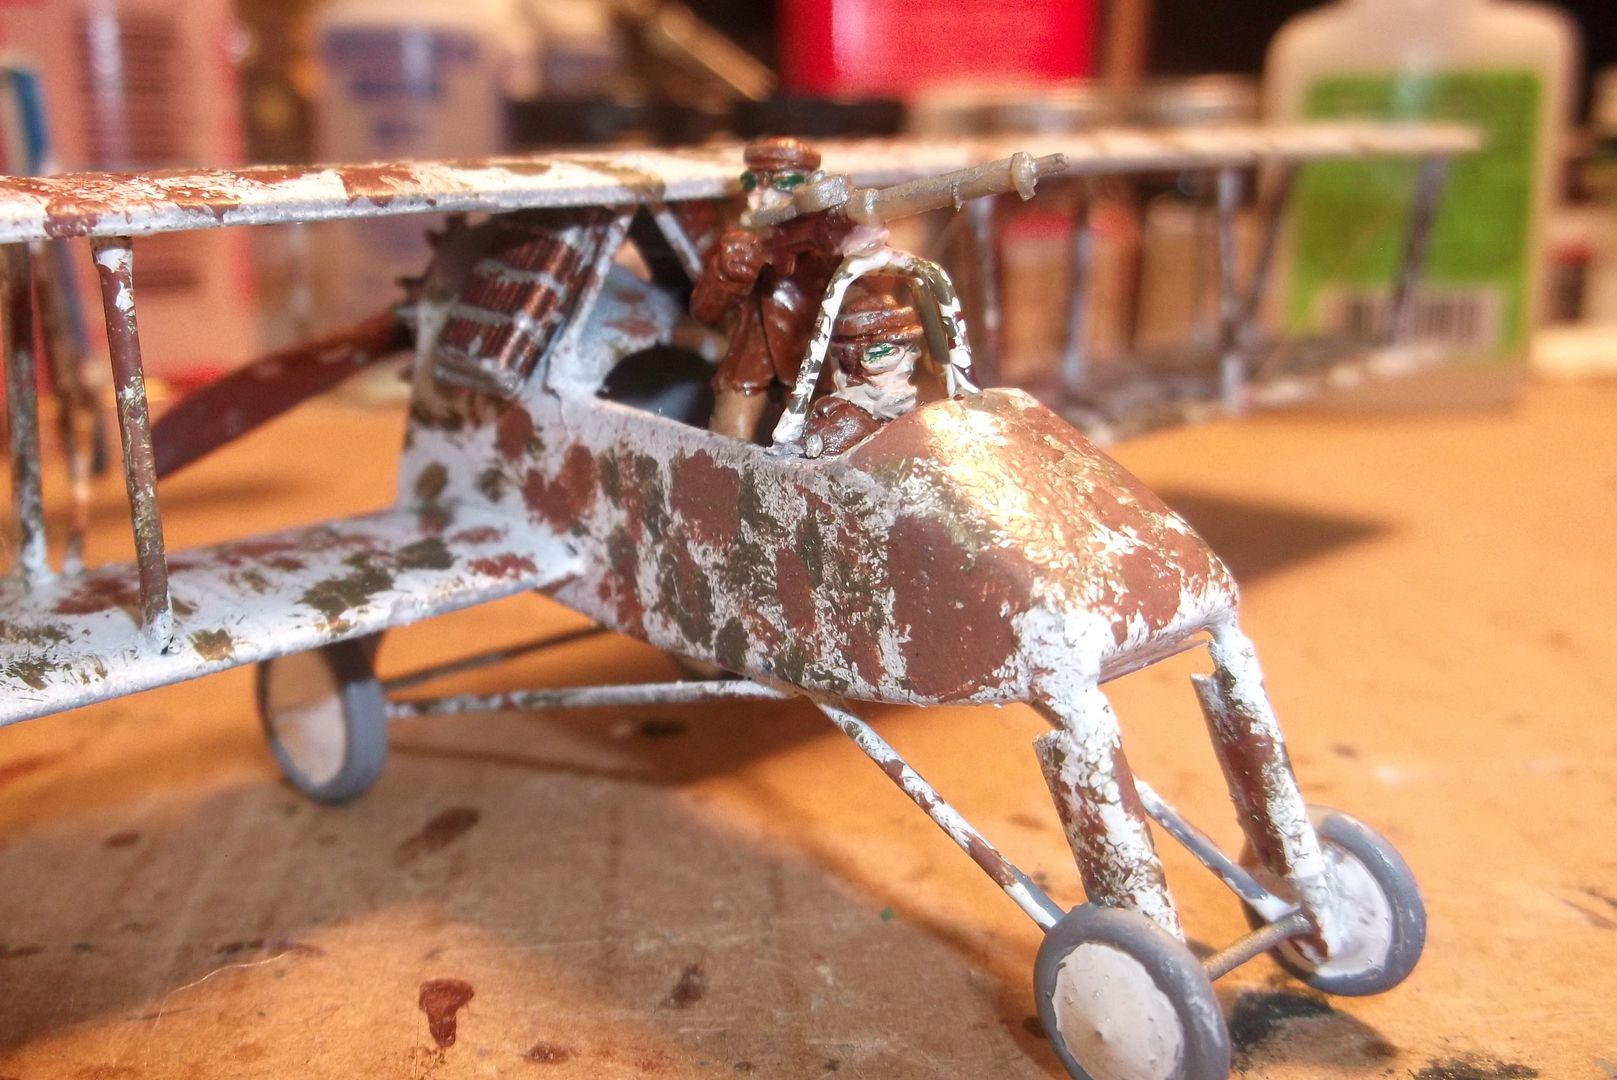 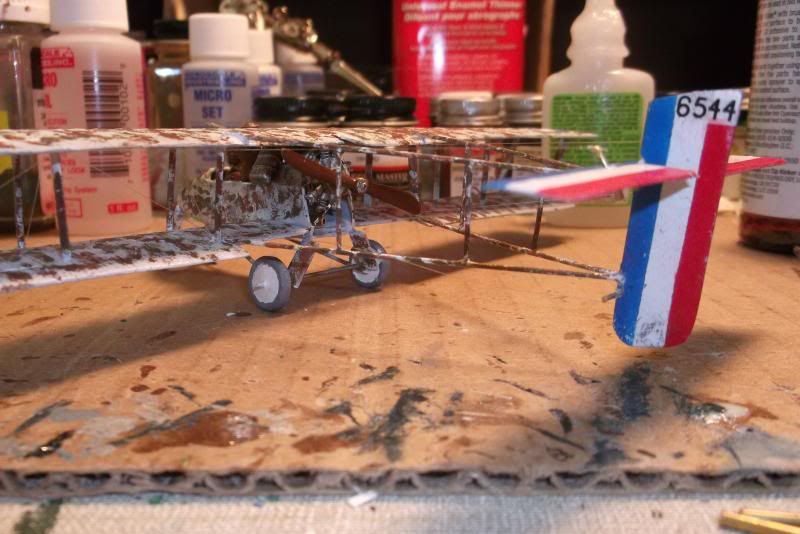
__________________
“Never do anything you can't take back.” —Rocky Russo |

|

|
 07-14-13, 12:54 PM
|
#3 | |
|
Airplane Nerd
|
Quote:
The plane looks great! 
__________________

|
|

|

|
 07-15-13, 09:44 PM
|
#4 |
|
Eternal Patrol
 |
I said yesterday that I felt like starting a new project. I got the box out and looked at the kit long and hard, and then decided I felt more like finishing the current one. The rigging is extensive and intricate, and will undoubtedly get broken with handling, especially the rudder and elevator control cables, which run outside the tail framing. I don't mind. It was made to be played with. I'll always have the pictures. There were also bracing wires running from the nose to the wings, and from the rear axles to the lower wing. I left those off because I had to have somewhere to pick it up by. Anyway, it's now in the suitcase and ready to go with the others.
One funny note: I was reading the building log of a modeler who built the Flashback resin kit. He was complaining that he couldn't get it to sit on the nose wheels, so he figured a way to secure it to the base he mounted it on. Mine was fine with the tail assembly and rudder, but I noticed the same thing when I mounted the elevators. When it was finished it sat nicely on the nose again. Then I figured it out. The pilots I used were lead figures, and added just the weight it needed. On the other hand it will always be mounted to the stand in a flying position, so who cares?  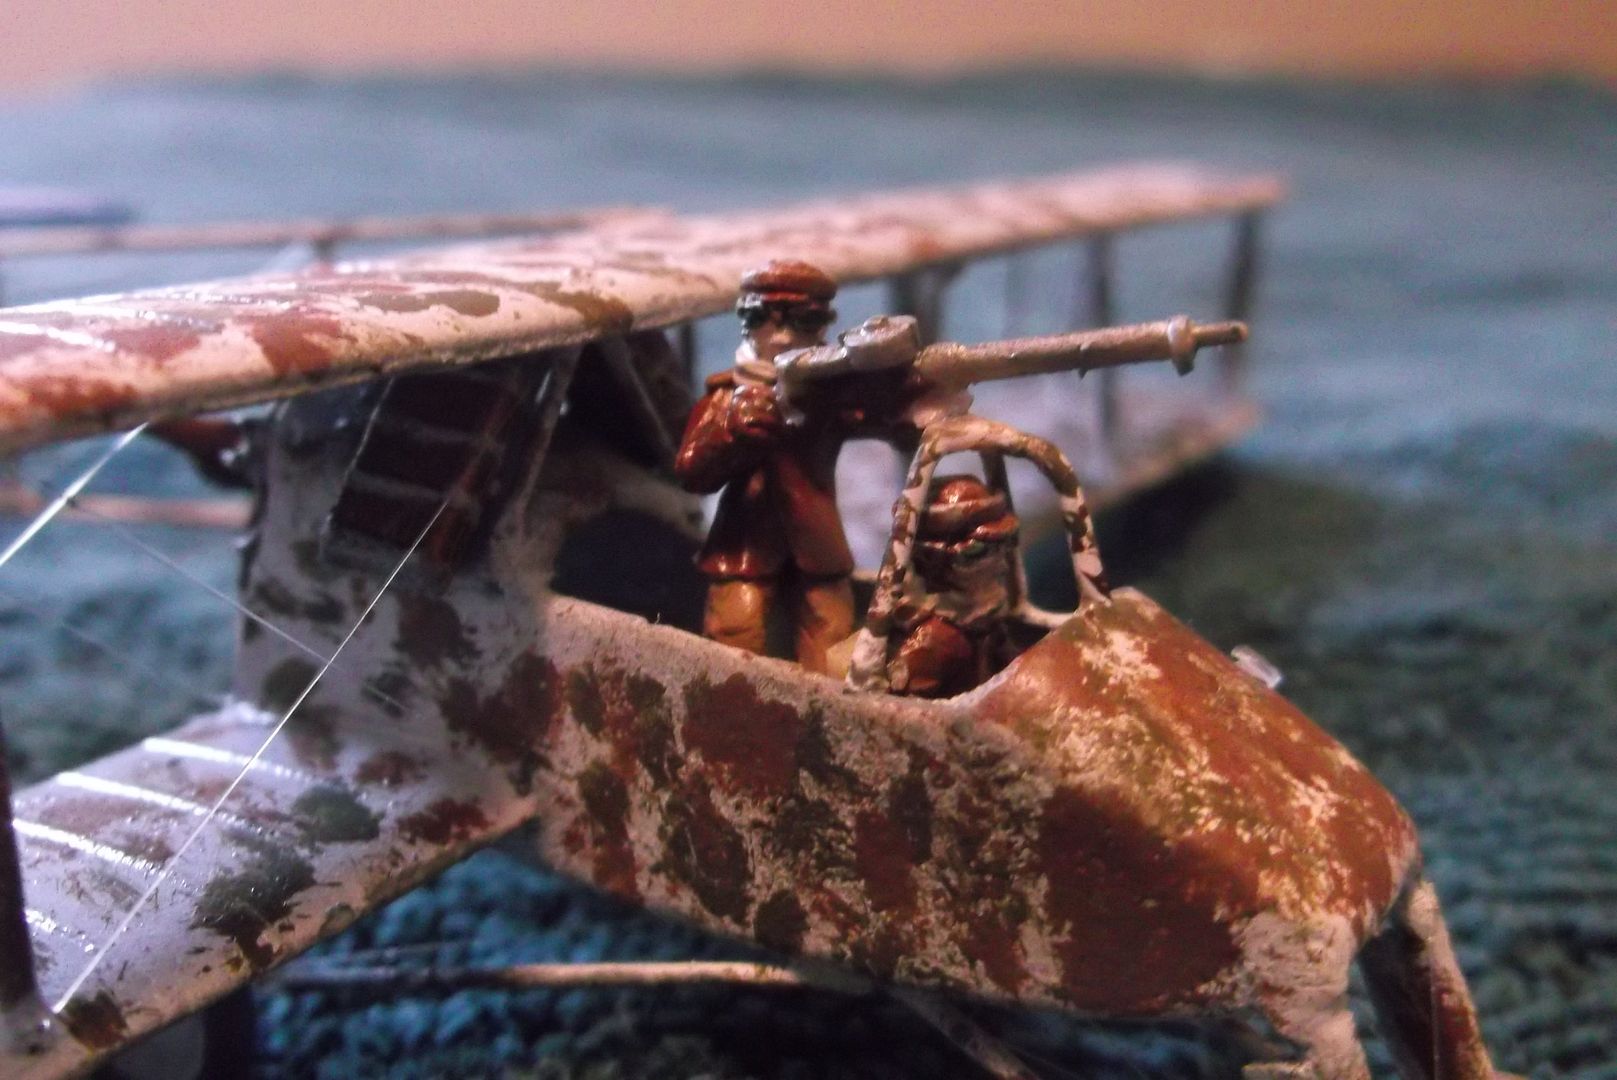  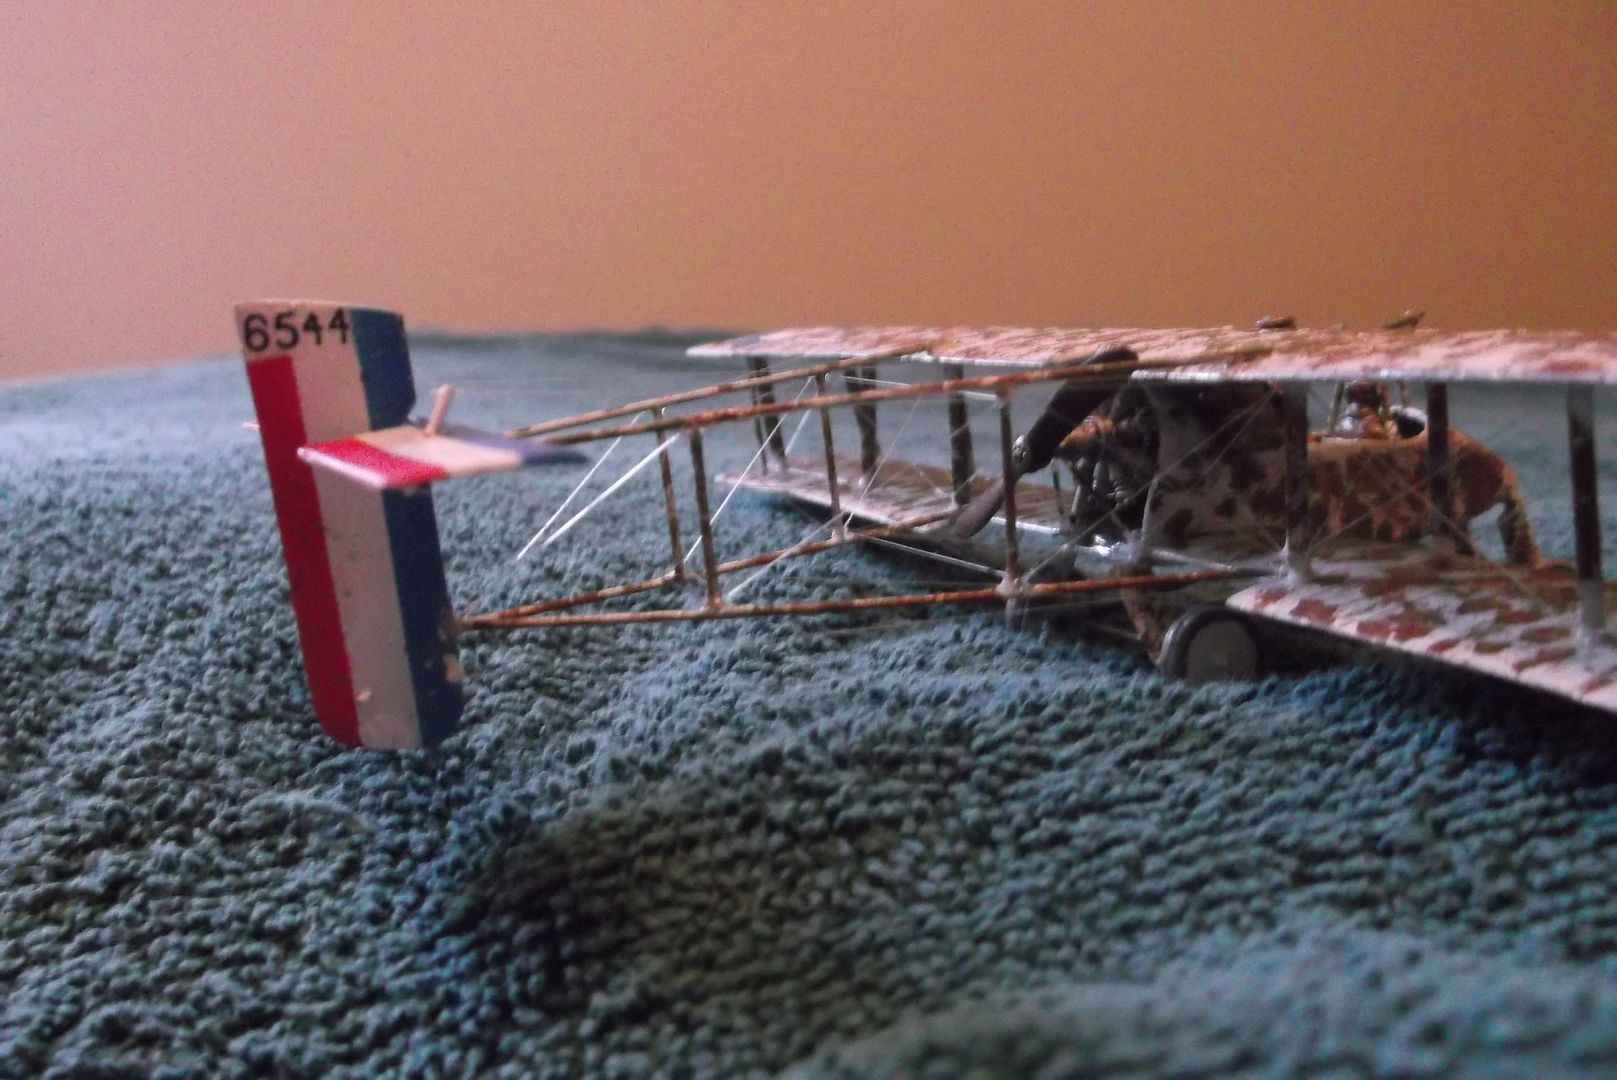 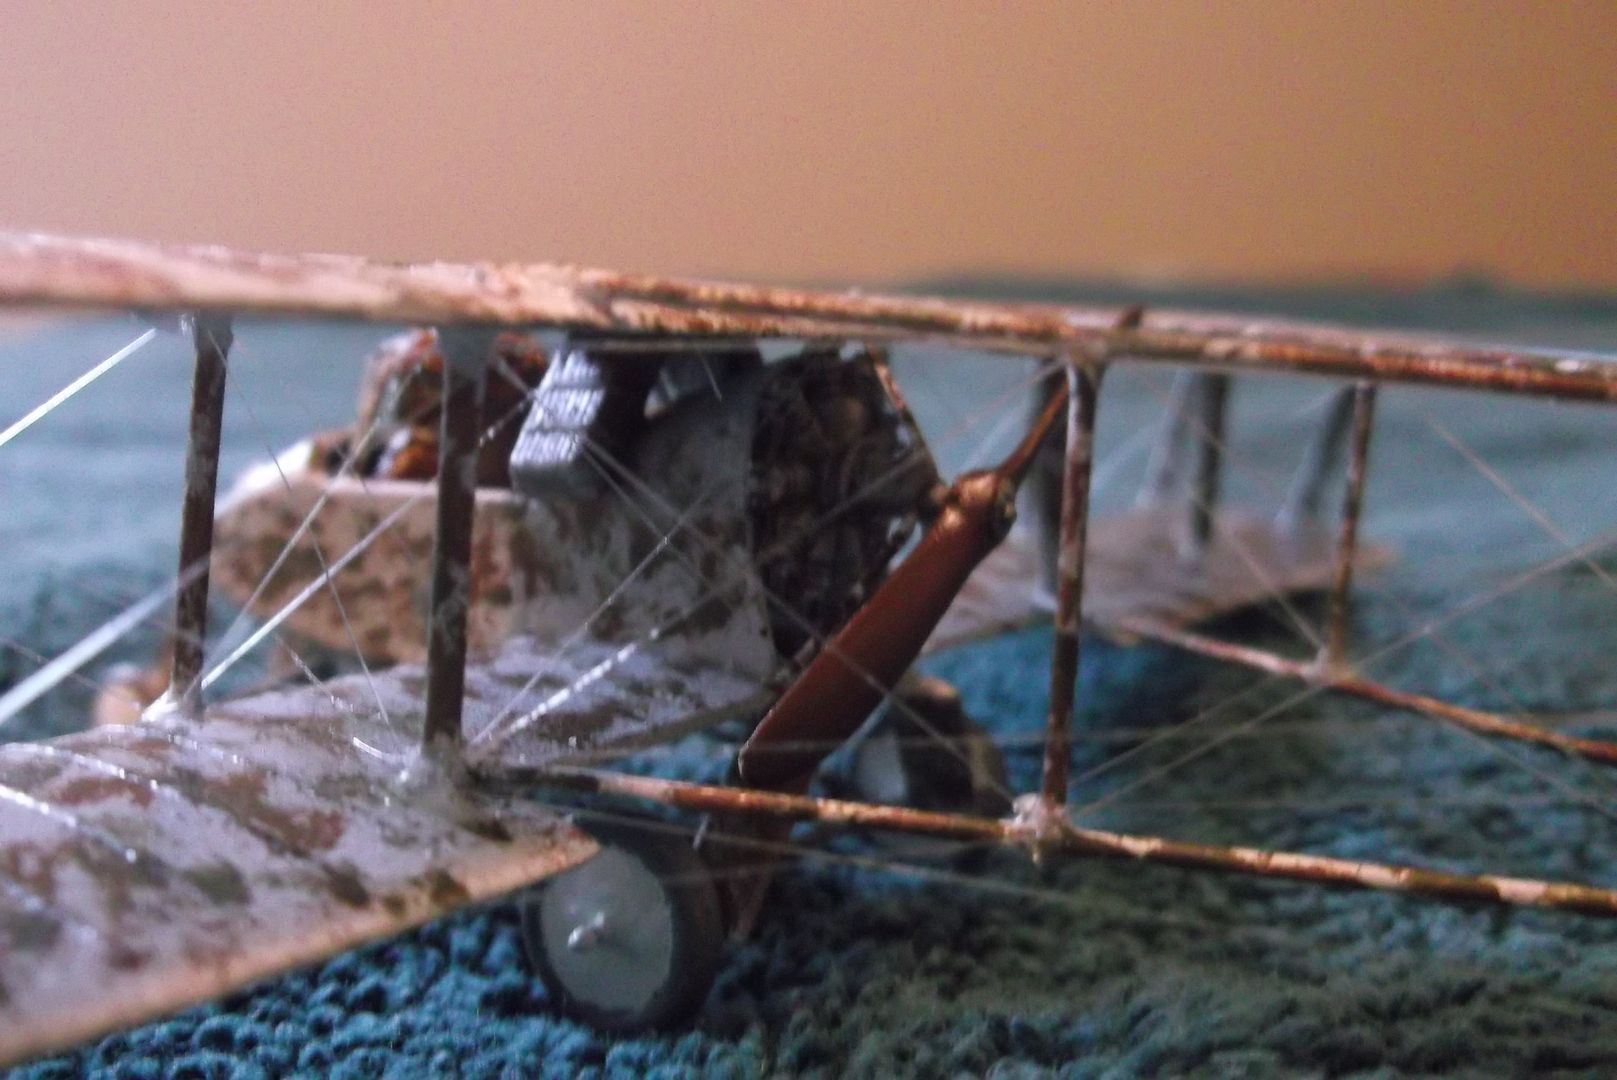 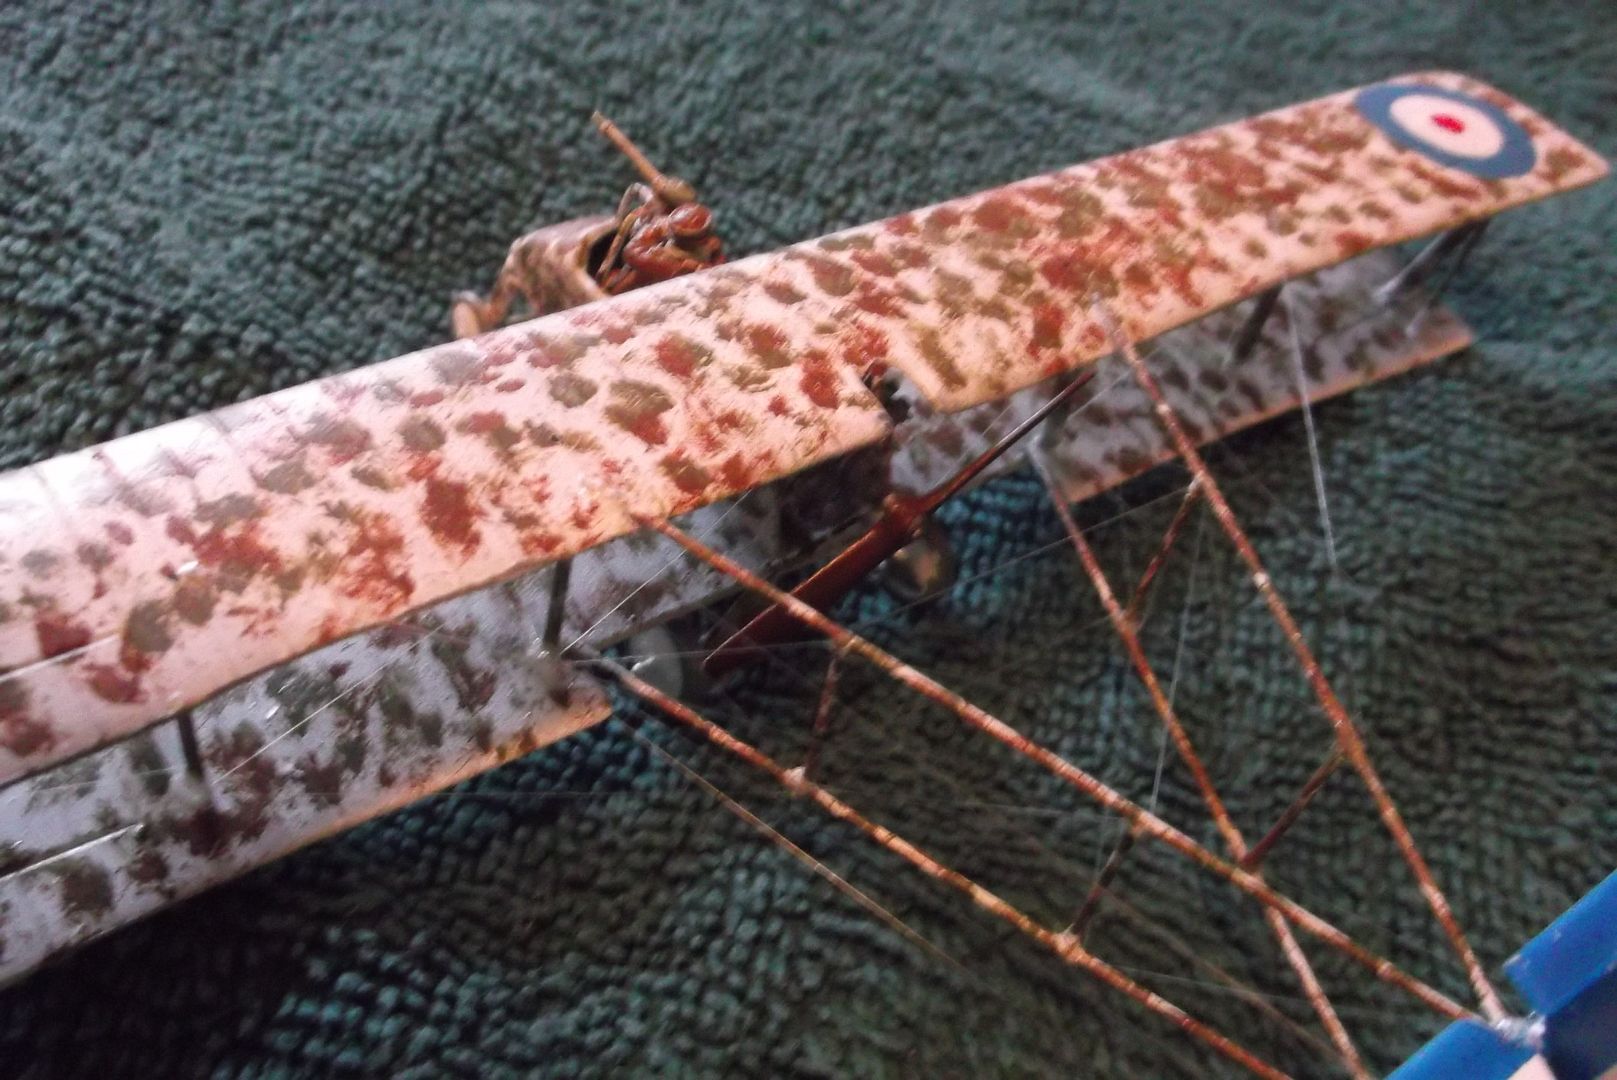 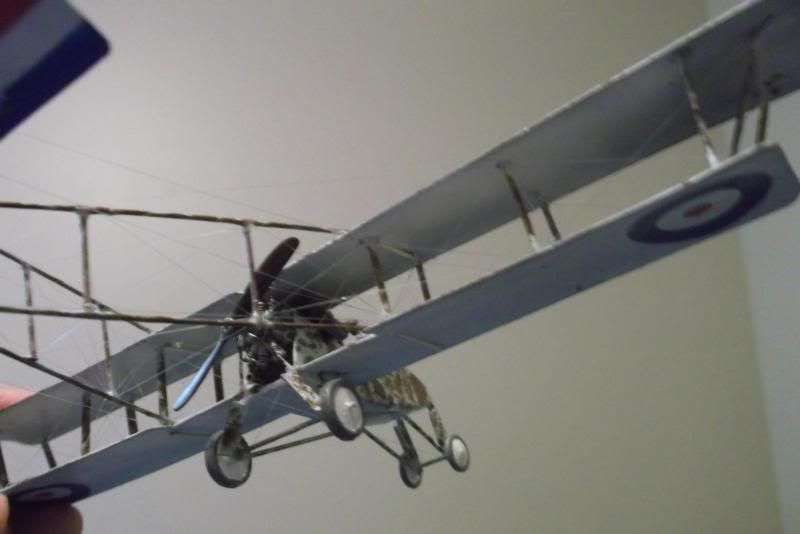 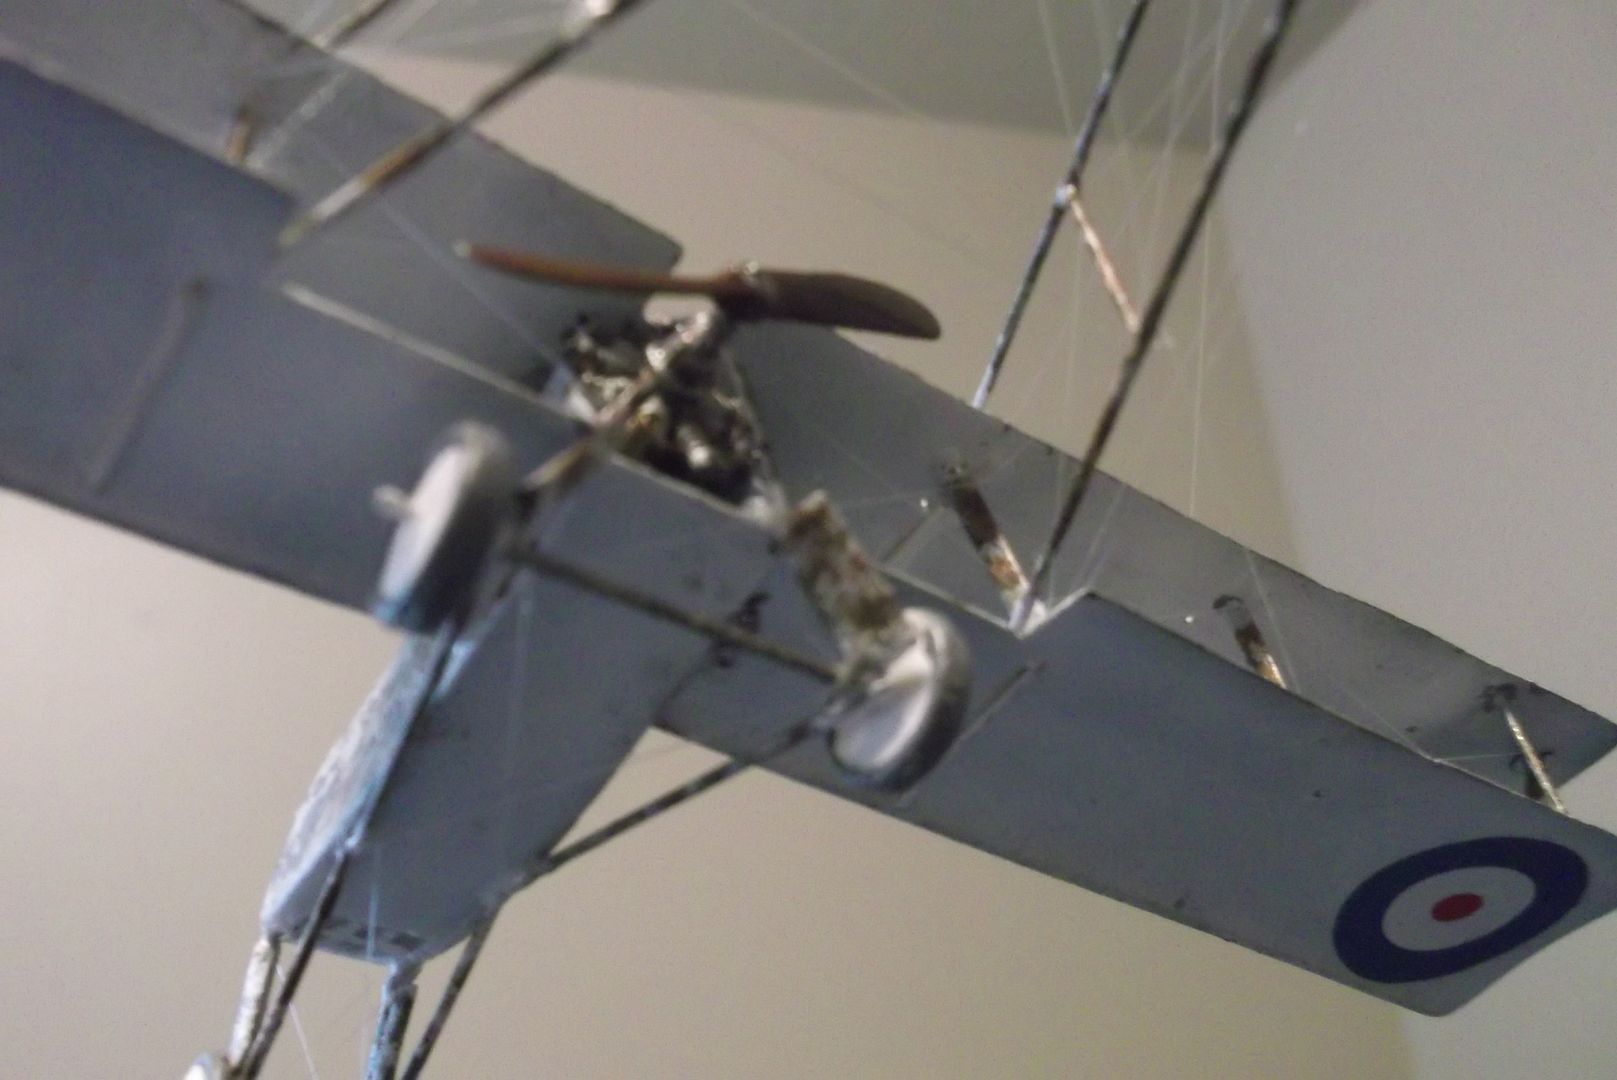
__________________
“Never do anything you can't take back.” —Rocky Russo |

|

|
 07-16-13, 10:51 AM
|
#5 |
|
Eternal Patrol
 |
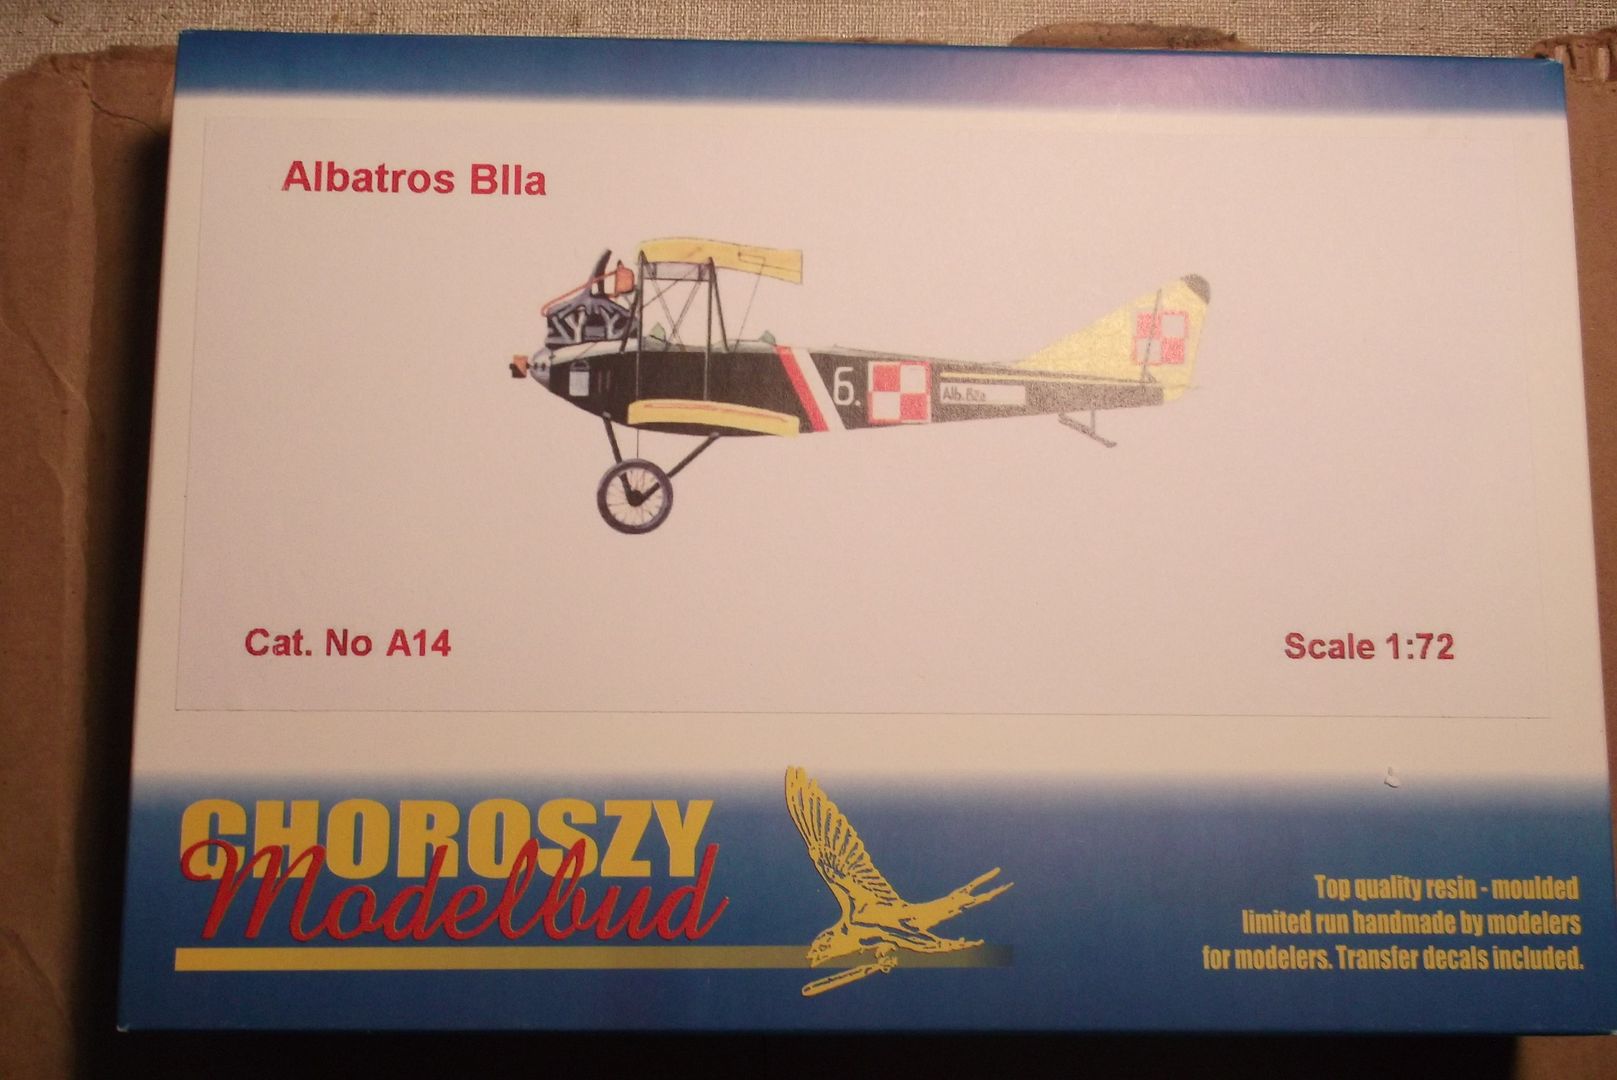
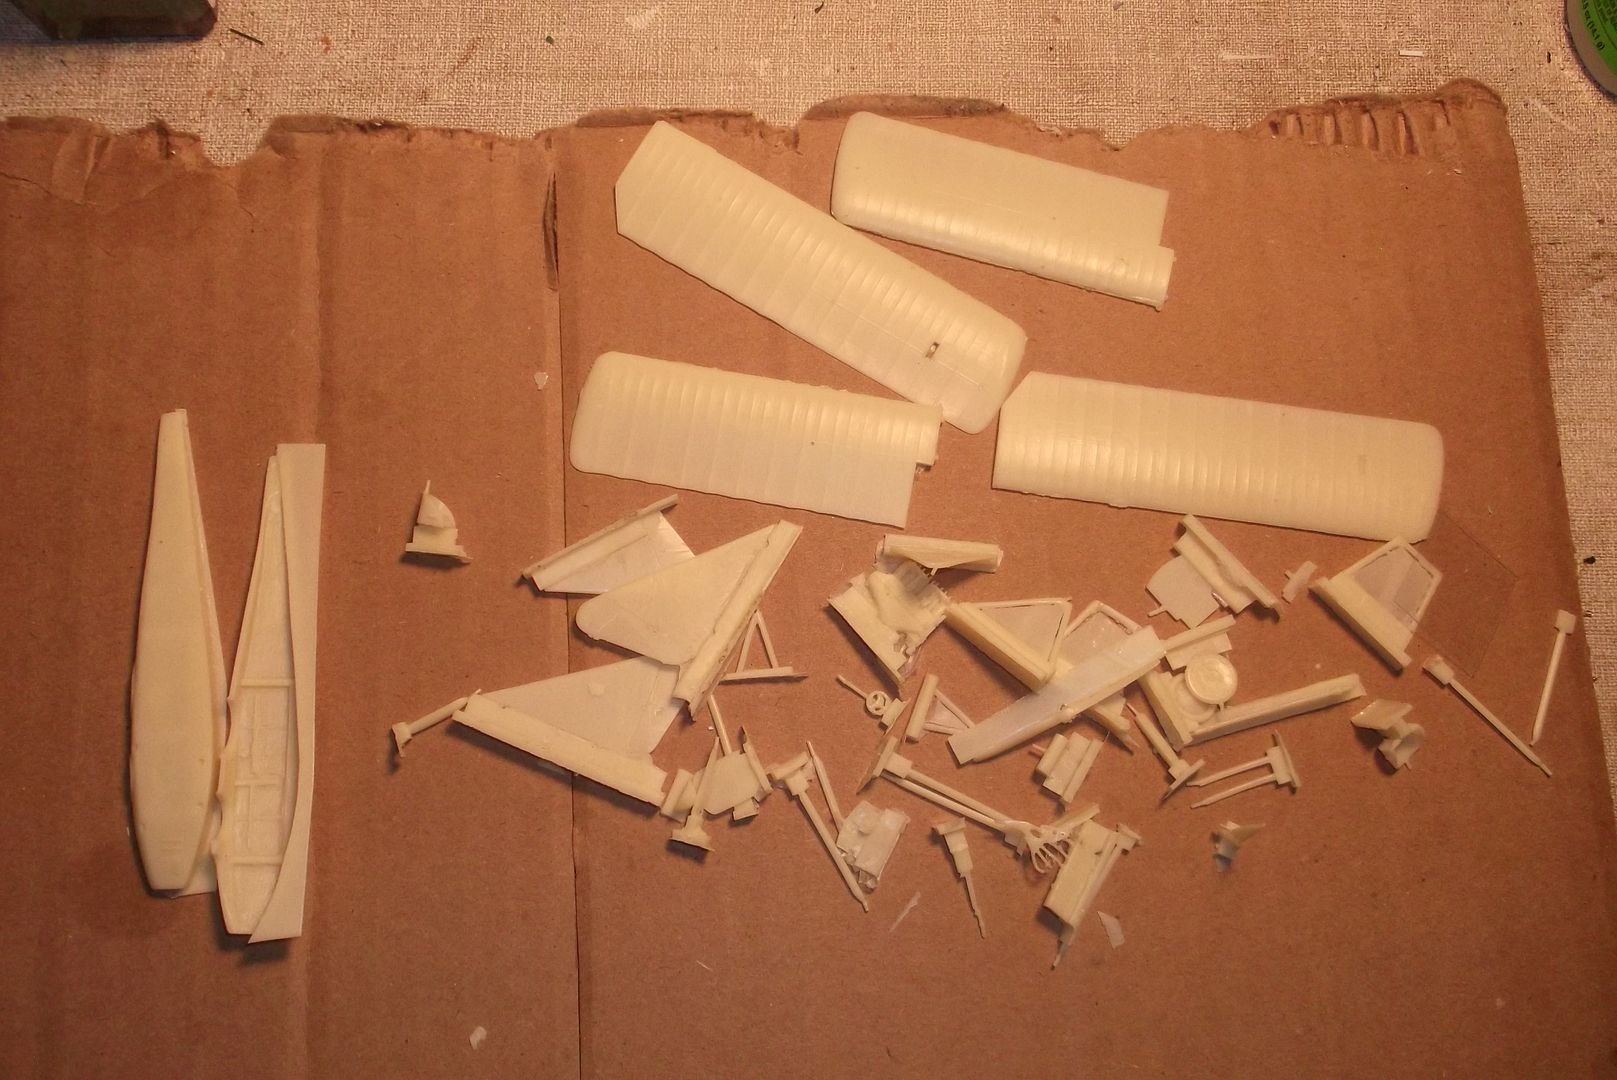
Next project: Albatros B.IIa. German two-seaters at this time were a little more conventional than those of the Allies, having the standard layout of pilot and observer in a closed fuselage, engine forward, wings and tail in the configuration that we accept as "normal" today.
__________________
“Never do anything you can't take back.” —Rocky Russo |

|

|
 07-16-13, 06:20 PM
|
#6 |
|
Airplane Nerd
|
Good job! Love the finished product of the previous model.

__________________

|

|

|
 07-16-13, 08:31 PM
|
#7 |
|
Willing Webfooted Beast
|
Are you going to do the Albatros in Polish or Lufstreitkräfte markings?
Looks interesting anyway!
__________________
Historical TWoS Gameplay Guide: http://www.subsim.com/radioroom/showthread.php?p=2572620 Historical FotRSU Gameplay Guide: https://www.subsim.com/radioroom/sho....php?p=2713394 |

|

|
 07-17-13, 05:01 PM
|
#8 |
|
Ensign
 Join Date: Jul 2013
Location: Chicago-ish, USA
Posts: 223
Downloads: 14
Uploads: 0
|
Just interjecting, but very dedicated work Steve! Colour me impressed.
I didn't have much patience for modeling. Post high-school I built a very fine T-34/85, another that had a poor paint job, and then two KV-1As that I never bothered to paint. I'm a "doing" hobbyist, when the thing is done I always want to do what's next; which is simulating their actions. Your molding for the ships is enlightening for me. For my dreadnaught building game I had wondered if such an approach would work, but I see now there'd be no way to streamline such a thing for a gamer to do. Plan B is definitely plan A now, cardboard counters. |

|

|
 07-17-13, 06:02 PM
|
#9 | |
|
Eternal Patrol
 |
Quote:
A friend of mine is a fan of Avalanche Press's Great War At Sea series. http://boardgamegeek.com/geeklist/29...eat-war-at-sea
__________________
“Never do anything you can't take back.” —Rocky Russo |
|

|

|
 07-17-13, 07:40 PM
|
#10 |
|
Eternal Patrol
 |
Fuselage assembled, pilots installed, wings and tail surfaces painted and ready for mounting.
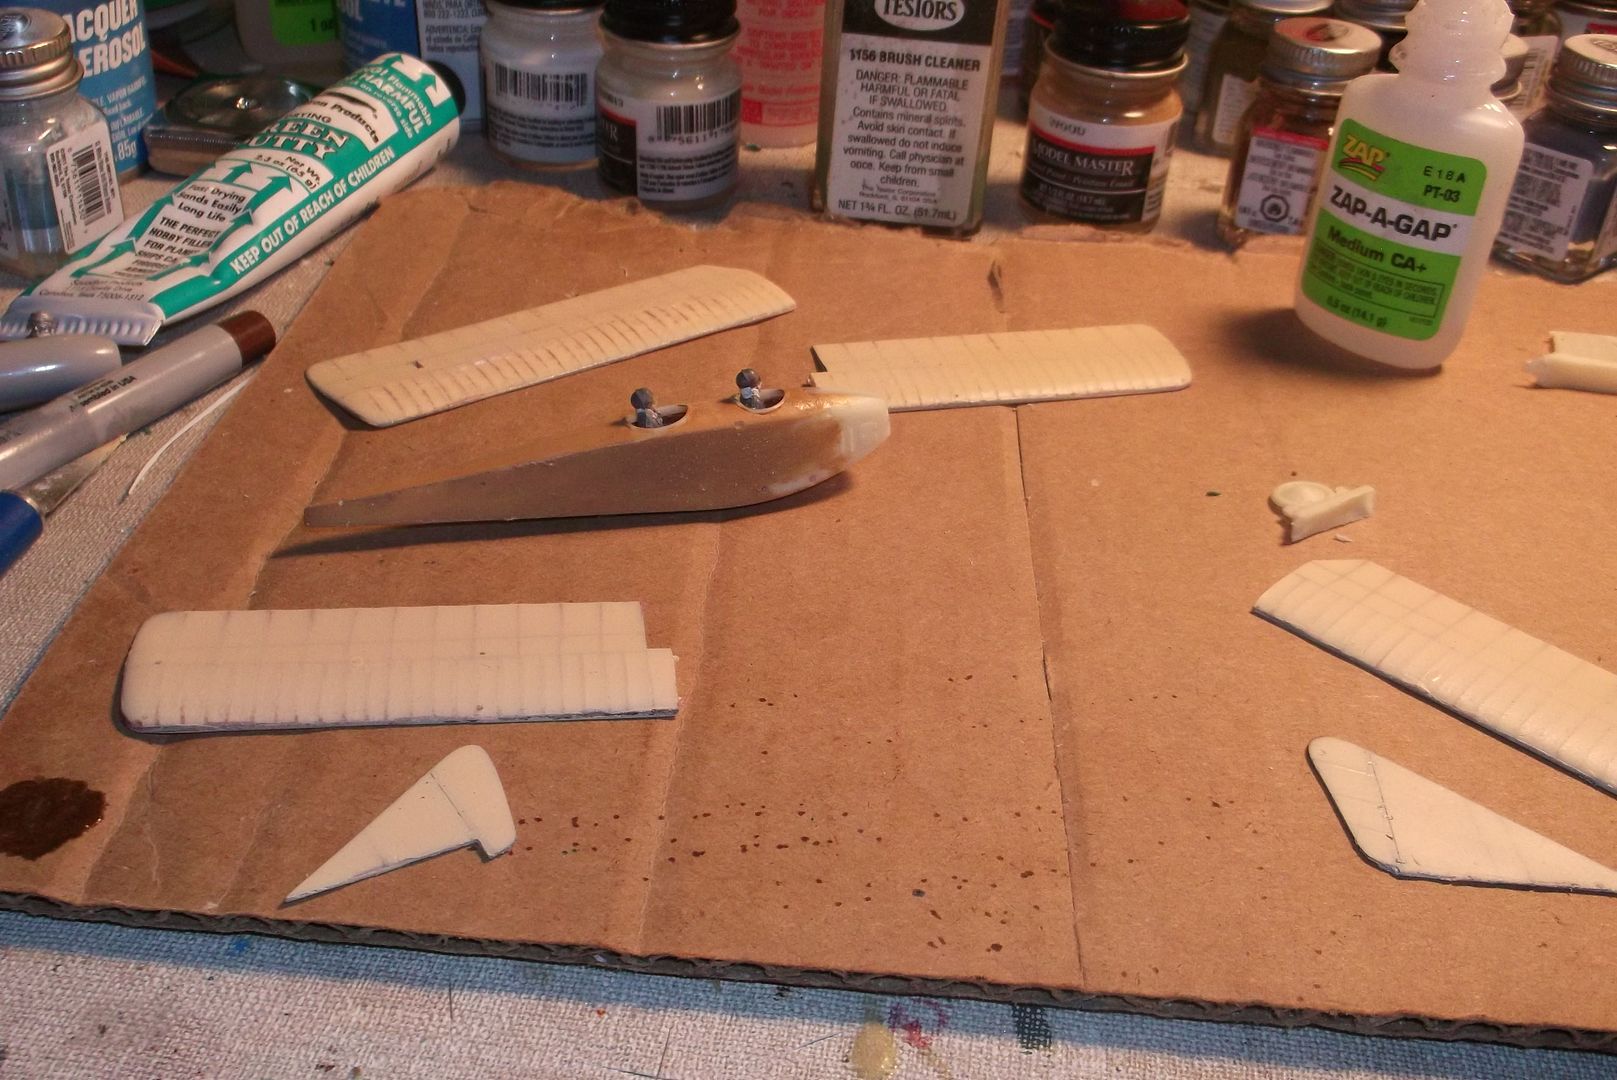 The fuselage is not actually painted. I used a wood-colored primer. It only took three coats of primer, a dab of putty and a moderate amount of sanding to get the seams out.
__________________
“Never do anything you can't take back.” —Rocky Russo |

|

|
 07-18-13, 12:00 PM
|
#11 |
|
Eternal Patrol
 |
Fuselage painted in wood grain, and lower wings mounted.
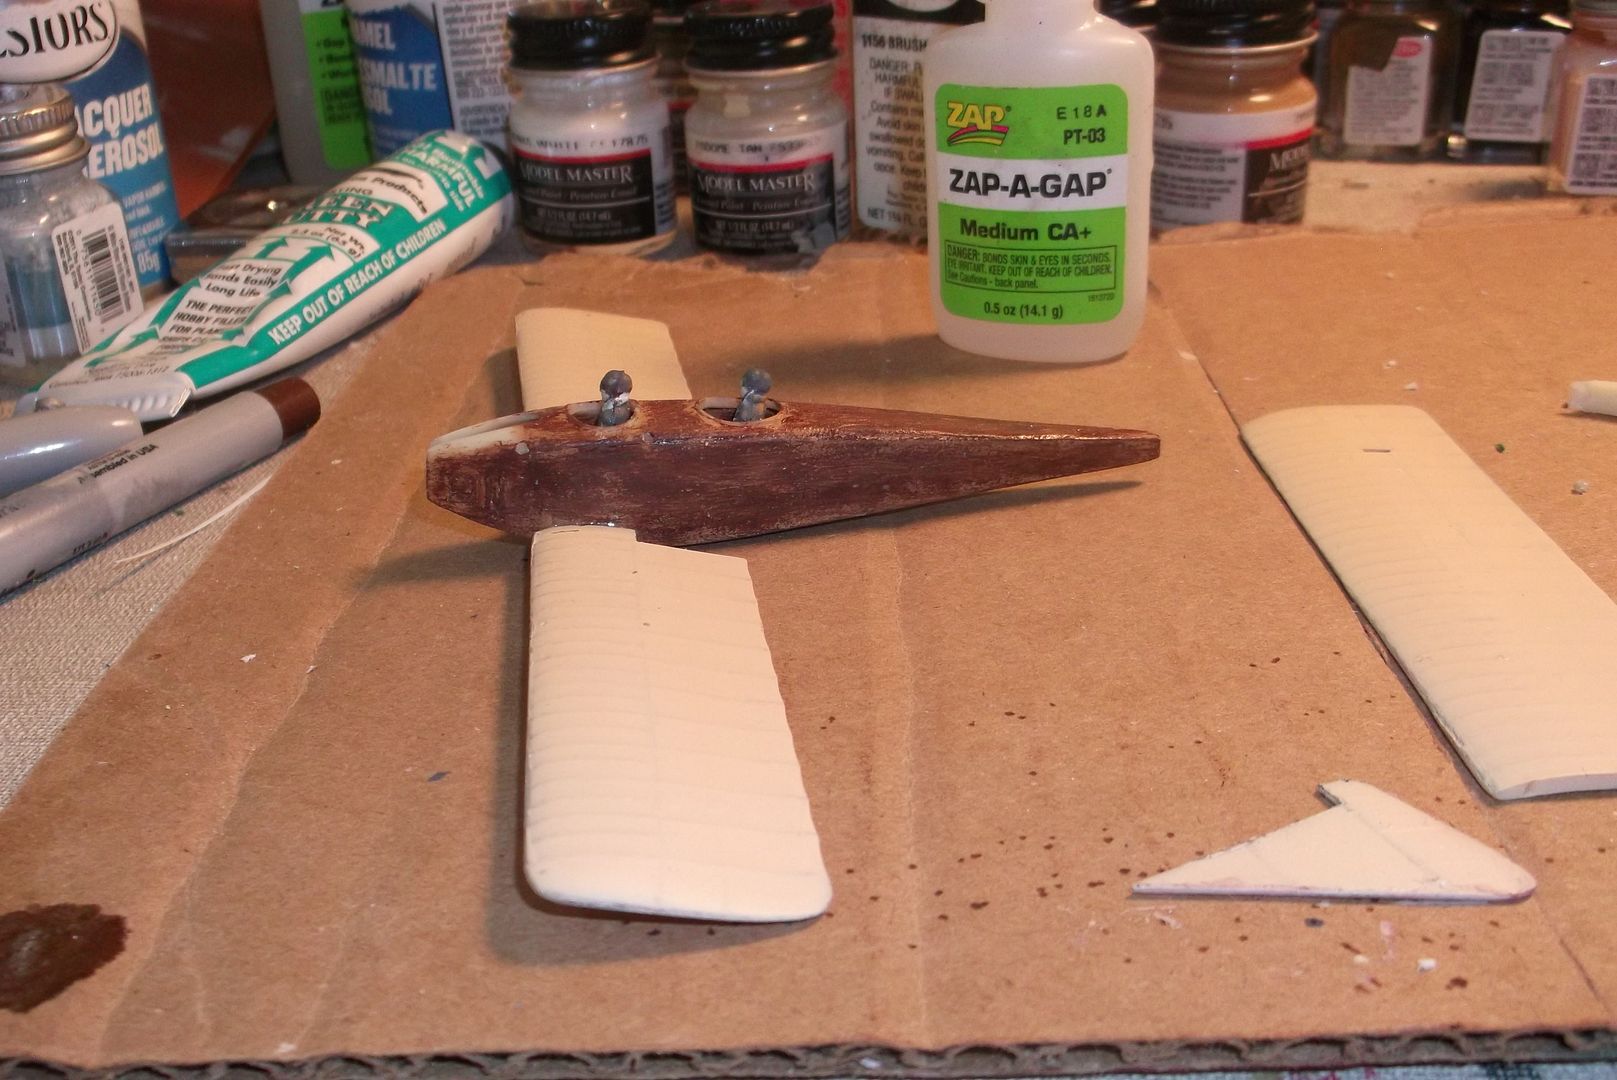 Looking at the picture the lower wings appear not to be straight. The Caudon and Voisin kits had a single-piece lower wing that slotted into the fuselage. This kit has separate wings, which makes it a bit more difficult. The bad news is that when using superglue it's hard to get it properly aligned before it dries. The good news is that it can be adjusted. It's not easy, but it's not impossible, and it has to be done.
__________________
“Never do anything you can't take back.” —Rocky Russo |

|

|
 07-18-13, 12:01 PM
|
#12 |
|
Chief of the Boat
|
Those magnificent men in their flying machines
|

|

|
 07-18-13, 12:26 PM
|
#13 |
|
Eternal Patrol
 |
When I think of WW1 and flight I think of The Blue Max.
__________________
“Never do anything you can't take back.” —Rocky Russo |

|

|
 07-17-13, 05:49 PM
|
#14 |
|
Eternal Patrol
 |
The Polish markings are postwar, so it will be 1914 German. I do have a SPAD 13 in postwar US markings, but the stars and stripes all over it were too cute to pass up.
__________________
“Never do anything you can't take back.” —Rocky Russo |

|

|
 |
| Tags |
| model |
|
|
