
|
|
SUBSIM: The Web's #1 resource for all submarine & naval simulations since 1997
 |
SUBSIM: The Web's #1 resource for all submarine & naval simulations since 1997 |
 05-14-16, 08:01 PM
|
#1036 |
|
Eternal Patrol
 |
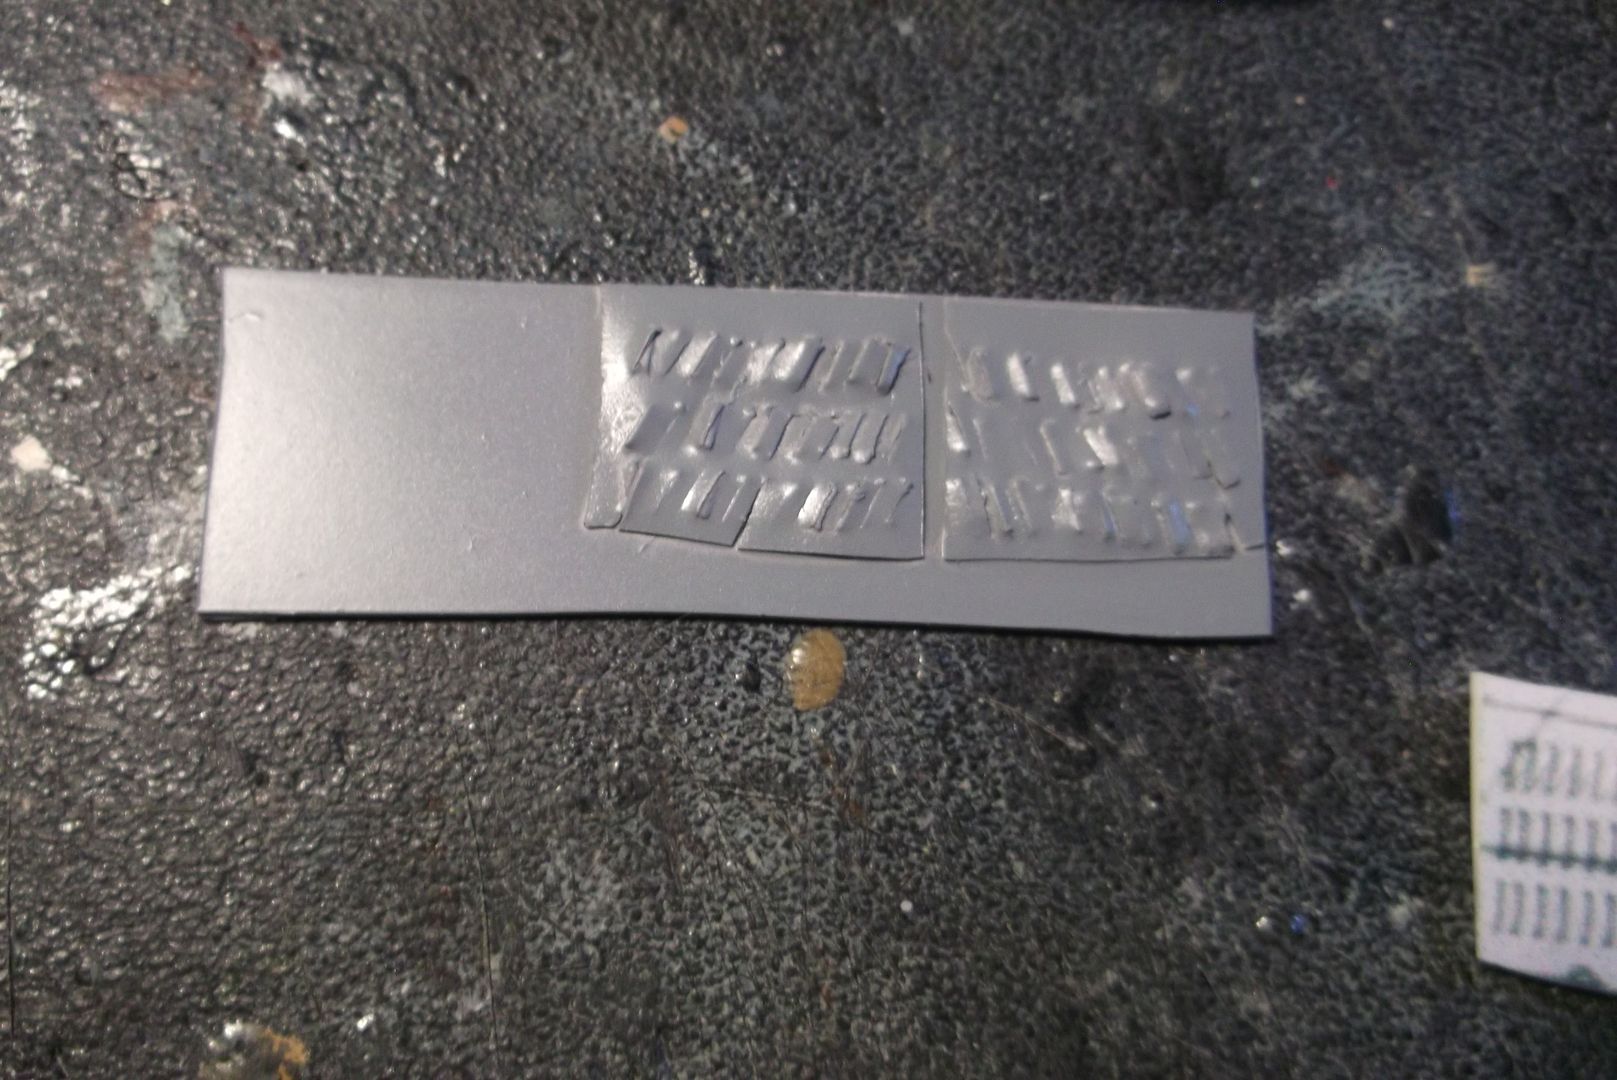
The frustration just keeps mounting. I need to get the nose done, but no matter how many times I try, I keep failing with the louvers. The best one I've done so far still looks lumpy and bad.
__________________
“Never do anything you can't take back.” —Rocky Russo |

|

|
 05-27-16, 09:52 PM
|
#1037 |
|
Eternal Patrol
 |
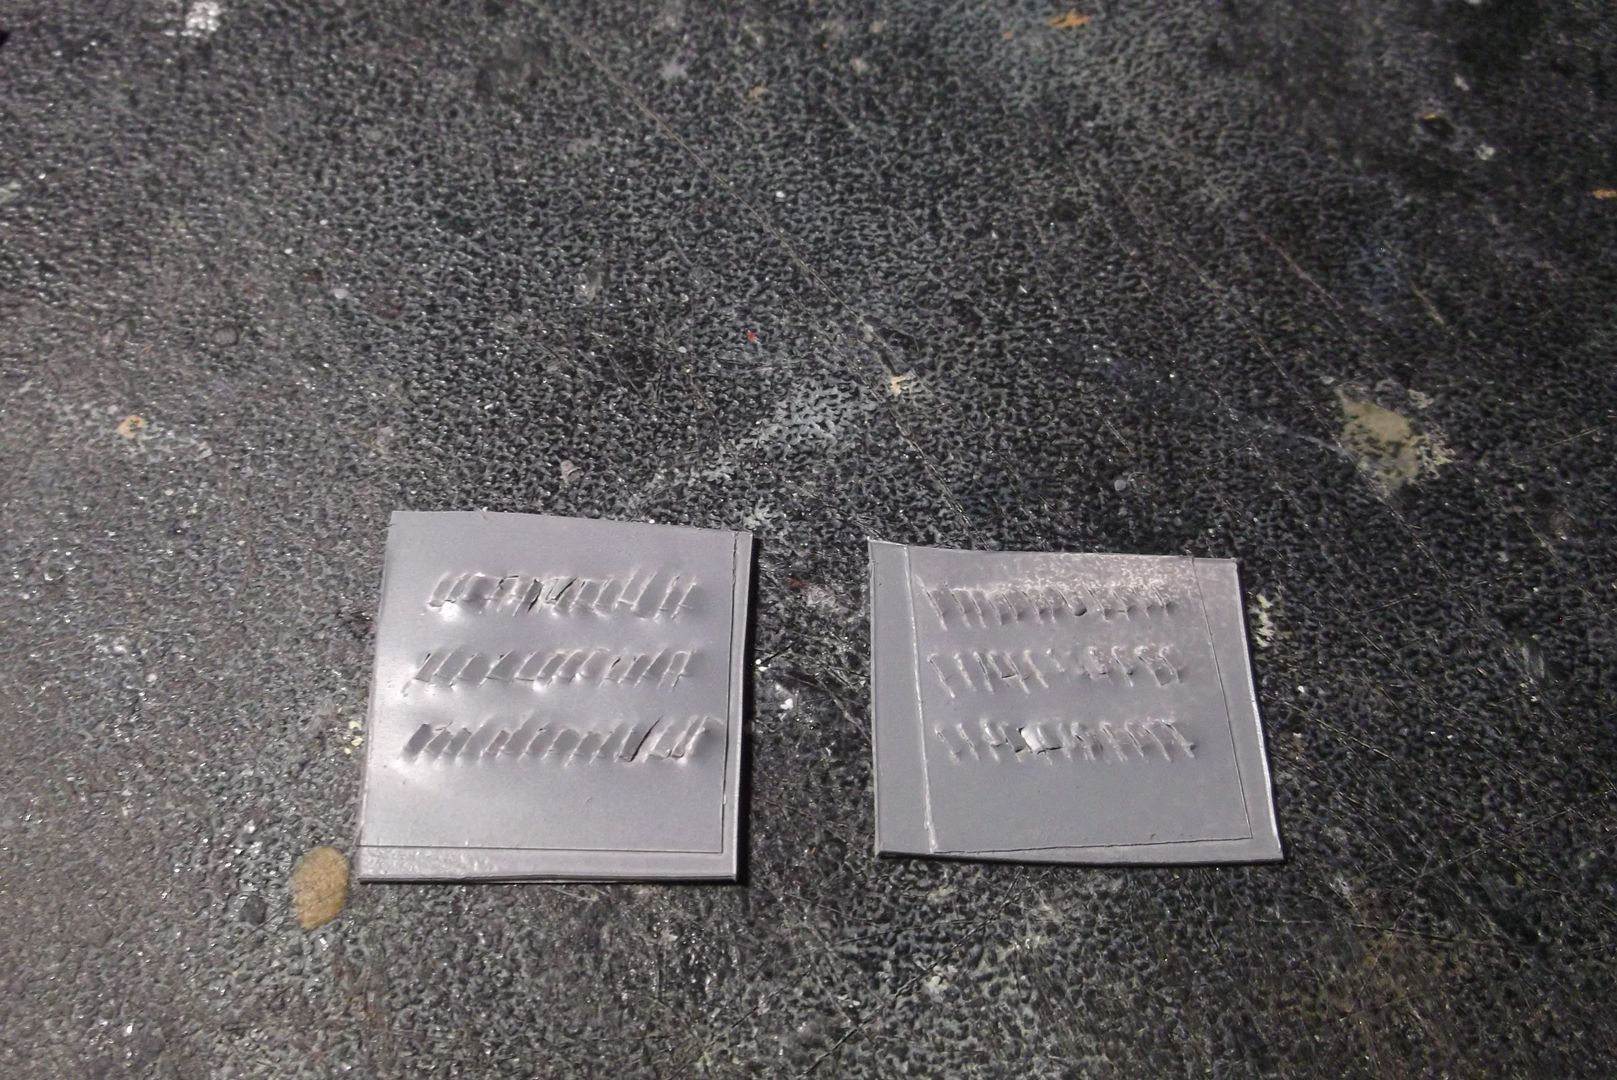
I think I finally have a set I can live with. The picture shows them as still not perfect, but each row is only 2mm high and 14mm long. In anything but extreme close-up they look okay. I only have eighteen days left to get it done.
__________________
“Never do anything you can't take back.” —Rocky Russo |

|

|
 05-28-16, 07:30 AM
|
#1038 |
|
Chief of the Boat
|
Onward and upward....never say never
__________________
Wise men speak because they have something to say; Fools because they have to say something.
Oh my God, not again!!  GWX3.0 Download Page - Donation/instant access to GWX (Help SubSim) |

|

|
 05-28-16, 08:42 PM
|
#1039 |
|
Eternal Patrol
 |
__________________
“Never do anything you can't take back.” —Rocky Russo |

|

|
 05-29-16, 08:46 PM
|
#1040 |
|
Eternal Patrol
 |
__________________
“Never do anything you can't take back.” —Rocky Russo |

|

|
 06-01-16, 08:13 PM
|
#1041 |
|
Eternal Patrol
 |
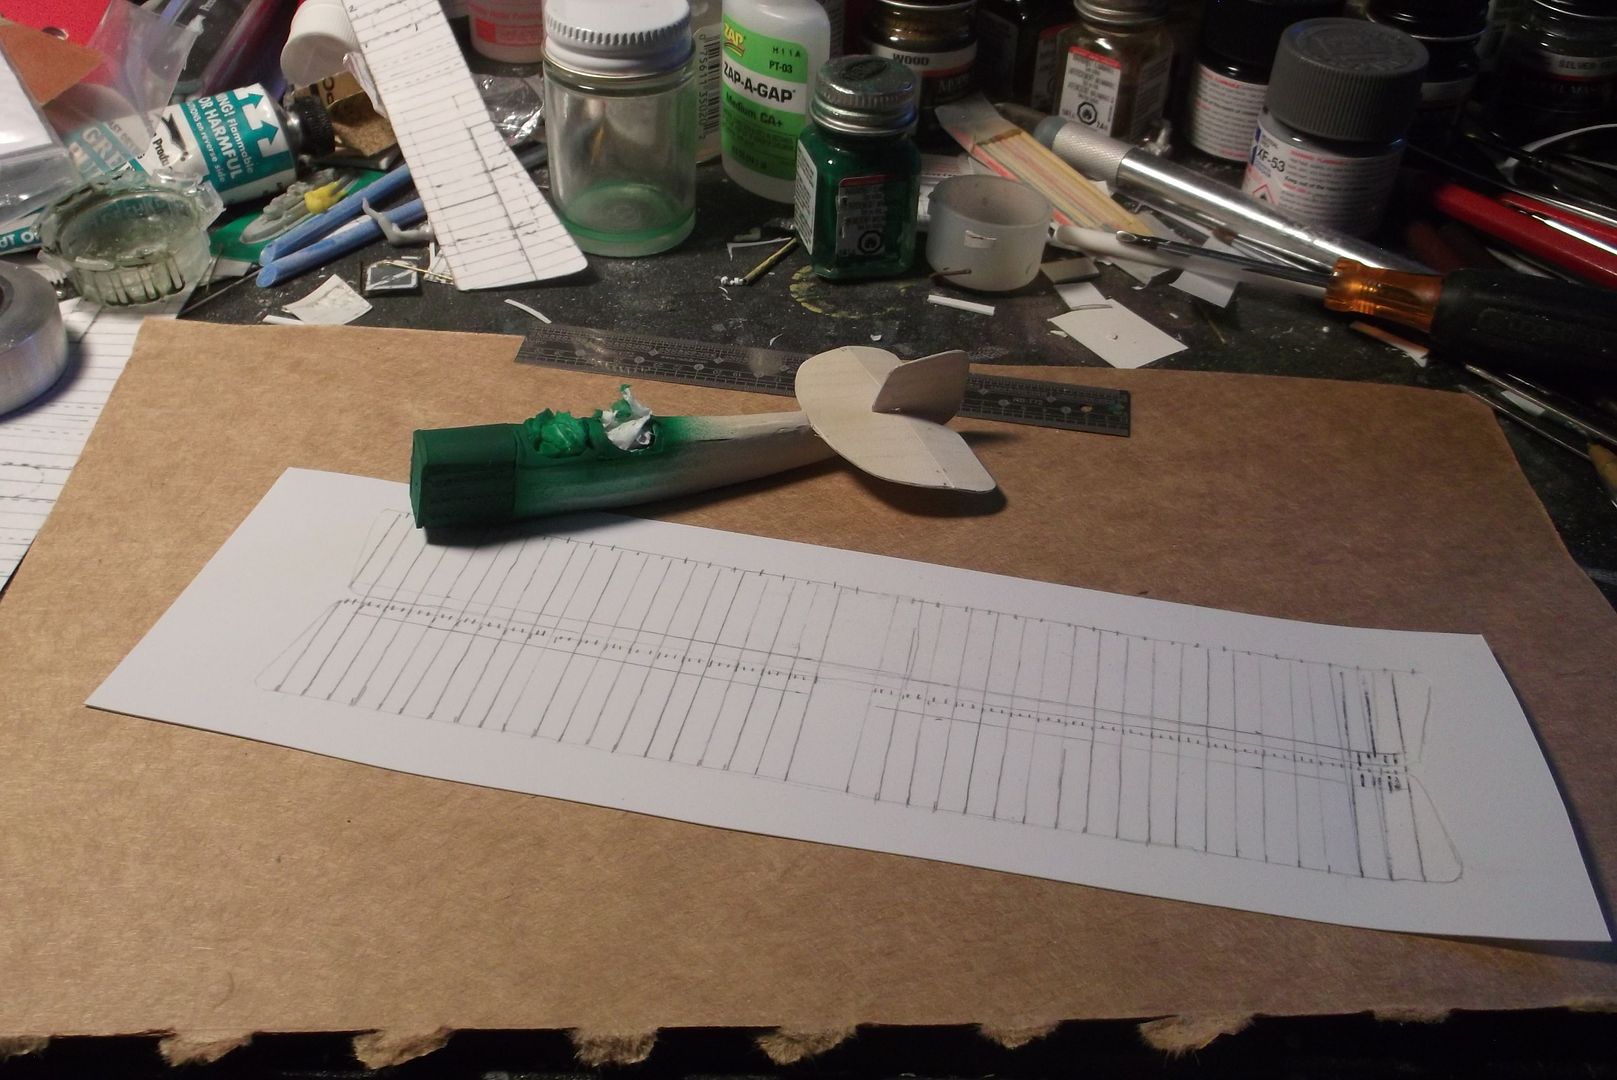
Spent the last two days trimming the cockpit openings, getting it wrong, removing and adding new panels. Today I did a test shot for the green nose and started working on the lower wing.
__________________
“Never do anything you can't take back.” —Rocky Russo |

|

|
 06-04-16, 04:46 PM
|
#1042 |
|
Eternal Patrol
 |
First step for the lower wing is scribing all the rib lines from the inside, including the little secondary riblets at the leading edge. This made the plastic curl up.
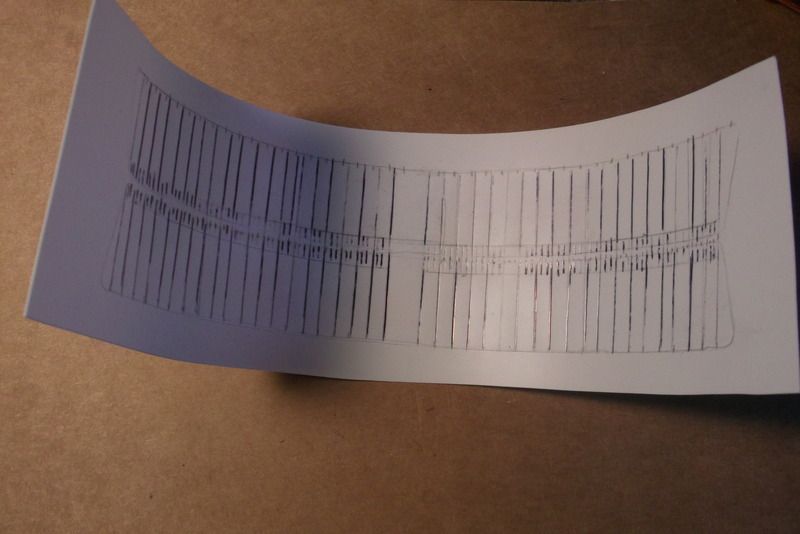 Second came the internal bracing. This is cut from some of the RoseWings wing stock I've had for years. 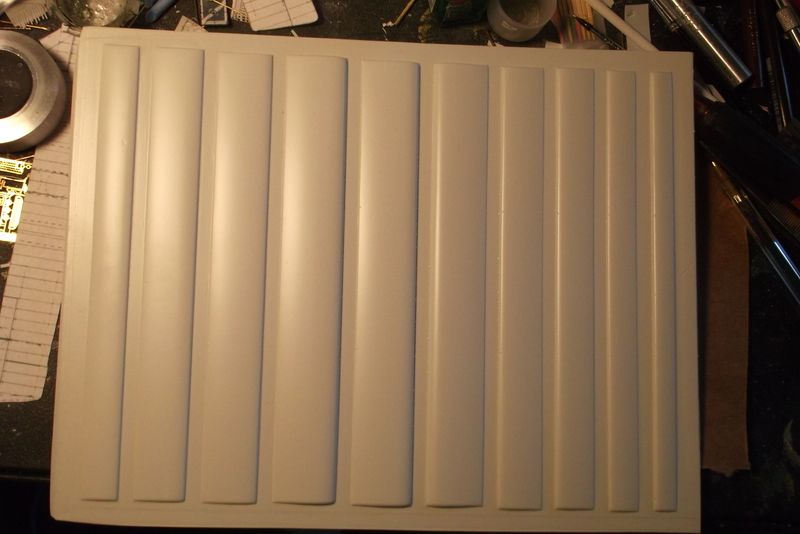 The wing stock is made to represent wings for World War I aeroplanes, so they have that characteristic curved bottoms. The Boeing had a more modern flat bottom, so I had to cut a strip of thick plastic stock to fill the inside of the wing. 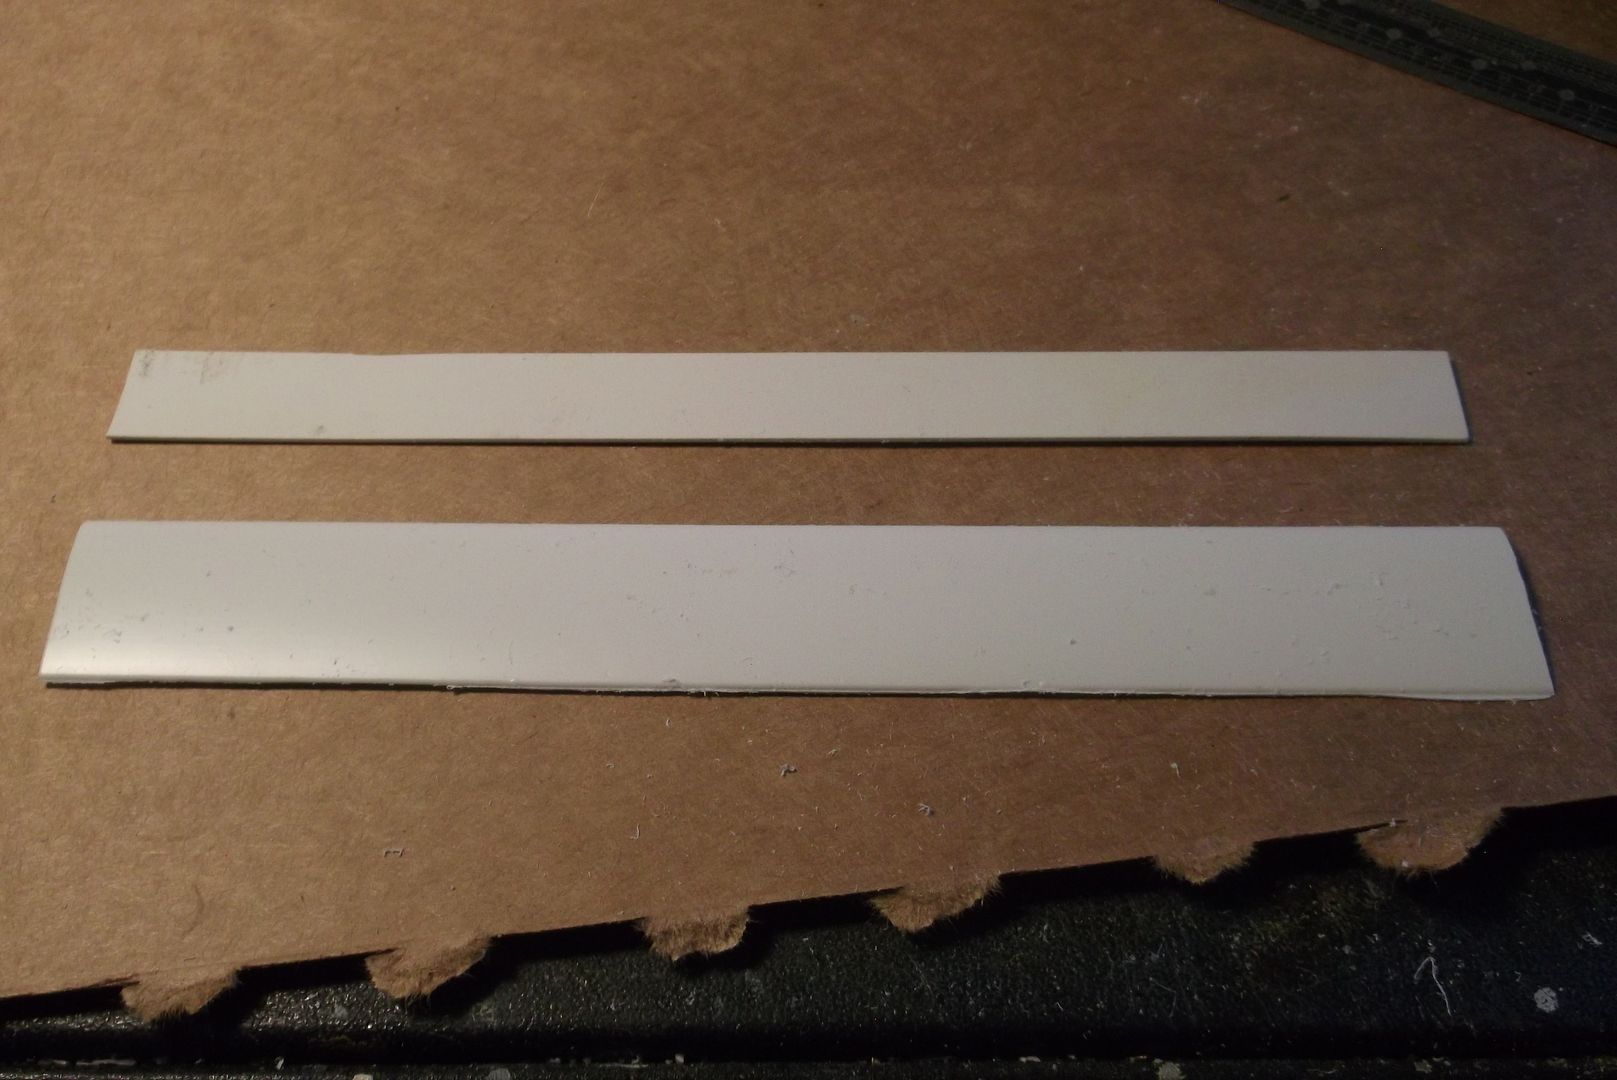 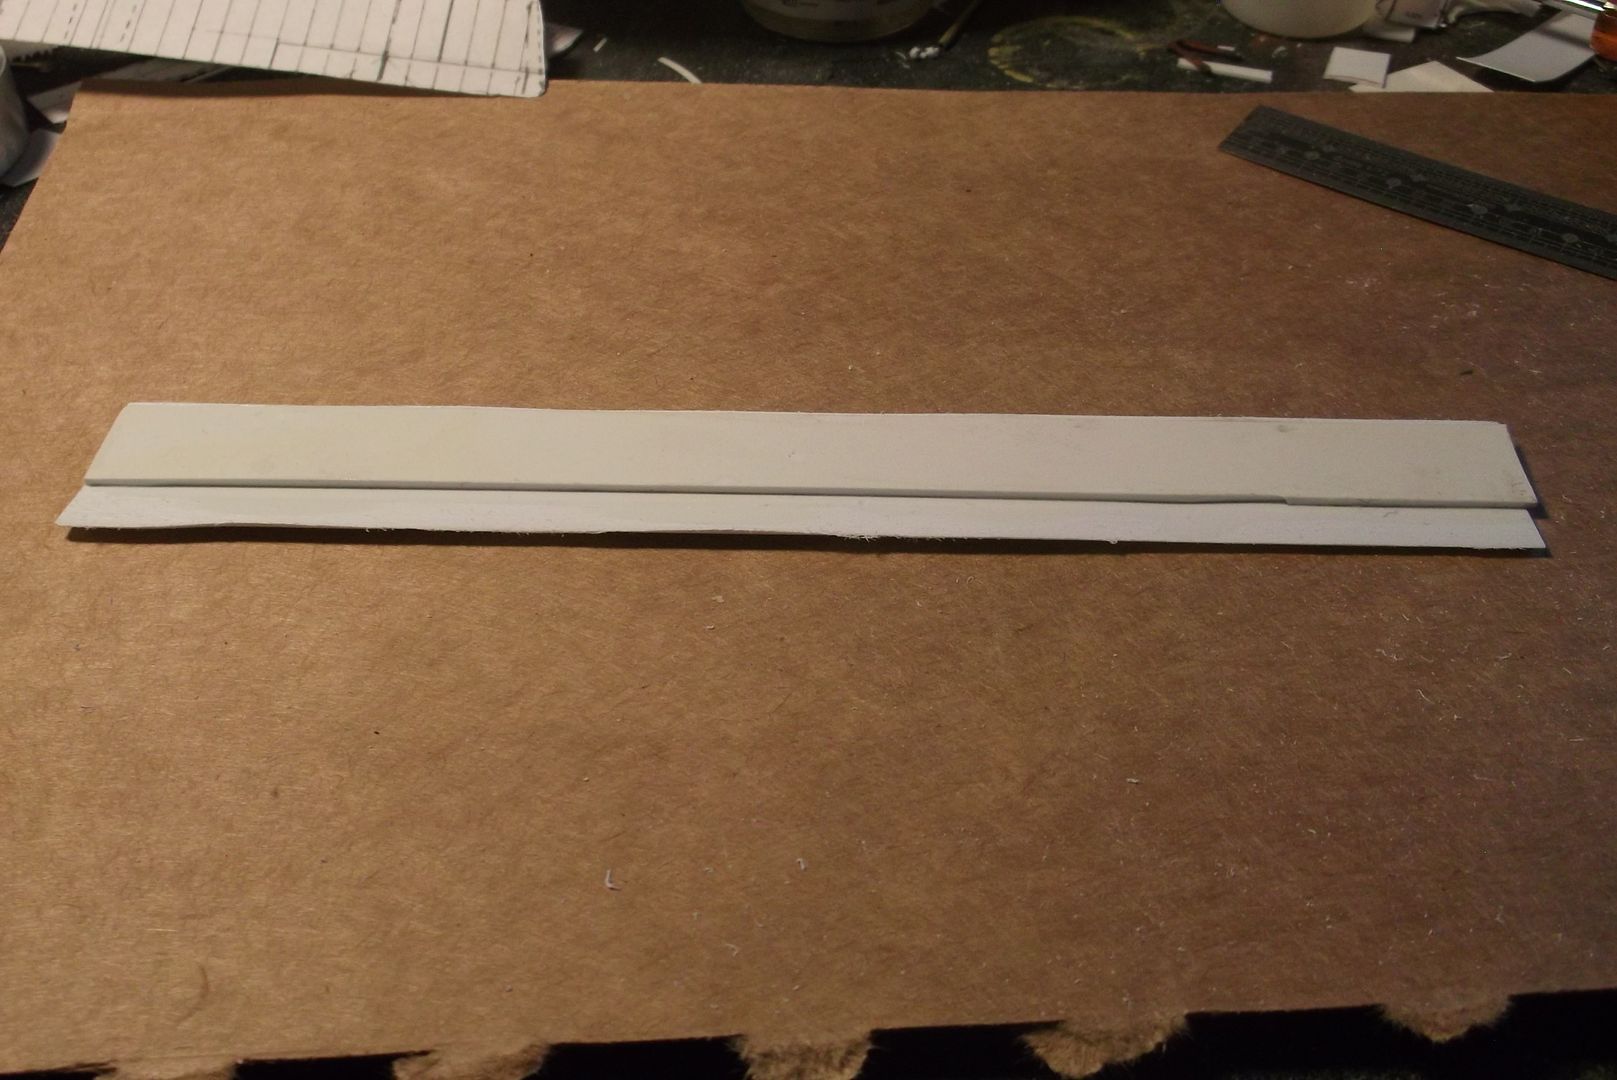 Once the insert was dry the whole thing is glued to the bottom half of the wing. Then comes glue applied to the leading edge to soften it up for easy bending. Then the top is folded over. 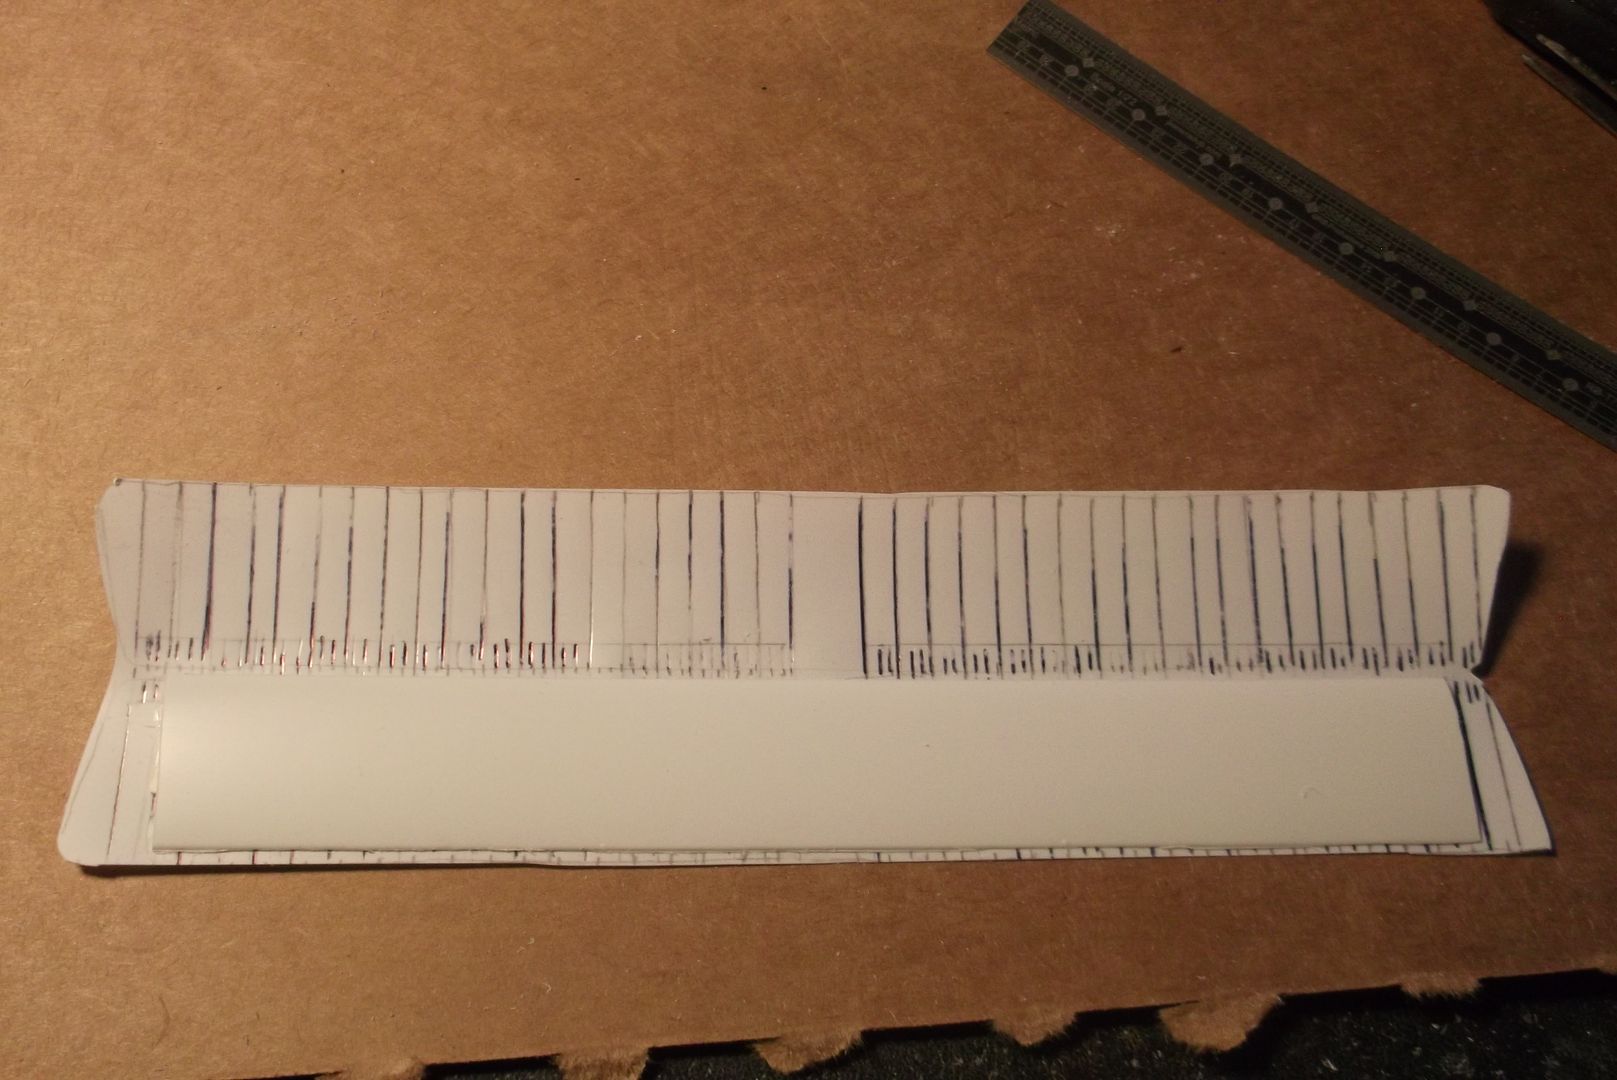 I had a couple of choices here. I could cut the center section out and run brass wire through the fuselage for support for the two halves. I could cut the wing in half, make the right sized holes and put the two halves through the fuselage. I chose the third option: cut out the forward edge to bypass the internal bulkhead. The aft cutout is because the back part of the wing was cut out like that. This left a slot in the fuselage the whole wing could slide into. 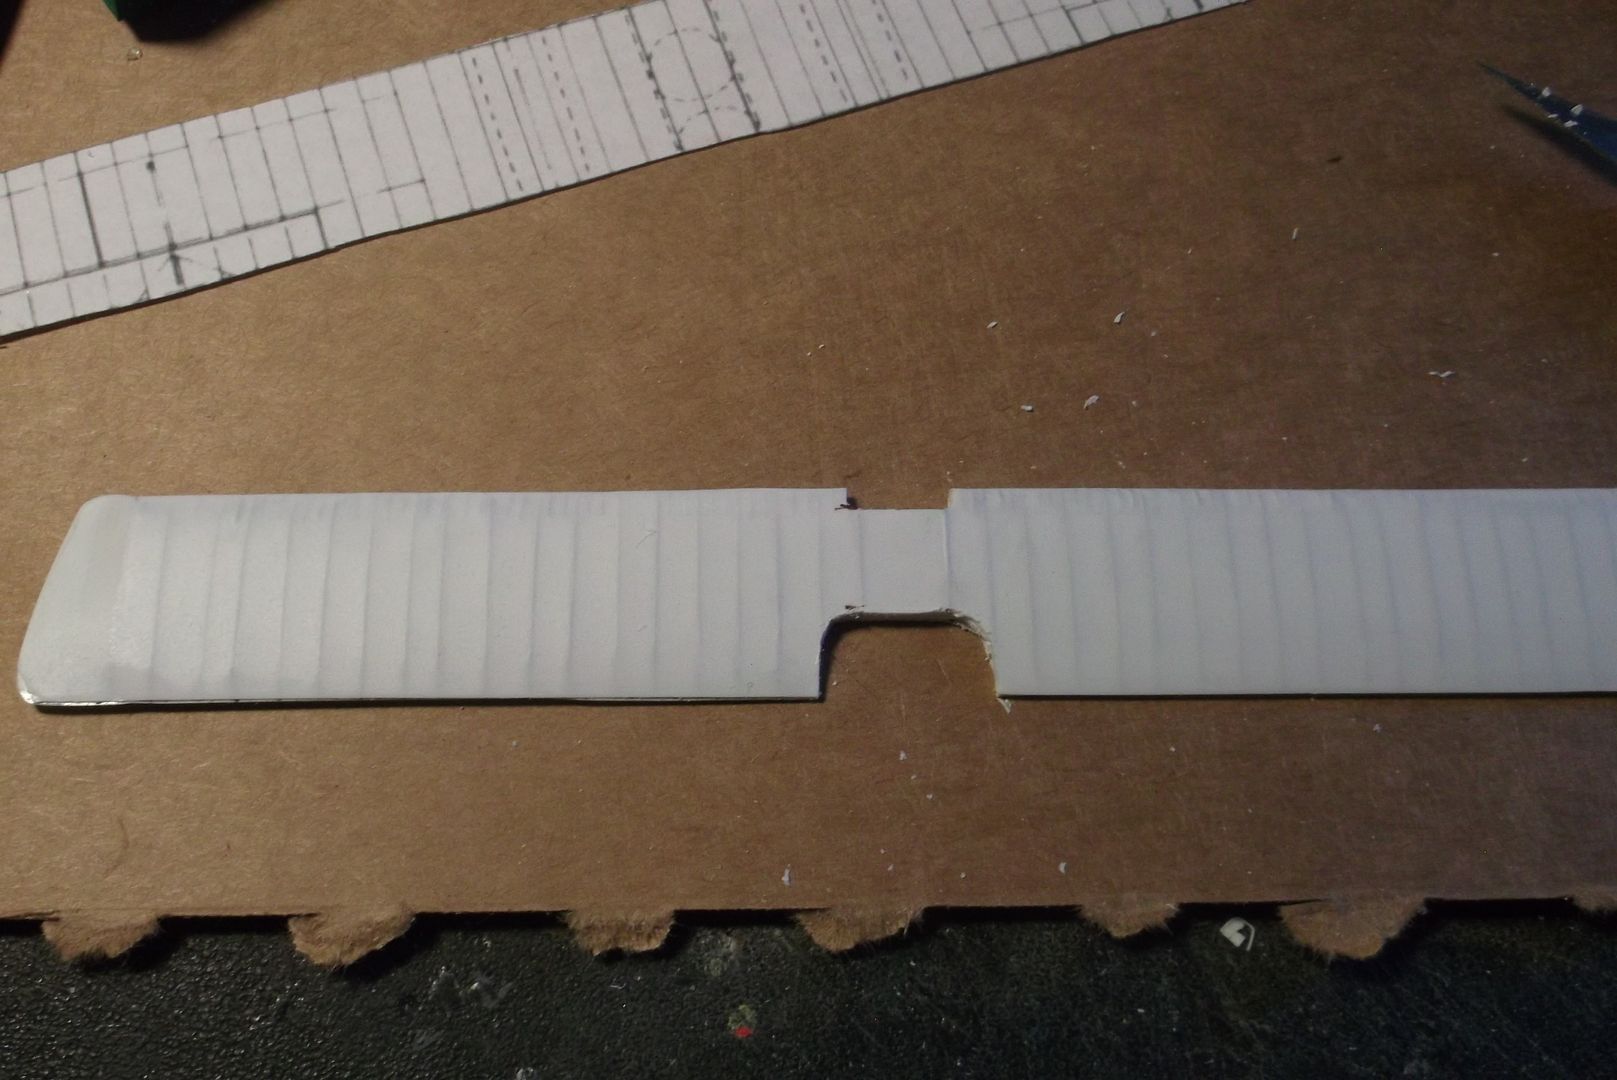 And the wing is mounted. This method leaves an exposed area that has to be re-skinned, but the wing remains in one piece and very solid. 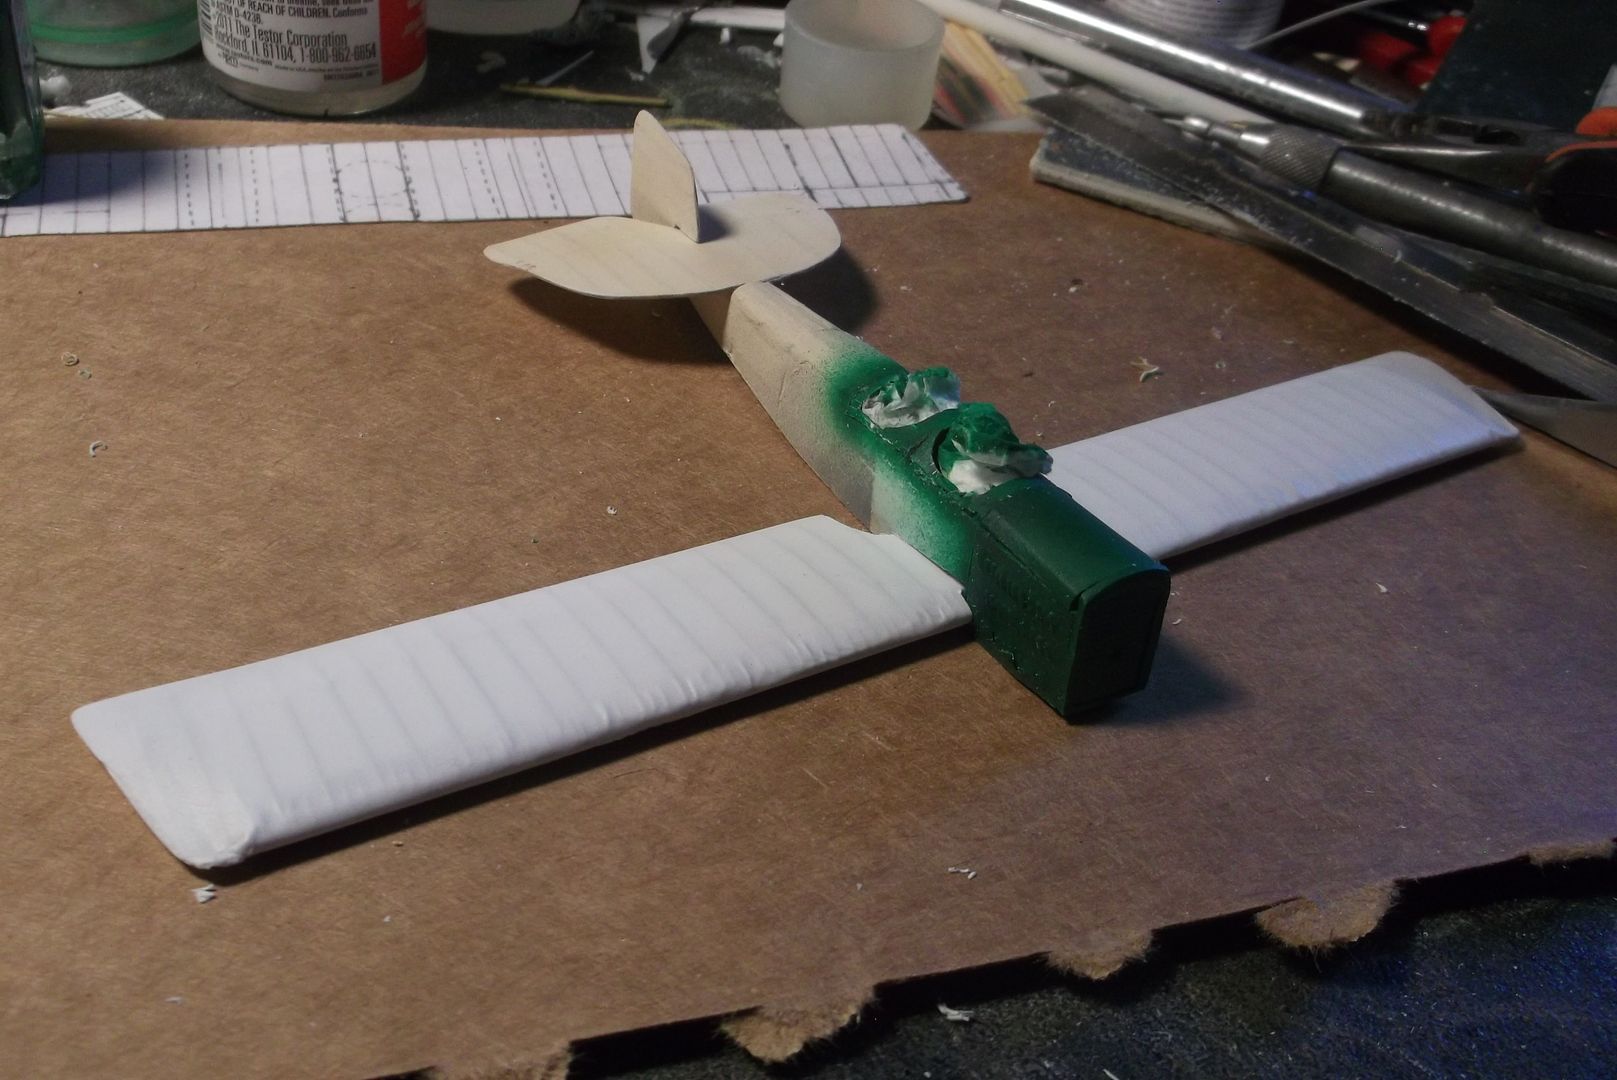
__________________
“Never do anything you can't take back.” —Rocky Russo |

|

|
 06-06-16, 05:40 PM
|
#1043 |
|
Eternal Patrol
 |
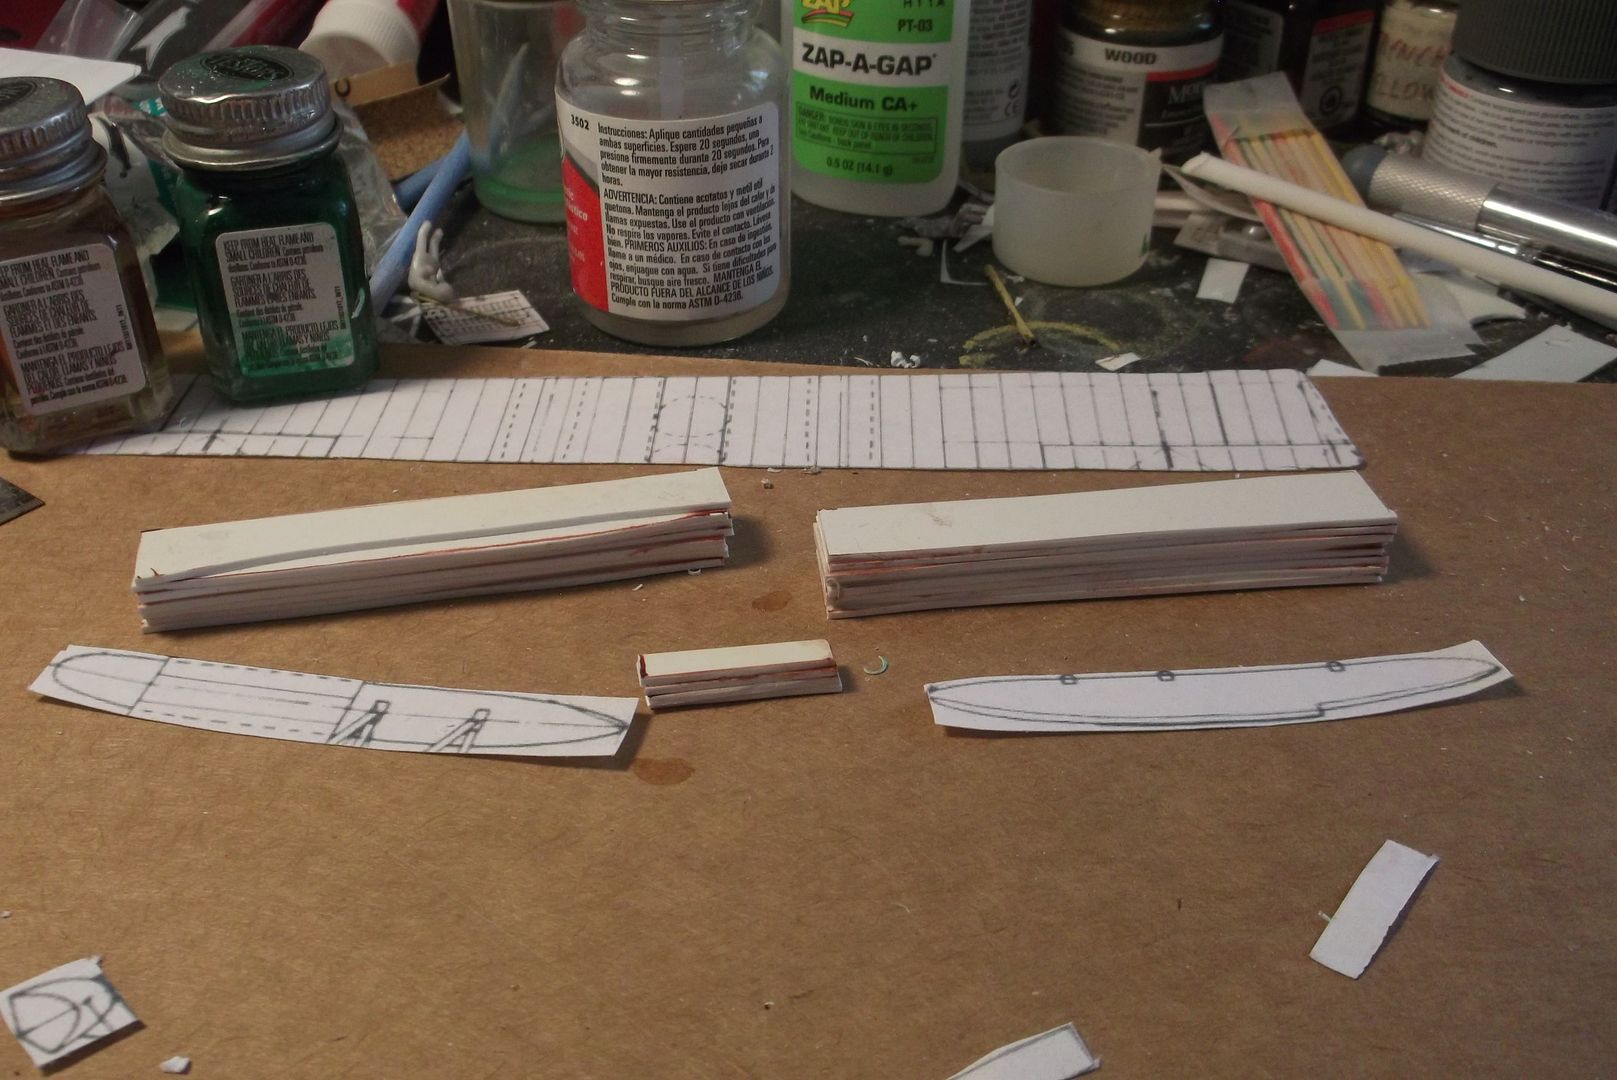
I realized some time ago I was going to have to make my own floats, as the many models of seaplanes available are all from a later period, and the floats are such a different shape that I could spend a lot of money on a lot of kits and never find one that would work. I had some Styrofoam packaging I tried, but I seem to lack the skills to work with it. I ended up laminating several layers of thick plastic together.
 After letting it dry overnight I spent several hours today with a grinder attachment for my Dremel tool, and a few more with a sanding block. 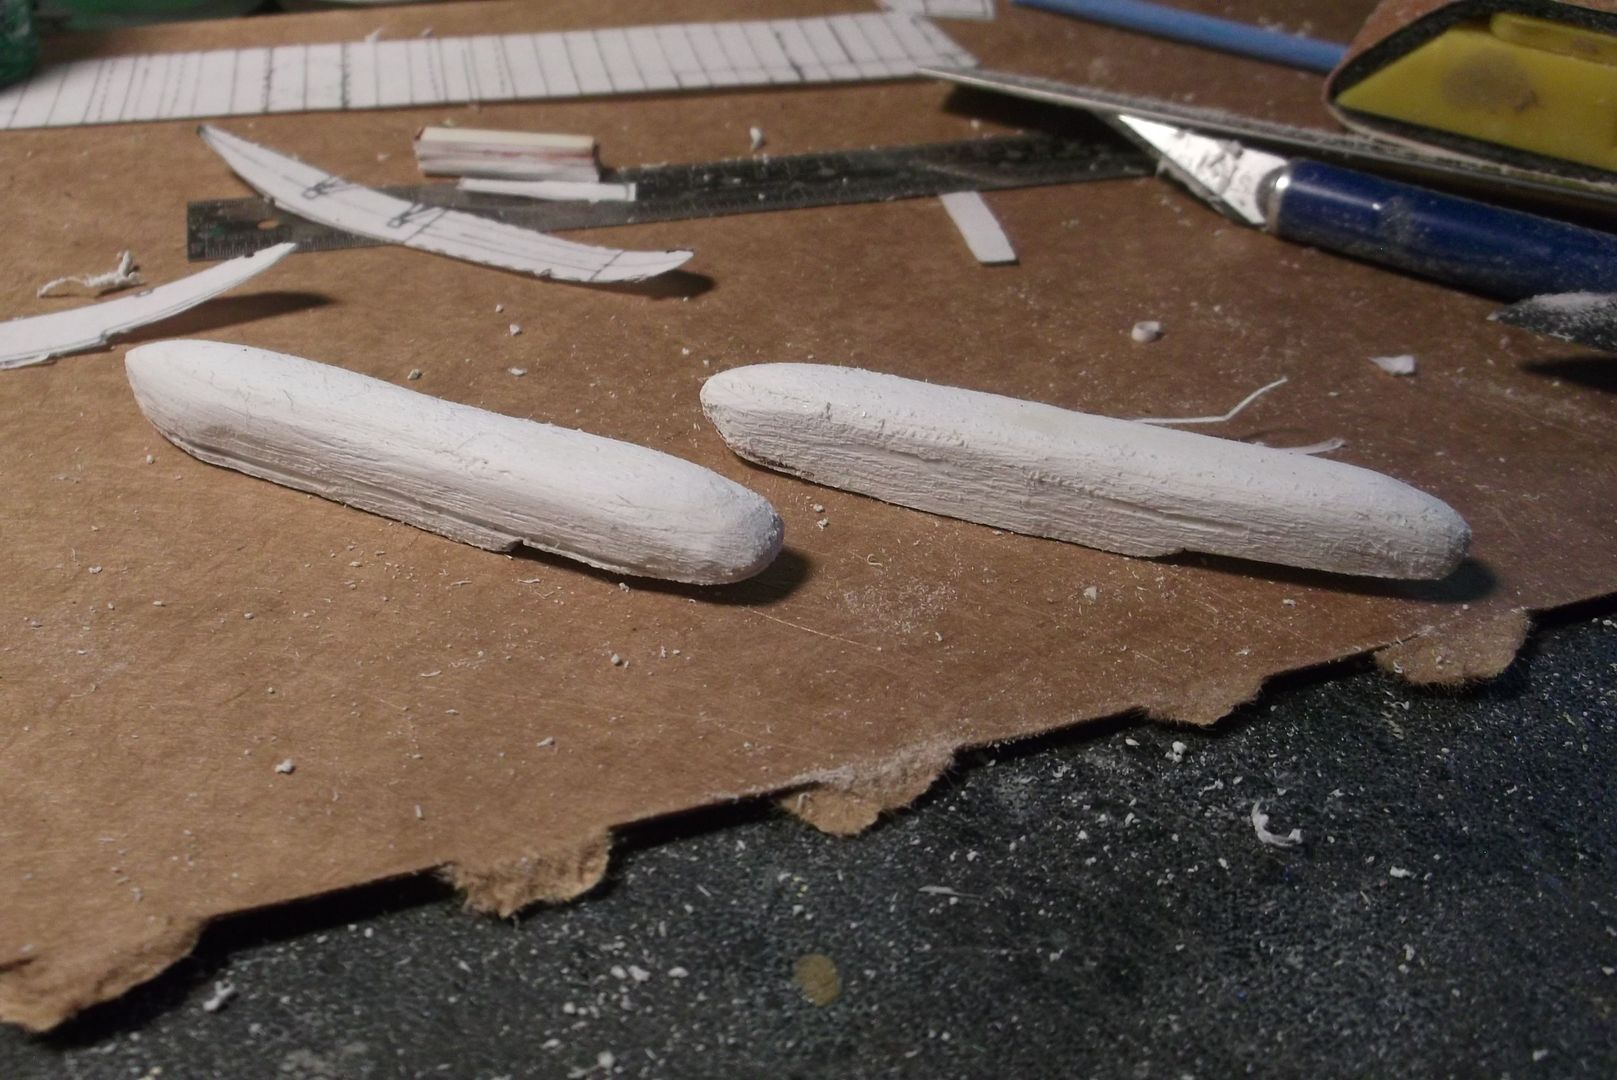 It's going to take a lot more time before it's done, but they're slowly taking on the right shape.
__________________
“Never do anything you can't take back.” —Rocky Russo |

|

|
 06-11-16, 09:23 PM
|
#1044 |
|
Eternal Patrol
 |
Four days shaping the floats. Sand a little. Put on a primer coat. Let it dry two hours. Sand a little more. Primer coat. Wait two hours...
Yesterday the floats were done and I sprayed the base coat on. While I was giving it twenty-four hours to dry I spent today building the upper wing. Same technique as the lower. No time to finish the floats, so here it sits waiting for tomorrow. 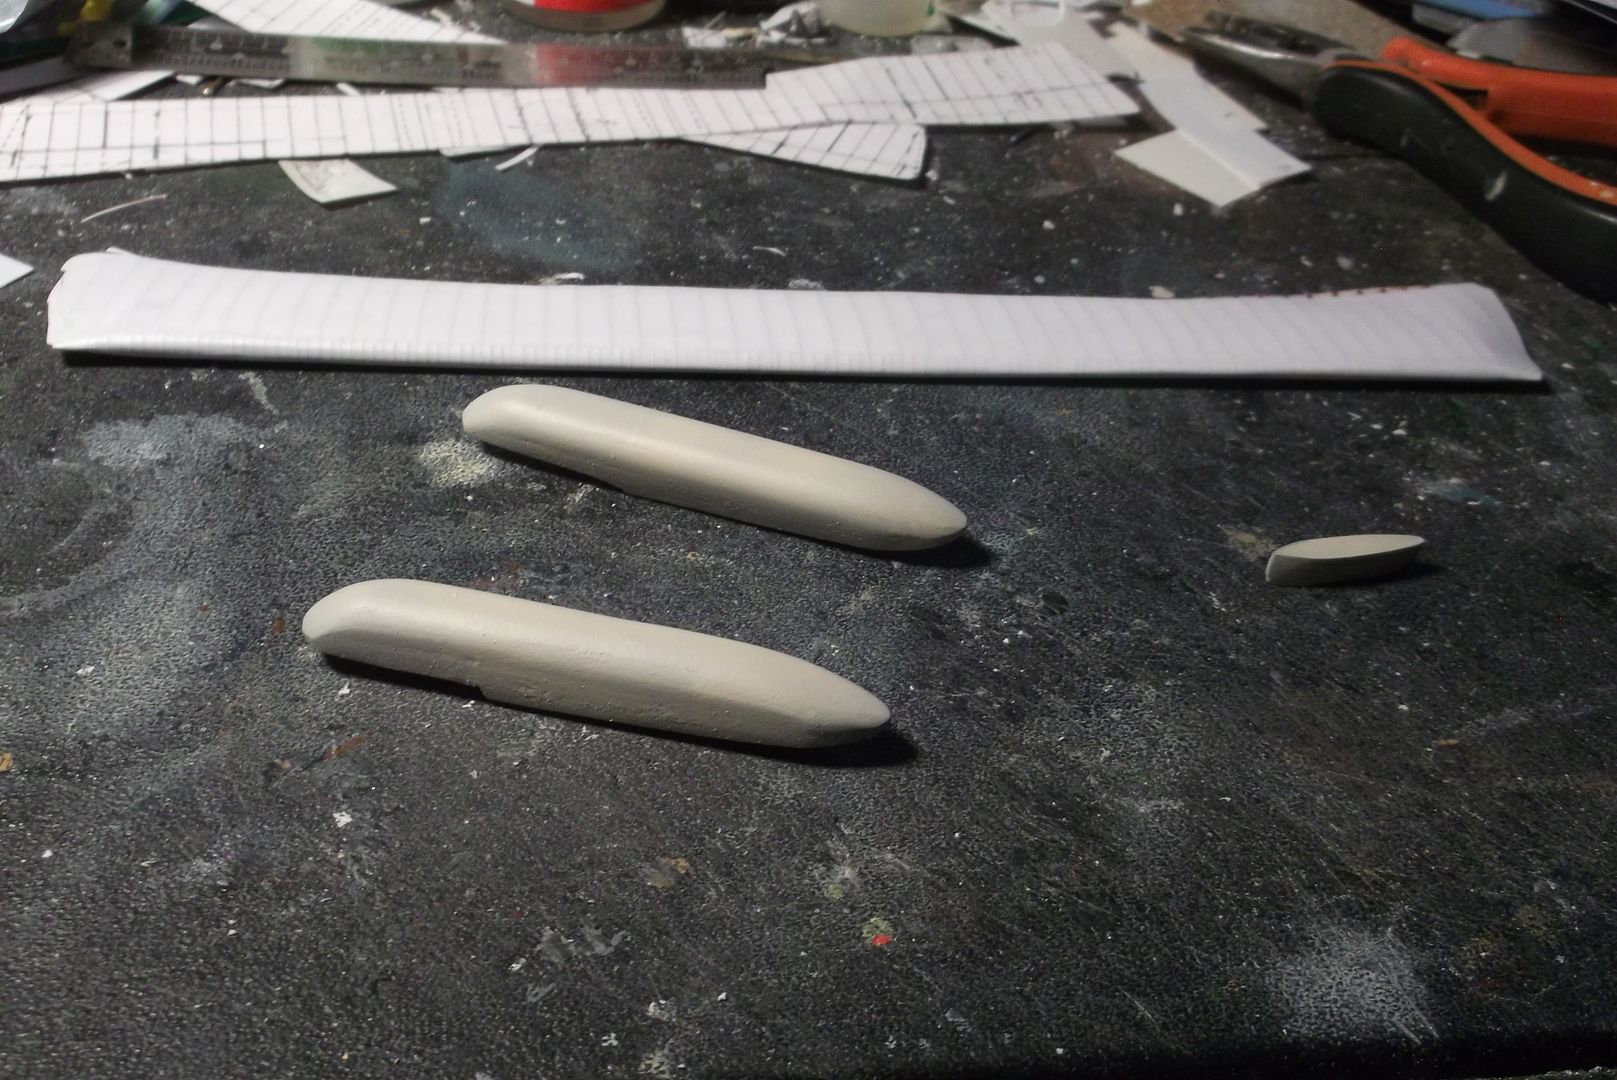
__________________
“Never do anything you can't take back.” —Rocky Russo |

|

|
 06-12-16, 09:14 PM
|
#1045 |
|
Eternal Patrol
 |
__________________
“Never do anything you can't take back.” —Rocky Russo |

|

|
 06-13-16, 09:48 PM
|
#1046 |
|
Eternal Patrol
 |
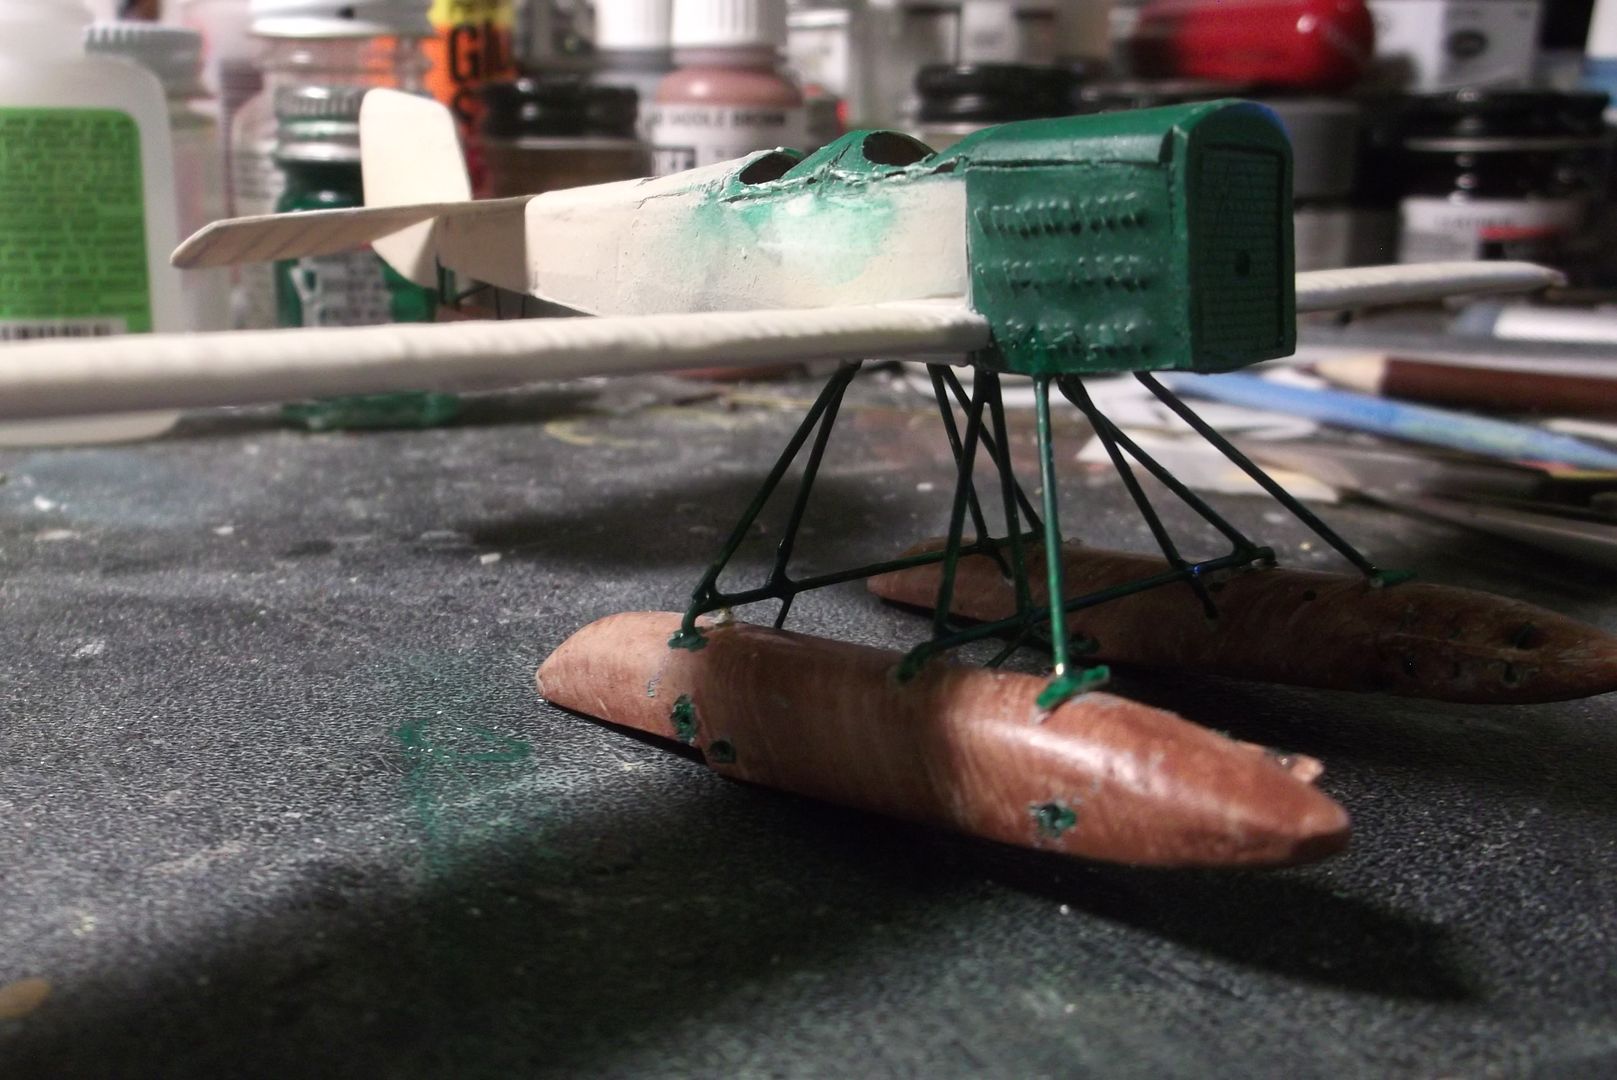
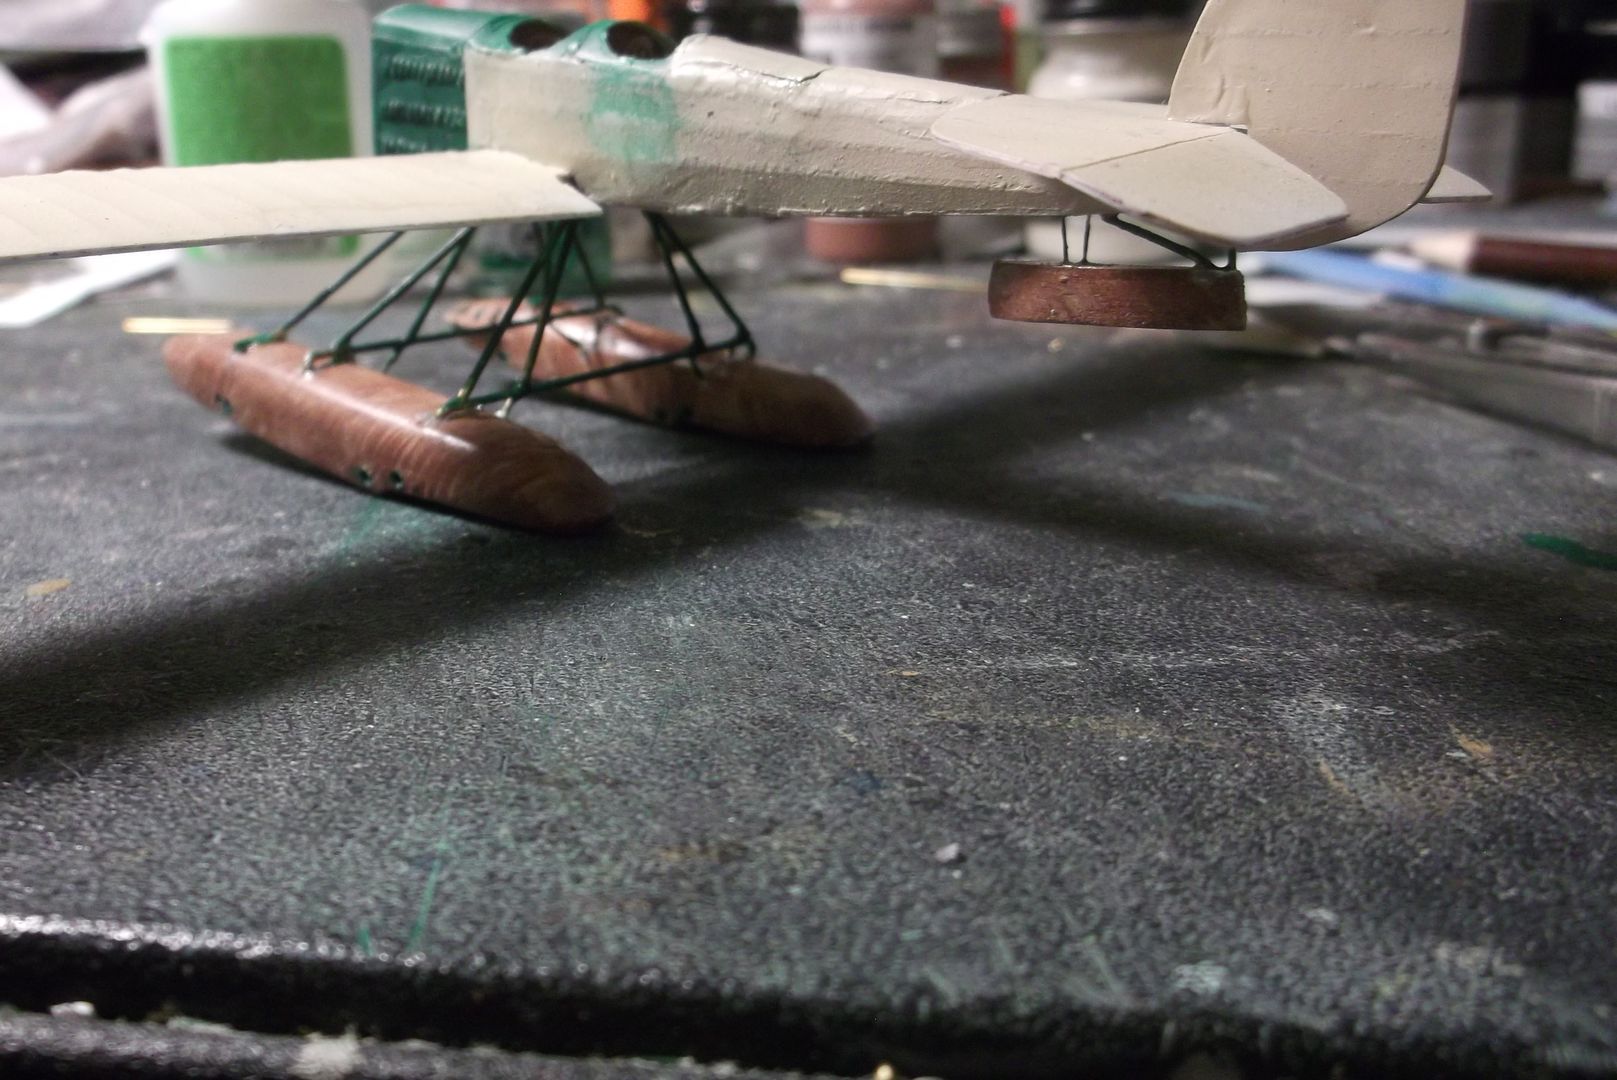
Floats mounted. Next is the top wing, rigging and a whole lot of detailing. And only two days to go.
__________________
“Never do anything you can't take back.” —Rocky Russo |

|

|
 06-14-16, 05:32 AM
|
#1047 |
|
Chief of the Boat
|
Looking good matey, looking good

__________________
Wise men speak because they have something to say; Fools because they have to say something.
Oh my God, not again!!  GWX3.0 Download Page - Donation/instant access to GWX (Help SubSim) |

|

|
 06-14-16, 09:49 AM
|
#1048 |
|
Ocean Warrior
 Join Date: Mar 2004
Posts: 3,278
Downloads: 0
Uploads: 0
|
Louvers turned out excellent.
__________________
Looks like we need a Lemon Law for Presidents now! DNC sold us a dud, and they knew it. |

|

|
 06-15-16, 07:48 PM
|
#1049 |
|
Eternal Patrol
 |
Best Laid Plans etc...
I had hoped to have the top wing mounted yesterday and the rigging started today. When I drilled the holes for the cabanes it ripped up the super-thin top decking around the forward cockpit. I put the cabanes in, rebuilt the decking and got ready to put the wing on. The cabanes were too short. I ripped them out, which destroyed the new decking and put in new, longer cabanes. I realized that cutting them would make them uneven, and trimming brass wire is a real pain. I also realized that if I drilled all the way through the wing I could slip it over the cabanes and glue in the struts, which came from a kit. After that I could cut the tops of the cabanes flush with the wing and seal it over. Brass wire is almost impossible to trim flush like that, so I went with plastic. I also set it aside and called it a night. Today I rebuilt the decking again and did all the work as described above. The control horns still aren't mounted, and the rigging isn't started, and today is the 100th anniversary of the plane's first flight. It's now officially late. It'll still be done, just not when I wanted. 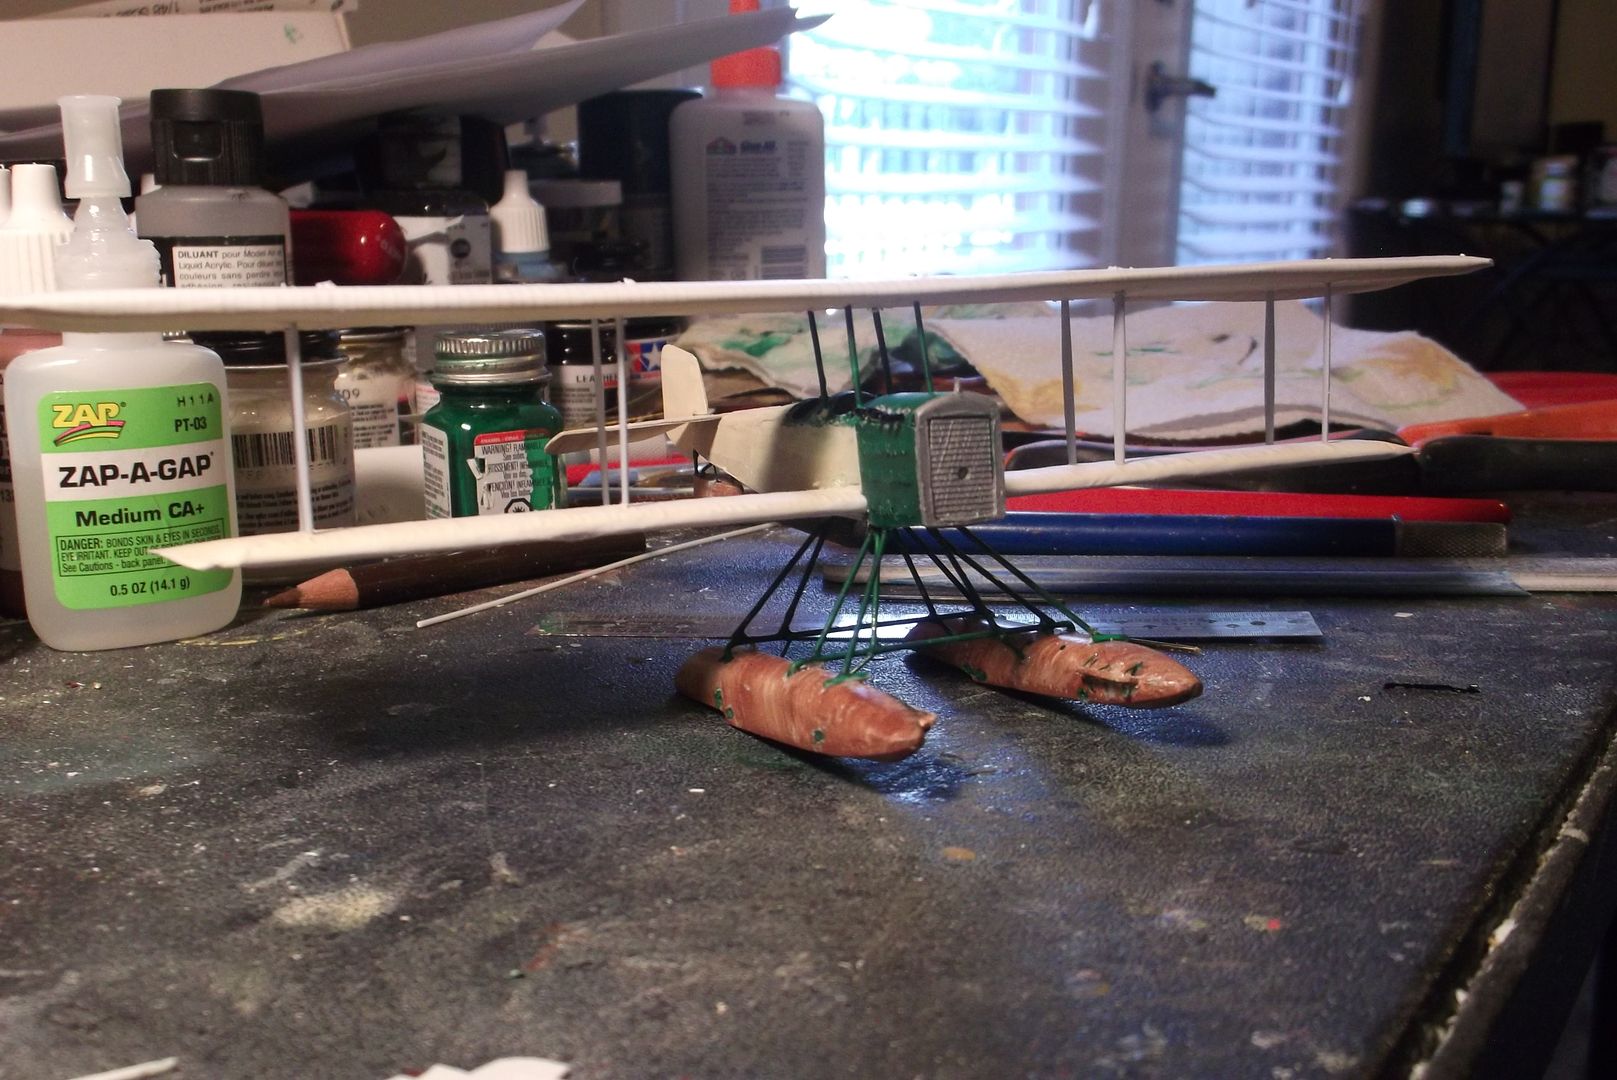
__________________
“Never do anything you can't take back.” —Rocky Russo |

|

|
 06-21-16, 10:06 PM
|
#1050 |
|
Eternal Patrol
 |
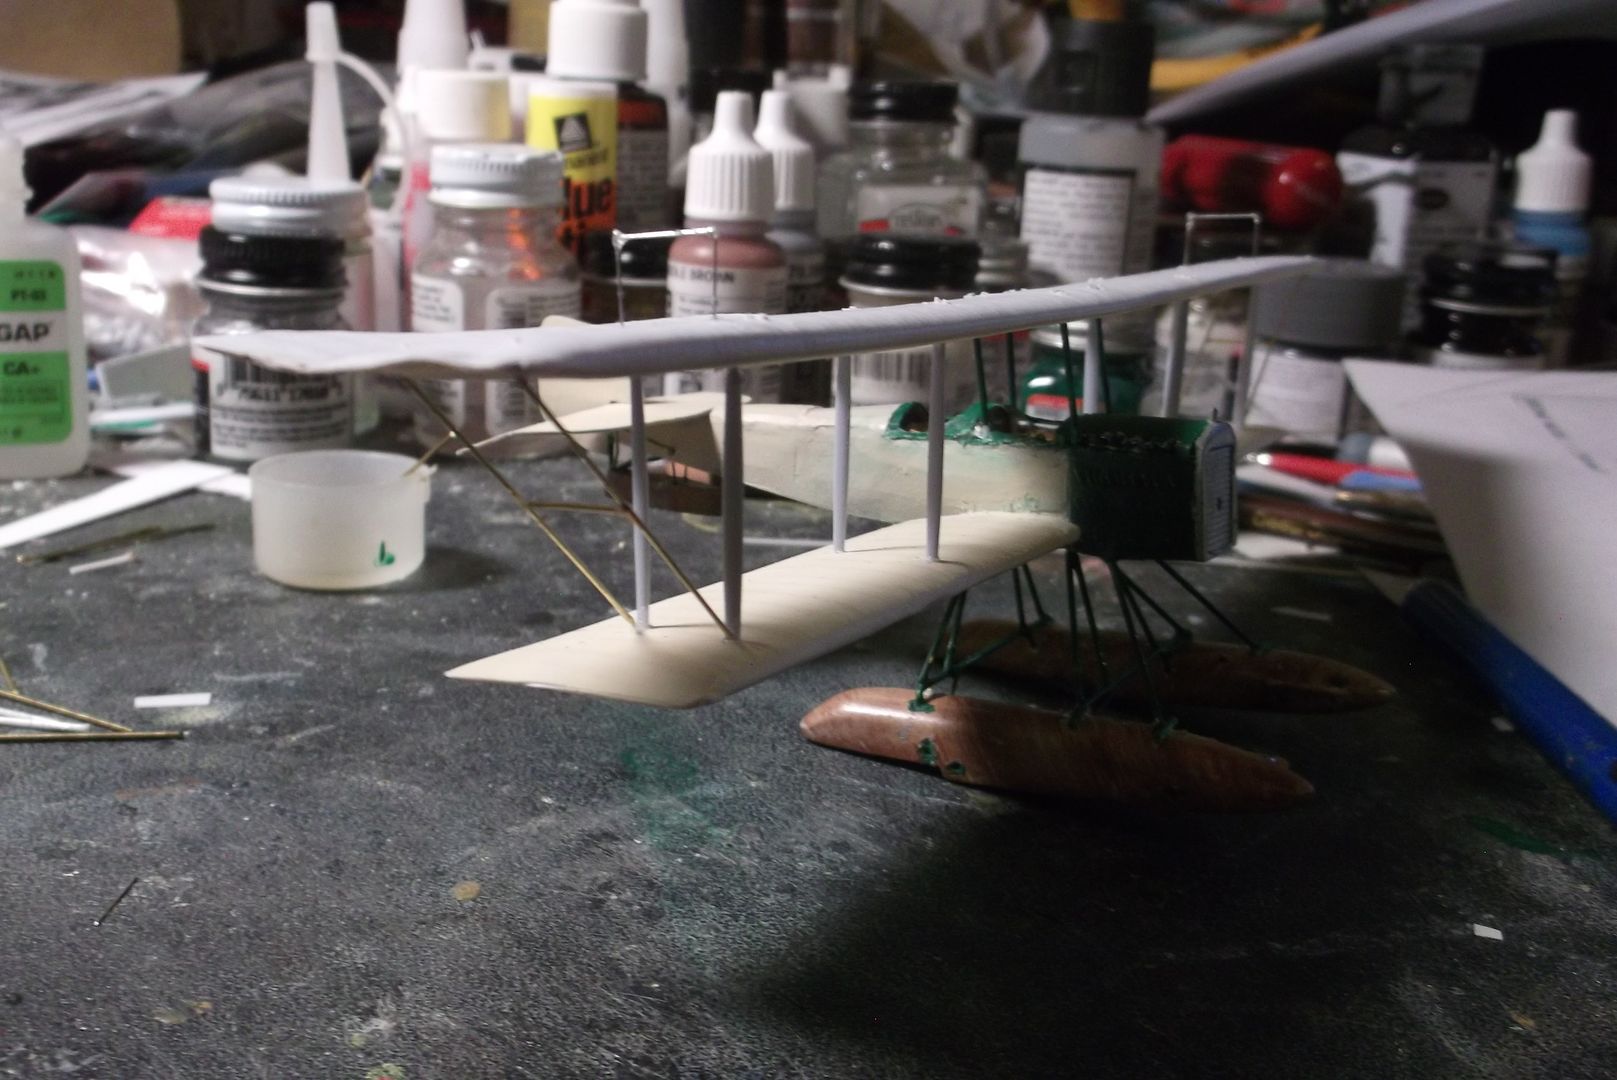
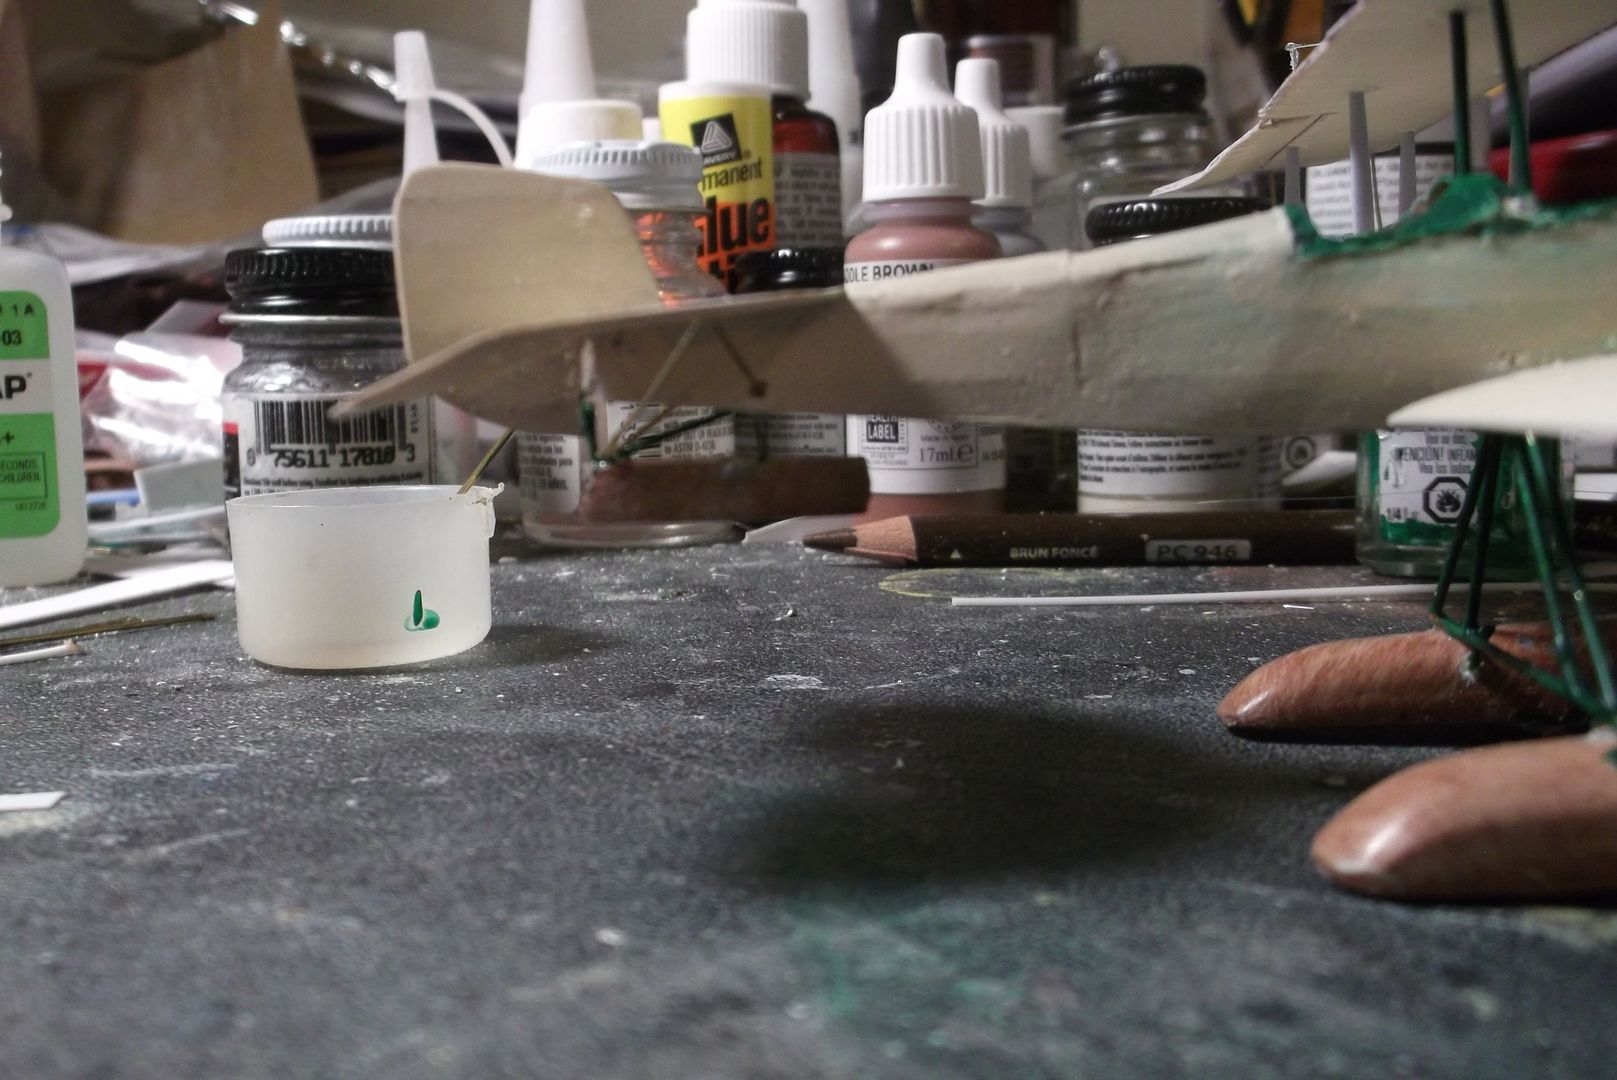
I spent Thursday and Friday helping an elderly neighbor run errands. Saturday and Sunday I spent doing research, and yesterday I was just too tired. Today I spent the whole day installing the outer wing braces and kingposts, and the tail braces. I say "the whole day", but most of it was spent making new kingposts, over and over. They're made from .008 guitar string, and that steel wire has to be clipped precisely. I got it too long, and shortening it usually took off too much. It's finally in place.
__________________
“Never do anything you can't take back.” —Rocky Russo |

|

|
 |
| Tags |
| model |
|
|
