
|
|
SUBSIM: The Web's #1 resource for all submarine & naval simulations since 1997
|
SUBSIM: The Web's #1 resource for all submarine & naval simulations since 1997 |
 02-03-12, 03:42 PM
|
#1 |
|
Eternal Patrol

 Join Date: Nov 2002
Location: High in the mountains of Utah
Posts: 50,369
Downloads: 745
Uploads: 249


|
As some know, I've been working on my own tabletop miniatures naval rules for a couple of decades now. To play we use 1/2400 scale models, though the game scale is much smaller - 1/9000, so 1 inch = 250 yards, or 8 inches is roughly one nautical mile. Unfortunately nobody makes all the models I want, and I can't always afford to buy the ones that are there, so I also print up counters to go with the game.
But as always, this isn't really about the game or the models to play it. I've always loved to build models, and have been doing so since the Revell "box-scale" kits of the 1950s (the models are in a lot of diferrent scales, so the boxes they come in were all the same size). I haven't been able to build anything for several years, what with being homeless and then moving around a bit, but now I'm settled in and am planning to get to work once I get a decent computer desk and stop using my card table for that purpose. While researching the variety of 1/2400 ship models I became curious about 1/700 models. I've built some in the past, but thought them too big for gaming and too small for display, but began to think they might be perfect for my 'jones' (need) to build. So I was online and found a source for Russian-made models of First World War ships. I thought they would be resin but they're actually plastic, so I tried to order a Majestic class battleship, but they were out. Actually they were out of pretty much everything, but then I spotted the 1894 German Brandenberg class. So I dropped the money and waited. And waited. It came today, and after opening the shipping box and getting rid of the packing stuff I found a tiny 7 x 4 x 1" (179 x 100 x 25mm) box with a photo of SMS Weissenburg on it, and proceeded to open it thinking "Well, let's see what I got for my fifty bucks". Once it was opened my thoughts changed to "Wow! I got a bargain! They could probably charge more!" Don't tell them I said that. The model itself is 161mm (6.34") on the waterline and 27mm (1.06") on the beam, and is incredibly detailed! I mean it's gorgeous. Don't take my word for it. Overview - kit and box 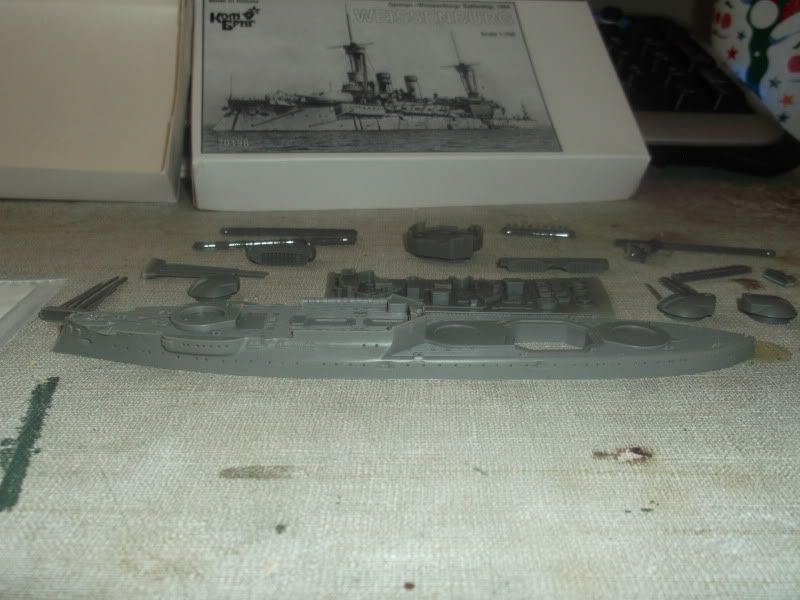 Closer shot of the hull 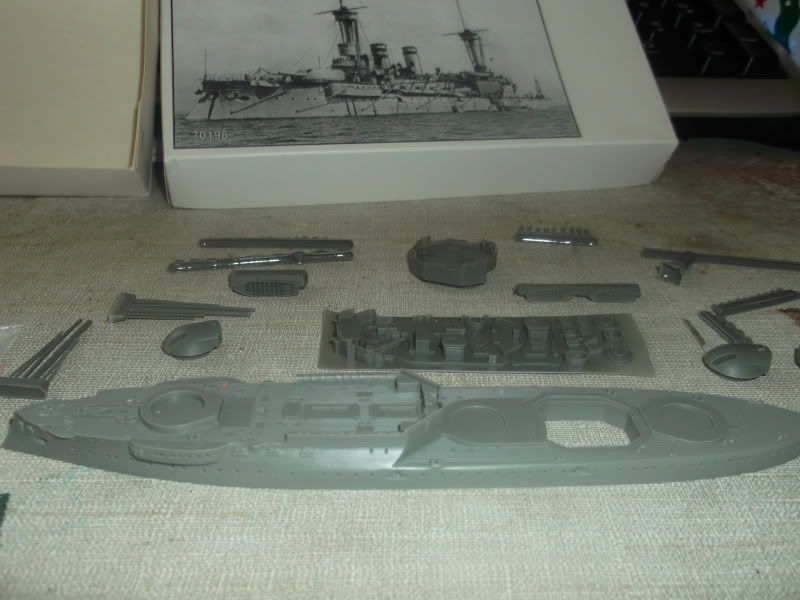 All the pieces, with the etched-brass parts in the foreground 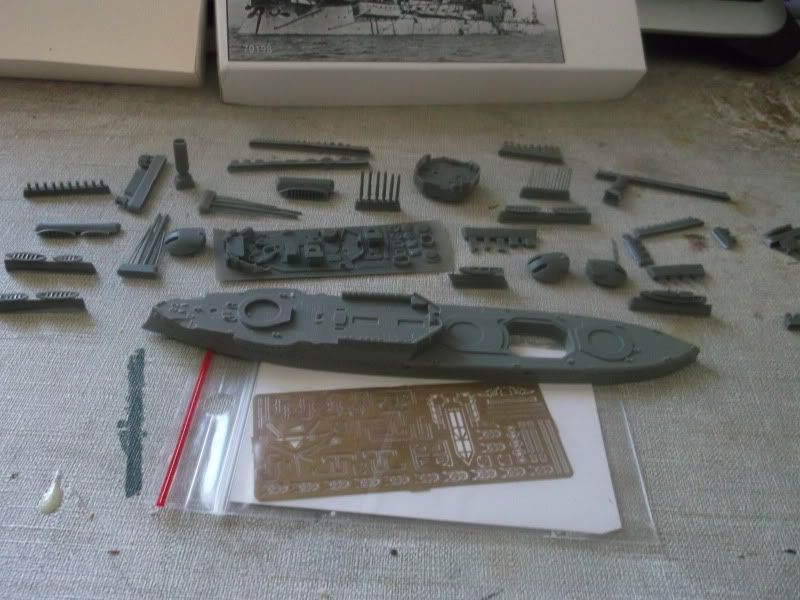 The bow section of the beautiful hull 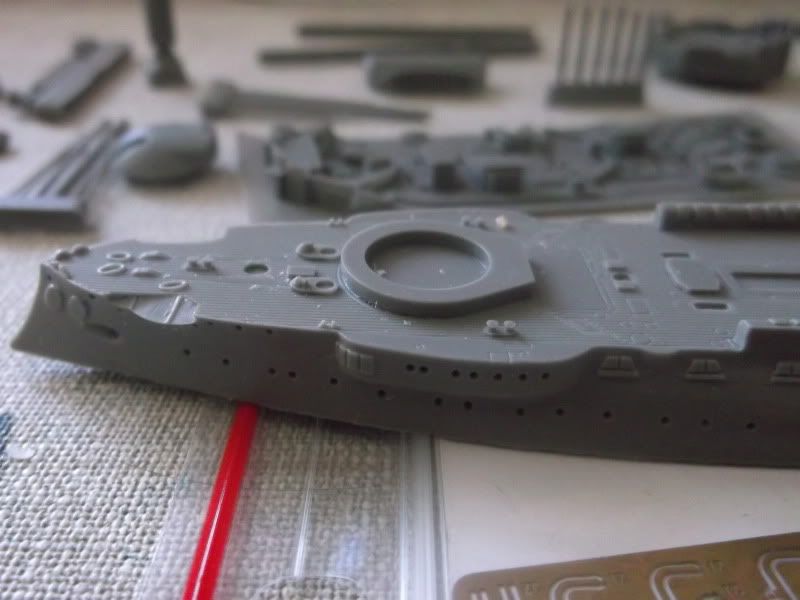 The bridge pieces 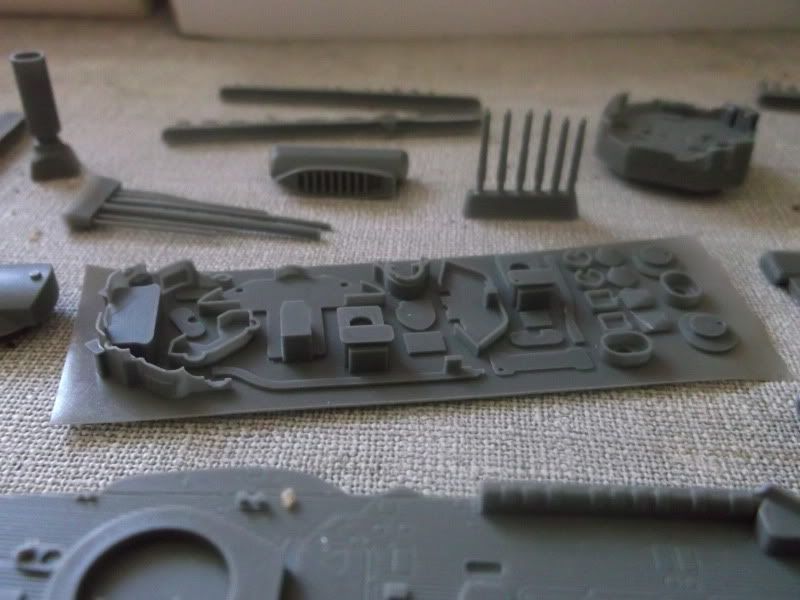 Captain's steam launch, the largest of the ship's boats 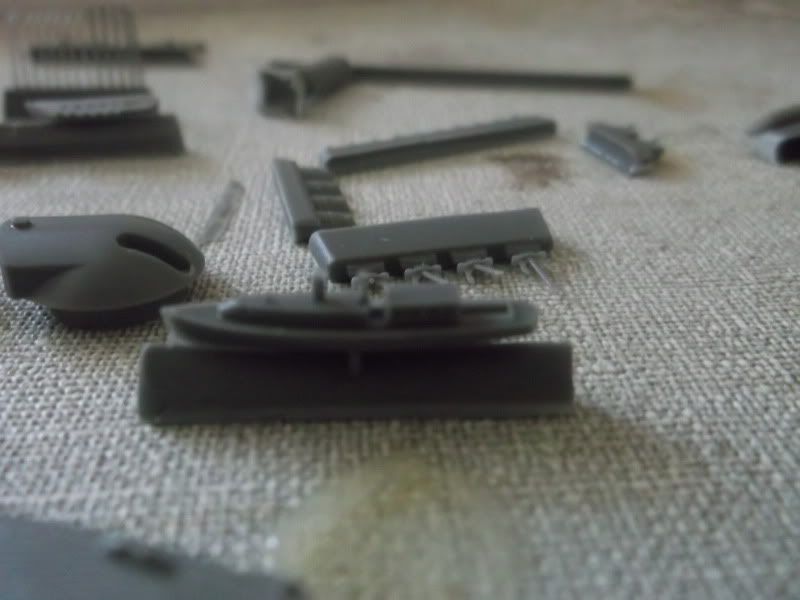 What the pictures don't show is that the model even properly represents the side-firing torpedo tubes, which on most large ship were aimed 90 degrees to the broadside, but on thise early German battleships were aimed 30 degrees fore and aft, respectively. I won't be starting it for awhile. As I said I need to get a desk for my PC and free up my building table, plus get my tools out of storage and buy some new ones as well. I also have airplanes I want to build, and I want to get their Royal Soveriegn and Majestic battleships as well, and probably others in the future. But it's a start.
__________________
Never do anything you can't take back. Rocky Russo |

|

|
| Tags |
| model |
|
|


 Threaded Mode