
|
|
SUBSIM: The Web's #1 resource for all submarine & naval simulations since 1997
 |
SUBSIM: The Web's #1 resource for all submarine & naval simulations since 1997 |
|
|
 09-30-13, 01:32 PM
|
#1 |
|
Eternal Patrol
 |
My next project is going to be another pair, this time two different versions of the Hansa-Brandenburg C.I. The plane was Austria's first armed two-seater, designed an built specifically to carry a defensive gun. It was designed by a young engineer named Ernst Heinkel, who would gain fame between the wars and in World War Two with his own company. The original design moved the observer to the rear seat and supplied him with a ring-mounted Schwarzlose machine gun. Hansa-Brandenburg only built 84 of them, but they were licensed out and Phönix built around 400 while UFAG (Ungarische Flugzeugfabrik Alles Gesellschaft, or Hungarian Aircraft Public Company) built more than 800. Phönix and UFAG both experimented with giving the observer a better field of fire by placing him and his gun on a tower. While this worked as far as shooting went, it made the plane less stable and stopped communication between pilot and observer. Since in German and Austrian practice the observer was the officer, and thus aircraft commander, it made it difficult for him to tell the pilot where to point the plane. Ultimately they supplied a second gun for the pilot to shoot, mounted above the wing in a streamline pod sometimes referred to as a "baby coffin". For some reason the version with the tower has come to be known as "Hansa-Brandenburg C.I UFAG", which leads some people to ask "What's an UFAG?"
This is what I'm facing: 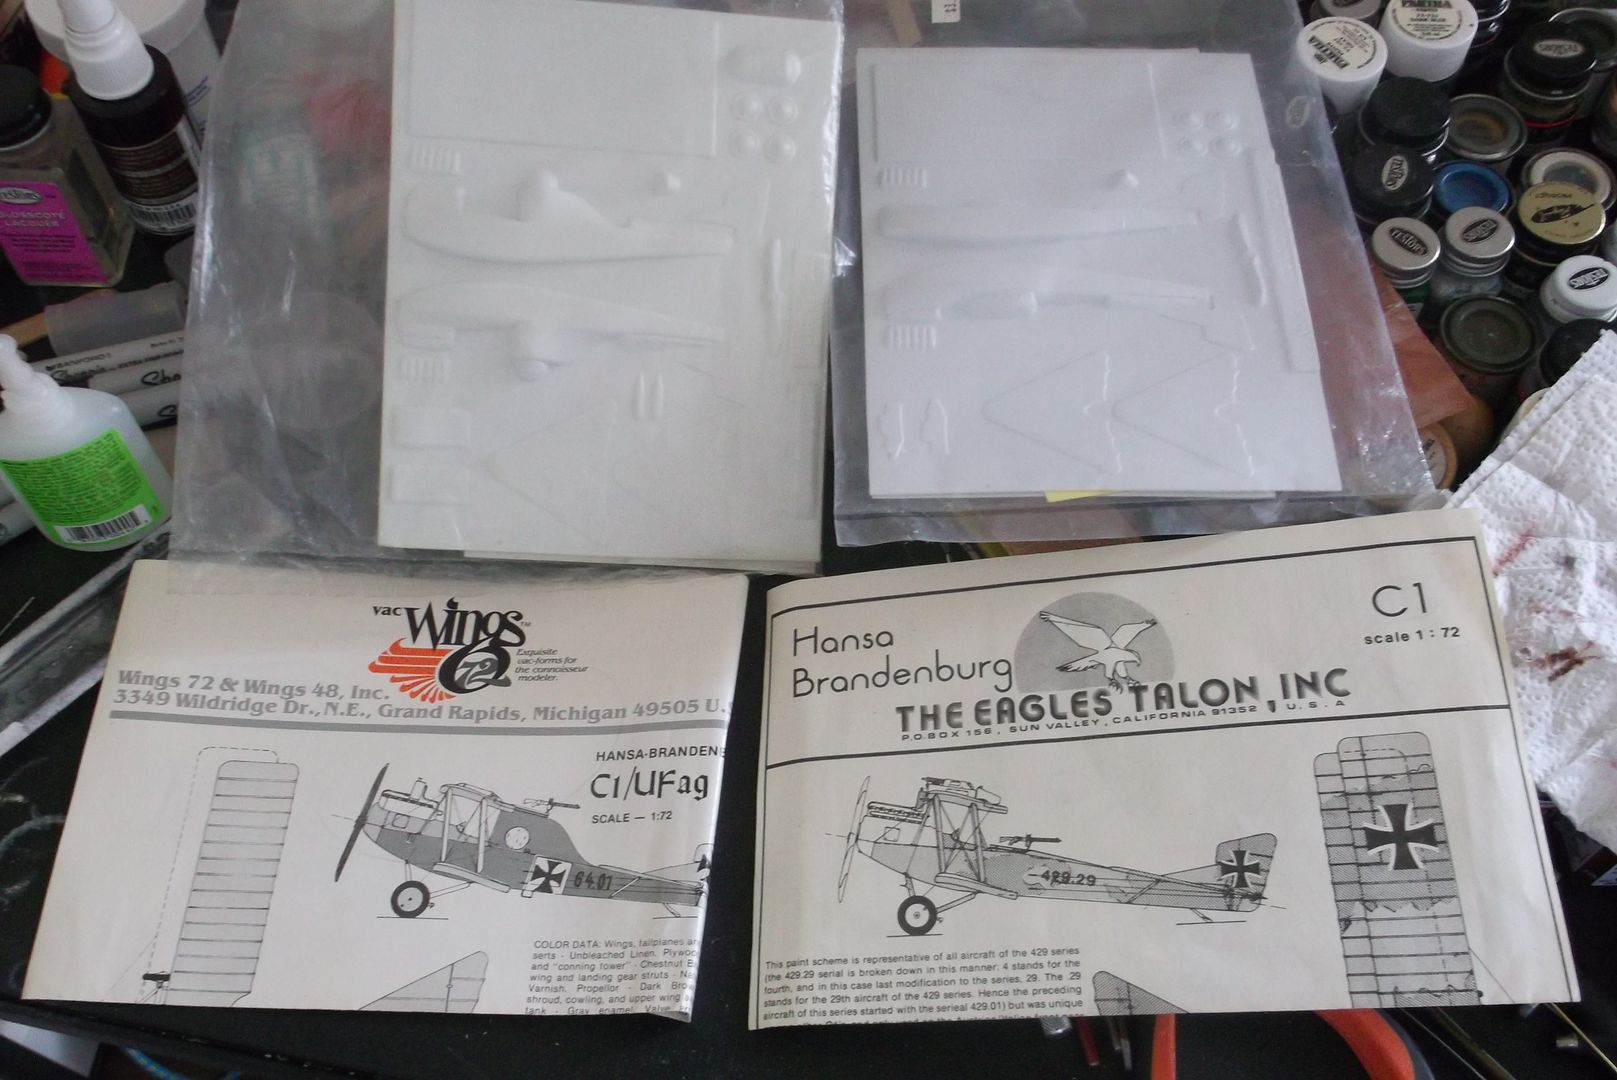
__________________
“Never do anything you can't take back.” —Rocky Russo |

|

|
 10-02-13, 06:22 PM
|
#2 |
|
Eternal Patrol
 |
__________________
“Never do anything you can't take back.” —Rocky Russo |

|

|
 10-02-13, 08:35 PM
|
#3 |
|
Eternal Patrol
 |
HOLY HANNAH! They did it to me again!
One of the problems I'm having is finding proper guns, especially Austrian Schwarzlose guns for the two-seaters I'm building right now. There are photo-etched brass kits to make cool tiny models of British, French and German guns, but none for the Austrians. The one on my Austrian eindekker was one of a pair somebody made in metal many years ago. It's been so long that I don't even remember who made them. A couple of companies used to make them in resin, but both are now out of business and finding them is proving extremely difficult. I was on line looking at pictures of the real thing, figuring I'm now going to have to make my own. It still looks that way, but while I was looking on Google I looked at the images page for Swarzlose guns. One of the pictures immediately caught my eye, because it was that same eindekker close-up. And it led to that same picture in this very thread! It happened earlier with my Caudron G.IV, and I mentioned it then. It's just really surprising and really cool to come across one of your own models online somewhere you weren't expecting it. WOOHOO! 
__________________
“Never do anything you can't take back.” —Rocky Russo |

|

|
 10-03-13, 08:56 PM
|
#4 |
|
Eternal Patrol
 |
I was uploading some pictures of my older models to my FaceBook photo album to share with my gaming friends, and I found out I didn't have any pictures of my ancient Morane 'L' parasol. I figured I'd steal them back from Subsim, and found that if they aren't in my Photobucket account then they aren't here either. I dug it out and took some pictures.
Another very early attempt at arming a two-seater - the Morane 'L'. 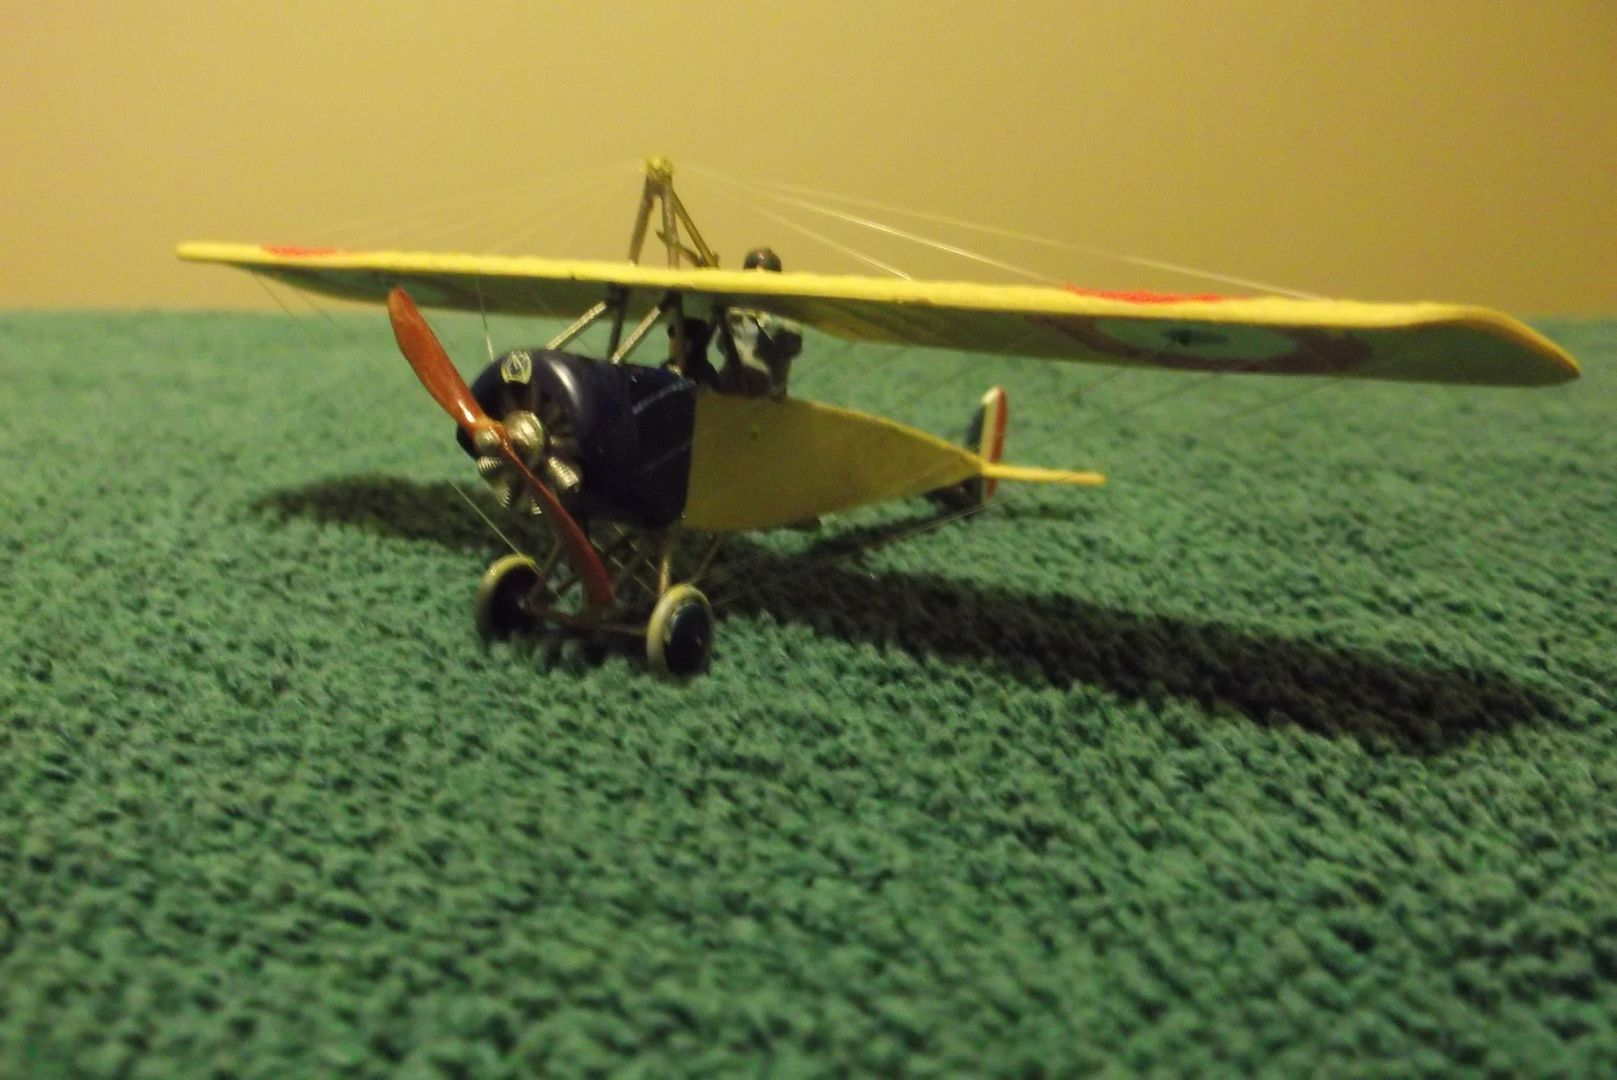 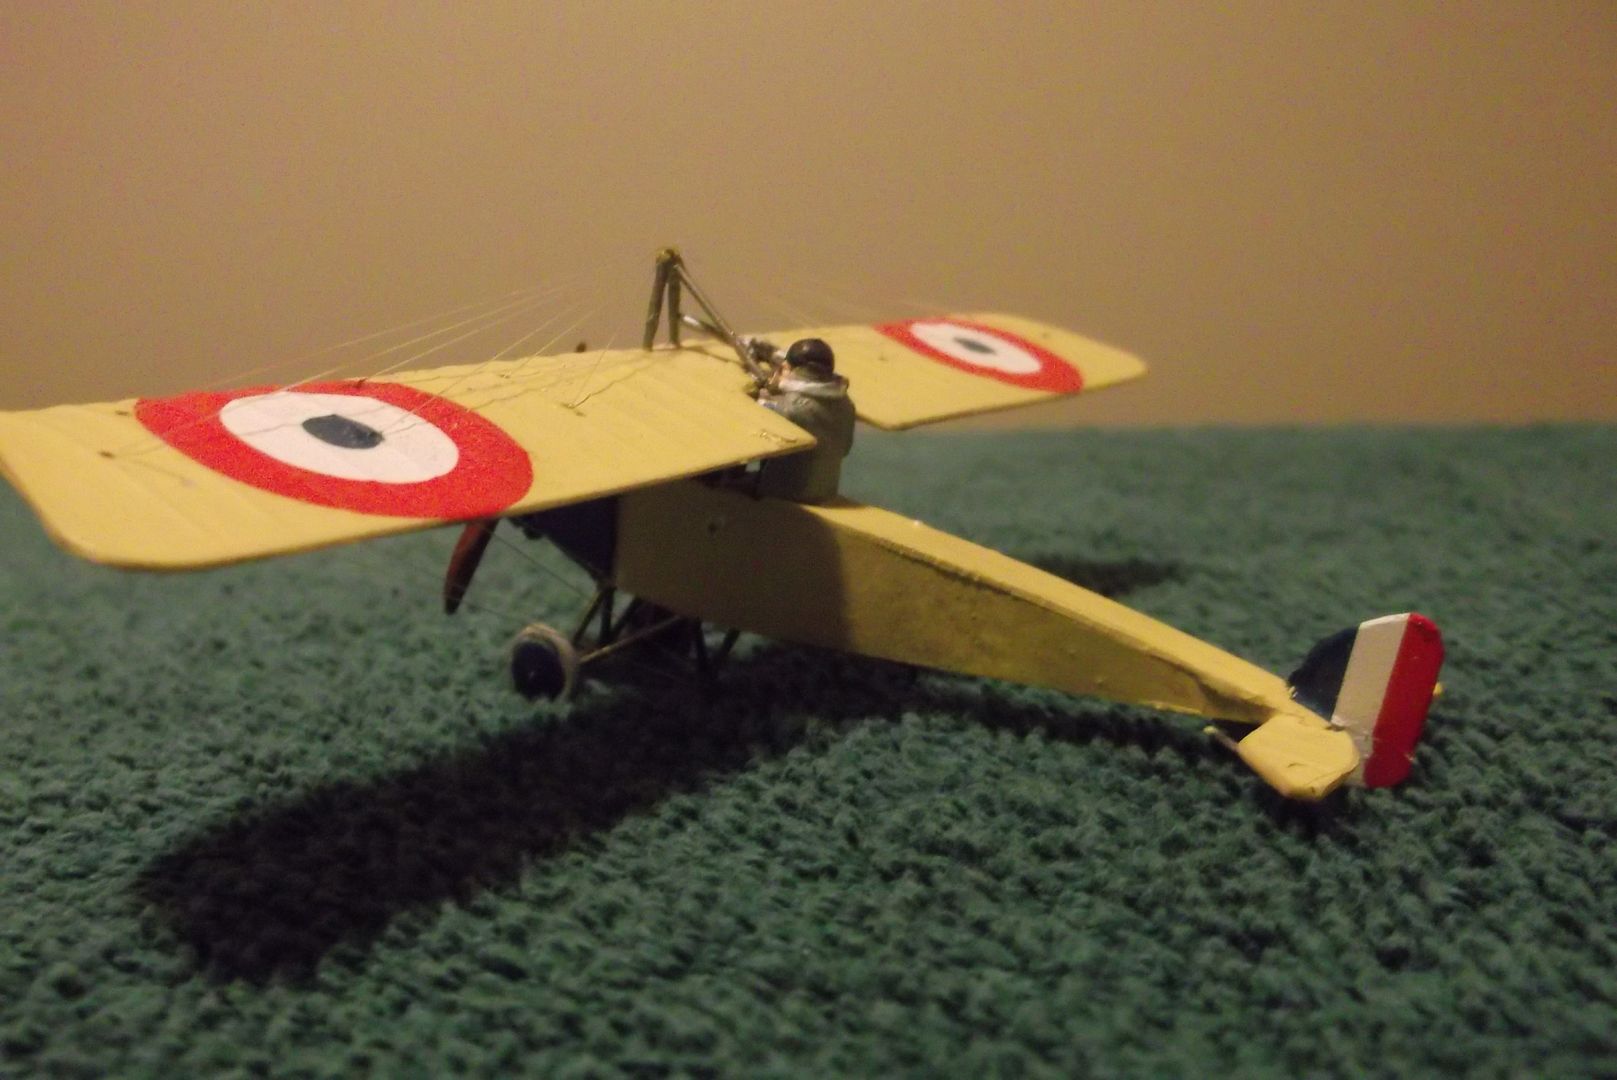 Another one with the 'MS' logo. 
__________________
“Never do anything you can't take back.” —Rocky Russo |

|

|
 10-04-13, 05:41 AM
|
#5 |
|
Chief of the Boat
|
Another great example Steve
|

|

|
 10-04-13, 09:31 PM
|
#6 |
|
Eternal Patrol
 |
Tailplanes.
 One of the interesting things about these kits is that they are double-sided. Regular injection-molded kits provide a top and bottom half for the thick wings on newer planes, but the thinner wings on WW1 planes are a single piece. Vac kits are the same way, but this leaves ribs on top of the wings but indentations on the bottom. With the Be.2c I used the same nylon monofilament line I use for rigging to make bottom ribs, gluing them on one at a time. Later I just didn't worry about it, once again telling myself that they're only gaming toys. These particular kits come with a top and a bottom for each wing. This makes rib bulges on both sides, but it also means twice the sanding and very careful fitting to make them the proper thickness, or thin-ness as the case may be. I've spent several hours sanding and fitting those stabilizers and rudders before I was ready to glue them on. I'm hoping to have the lower wings cut out, sanded, glued together and glued on by the time I'm done tomorrow. I also got a cool little package in the mail today. Part of the fun of being a serious modeler is collecting interesting decal sheets. I have a sheet for the B-24 'The Dragon and His Tail', should I ever want to build that spectacularly-painted plane. What I ordered last week and recieved today is numbers. Specifically Austro-Hungarian serial numbers. I have a bunch of British and French numbers, and the little numbers for German planes, but the Austrians used special serials for each run of planes. As you can see, the Fokker B-types all started with '03.' and then serial numbers. Every Austro-Hungarian series had a two-or-three letter company code before the period, then a serial number behind. Scraping up numbers from random decal sheets was always a problem. No more. This new sheet from Blue Rider Decals has a pair of series codes for every type build, and a bunch of sets of numbers for the serials following the period. This sheet should number every A/H aircraft I'll ever build, with a lot left over.
__________________
“Never do anything you can't take back.” —Rocky Russo |

|

|
 10-06-13, 11:48 AM
|
#7 |
|
Eternal Patrol
 |
Well, it turns out that this is more work than I thought. Given everything I have going on it took me two days just to do one set of bottom wings. That's one wing per day, and about four hours' work for each wing. I'm thinking about building one of them like a regular vac kit, with ribs only showing from above. I'm thinking about just finishing one of them and putting the other one off. I'm thinking about setting them both aside and working on something else for awhile. I'm thinking about going back to bed.

__________________
“Never do anything you can't take back.” —Rocky Russo |

|

|
 10-08-13, 09:38 PM
|
#8 |
|
Eternal Patrol
 |
Well, after four days of cutting, sanding, scraping and gluing I finally have one set of wings done. ONE! A part of the slowness involves my ongoing fight with an ear infection, which leaves me more interested in sleeping than working, and a part of it is that it's very tedious work. I could save a lot of time by only doing the top half of each wing, like in a regular vac kit, but when done properly these actually look very good. So I'm taking my time and trying to do it right.
Anyway, the lower wings are mounted to the fuselage and the whole thing has a primer coat finally, so setting aside the other one for the time being this one at least is ready to be assembled. I've decided to do one of the early German Hansa-built models, so it won't have the forward-firing gun and part of the tail is cut away because early on they didn't have balanced rudders. 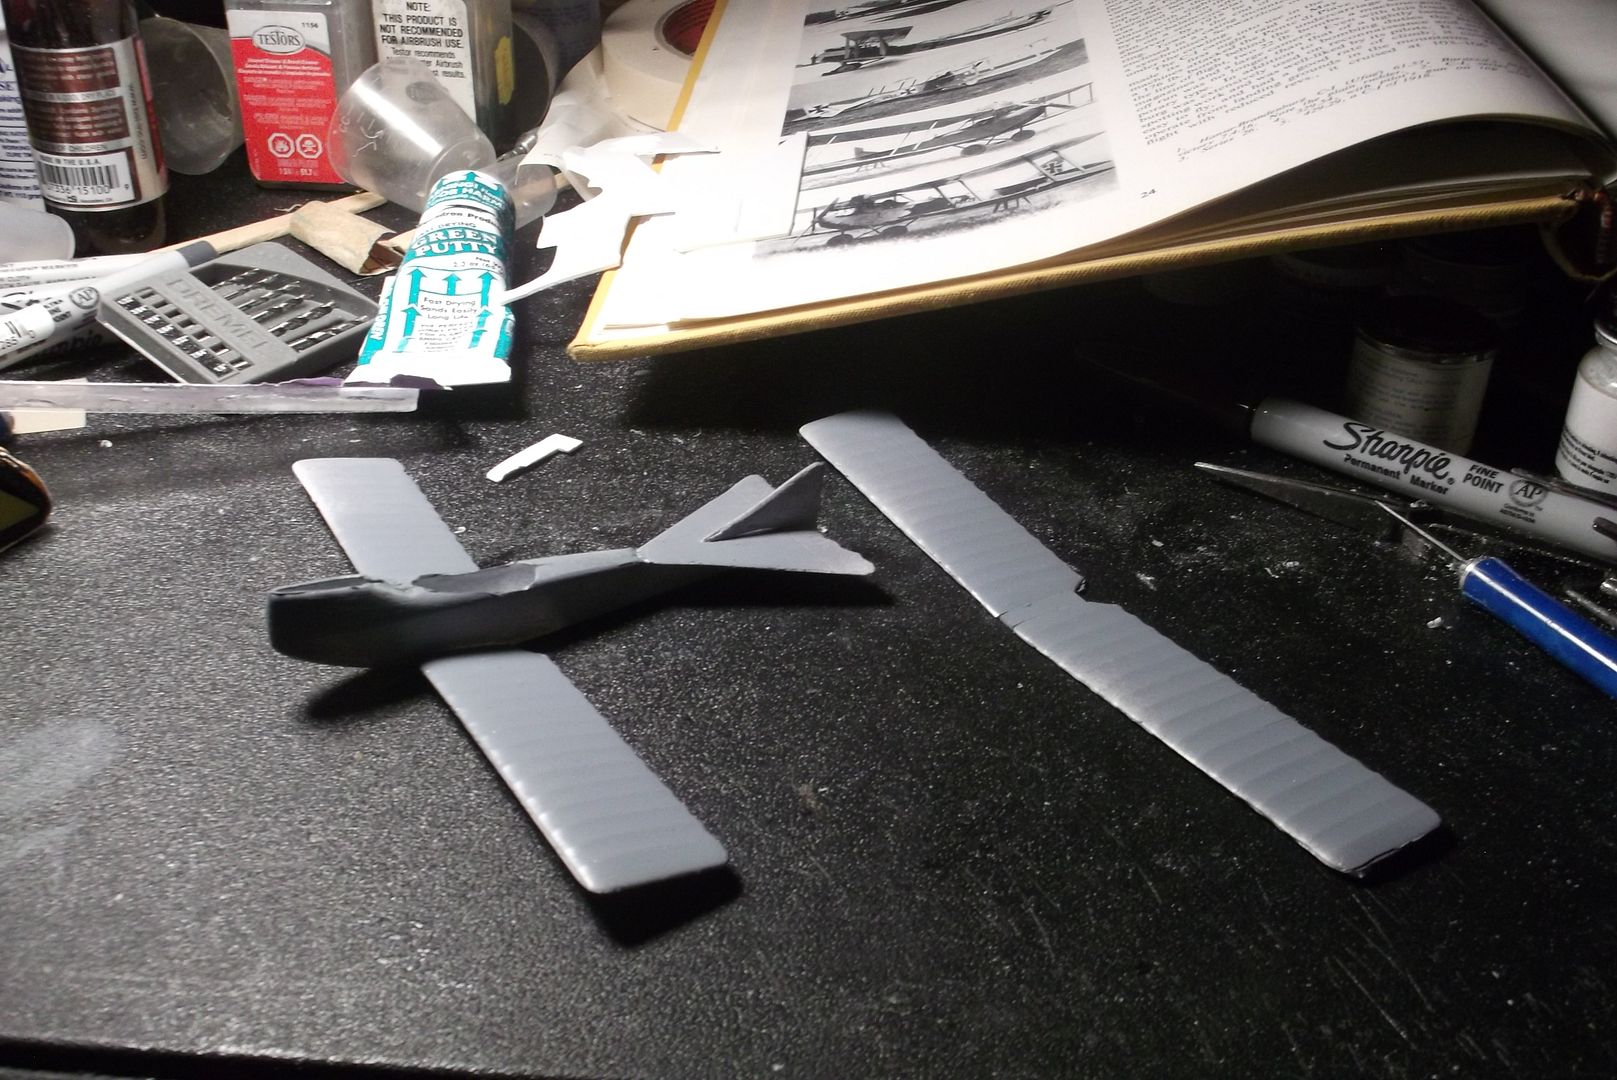
__________________
“Never do anything you can't take back.” —Rocky Russo |

|

|
 10-09-13, 12:12 PM
|
#9 |
|
Eternal Patrol
 |
__________________
“Never do anything you can't take back.” —Rocky Russo |

|

|
 10-12-13, 08:17 PM
|
#10 |
|
Eternal Patrol
 |
I didn't work on the model at all Thursday, instead preparing myself for game night. After coming home I couldn't sleep, and didn't manage to until about 04:00. I slept pretty well after that, but yesterday I still didn't feel like working at all.
This morning I applied the overall paint scheme of Clear Doped Linen. After a few hours' drying time I went to work on the wood fuselage. I'm not overly happy with the current result. I hand-painted a medium brown overcoat, and liked the result, but I've been thinking that plywood isn't normally that dark. Of course that depends on the varnish used, but still I wanted to try something lighter. I painted on a dark tan color, and to me it looks gloppy. 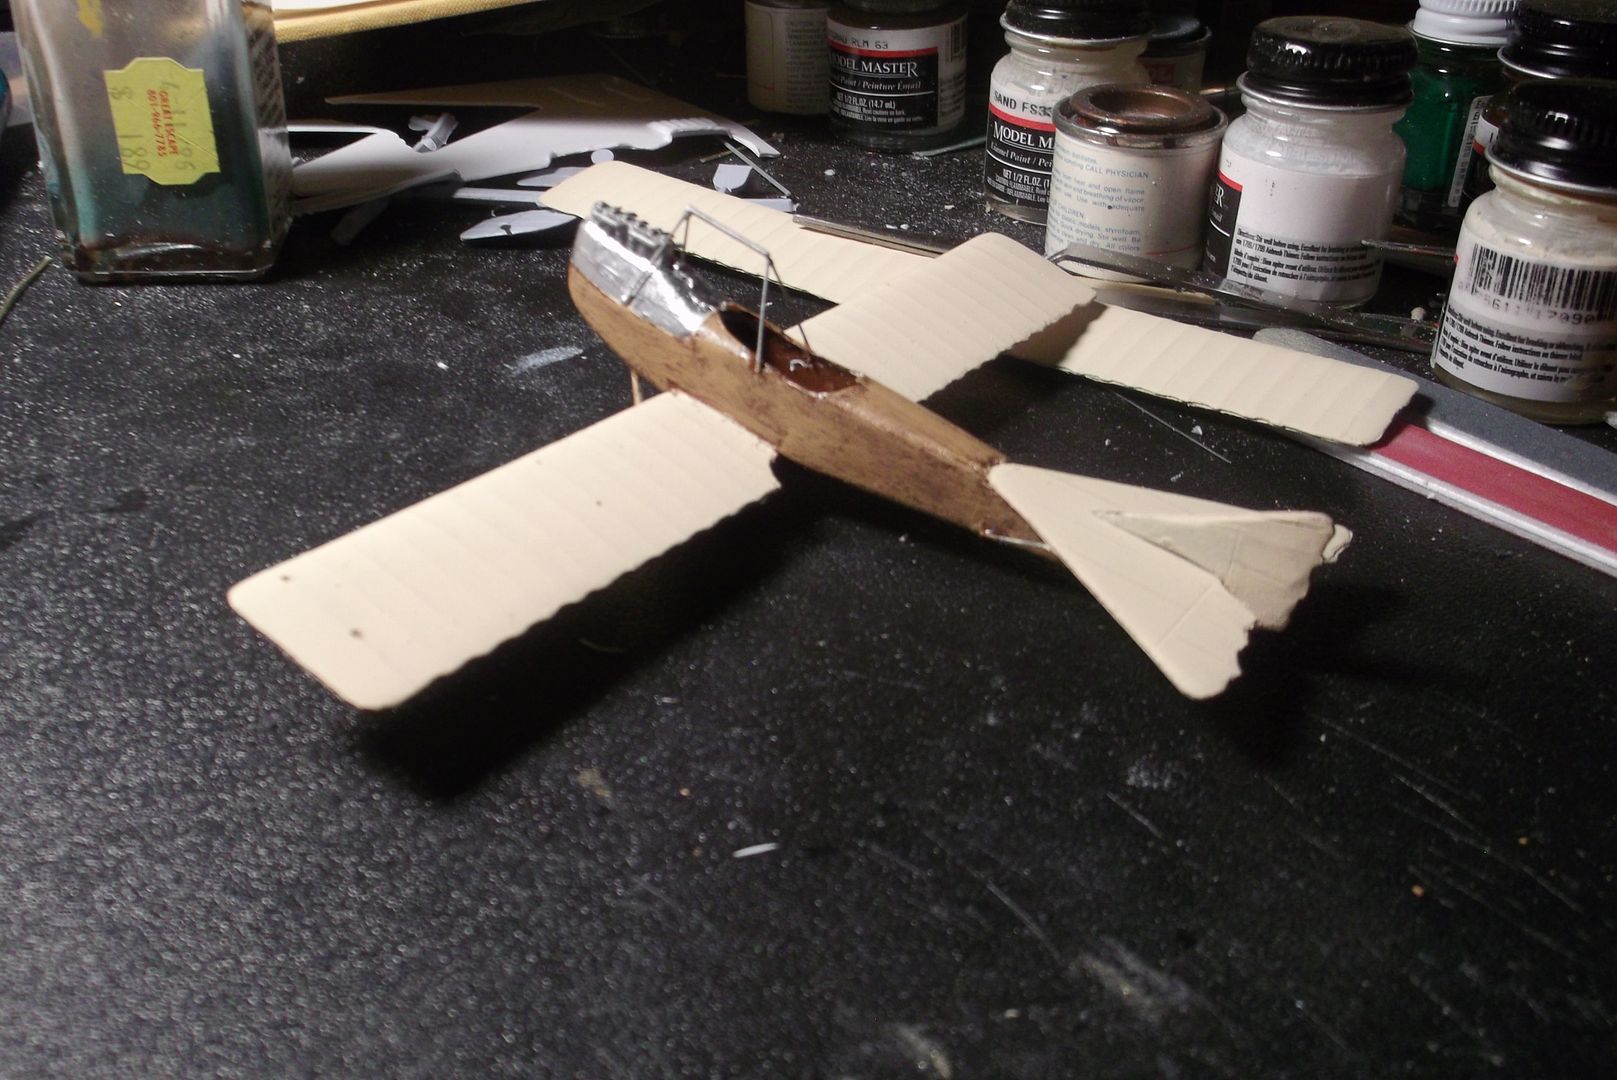 Tomorrow I'm going to try sanding it a bit to see it that improves the appearance. If not I'm thinking of stripping it completely and starting over. We'll see how it goes.
__________________
“Never do anything you can't take back.” —Rocky Russo |

|

|
 10-13-13, 06:50 PM
|
#11 |
|
Eternal Patrol
 |
I started of the day wondering what to do about the 'plywood' fuselage. I tried just dipping the brush in thinner and painting over what I had done. I was actually pretty happy with the result. The two colors ran together in a much more natural fashion. Next I painted the crew. Then the dual gun-ring, which I had to bend out of brass wire. The supports are steel wire. Then I put the crew in. Next came the gravity-feed fuel tank hanging from the cabane. That was sanded to shape from a piece of sprue (the 'trees' the parts are attached to in a regular kit). Then a little more paint applied and I'm done for the night. Looking at the pictures I'm still not happy with that 'plywood' siding. We'll see what tomorrow brings.
 
__________________
“Never do anything you can't take back.” —Rocky Russo |

|

|
 |
| Tags |
| model |
| Thread Tools | |
| Display Modes | |
|
|
