
|
|
SUBSIM: The Web's #1 resource for all submarine & naval simulations since 1997
|
SUBSIM: The Web's #1 resource for all submarine & naval simulations since 1997 |
|
|
 09-03-12, 02:31 PM
|
#1 |
|
Lucky Jack
 Join Date: Apr 2005
Location: Finland
Posts: 25,056
Downloads: 32
Uploads: 0


|
My advance on the left comes to a halt as Crécy's PIAT teams destroy the two lead Panthers.
 I order the remaining two tanks to pull back. 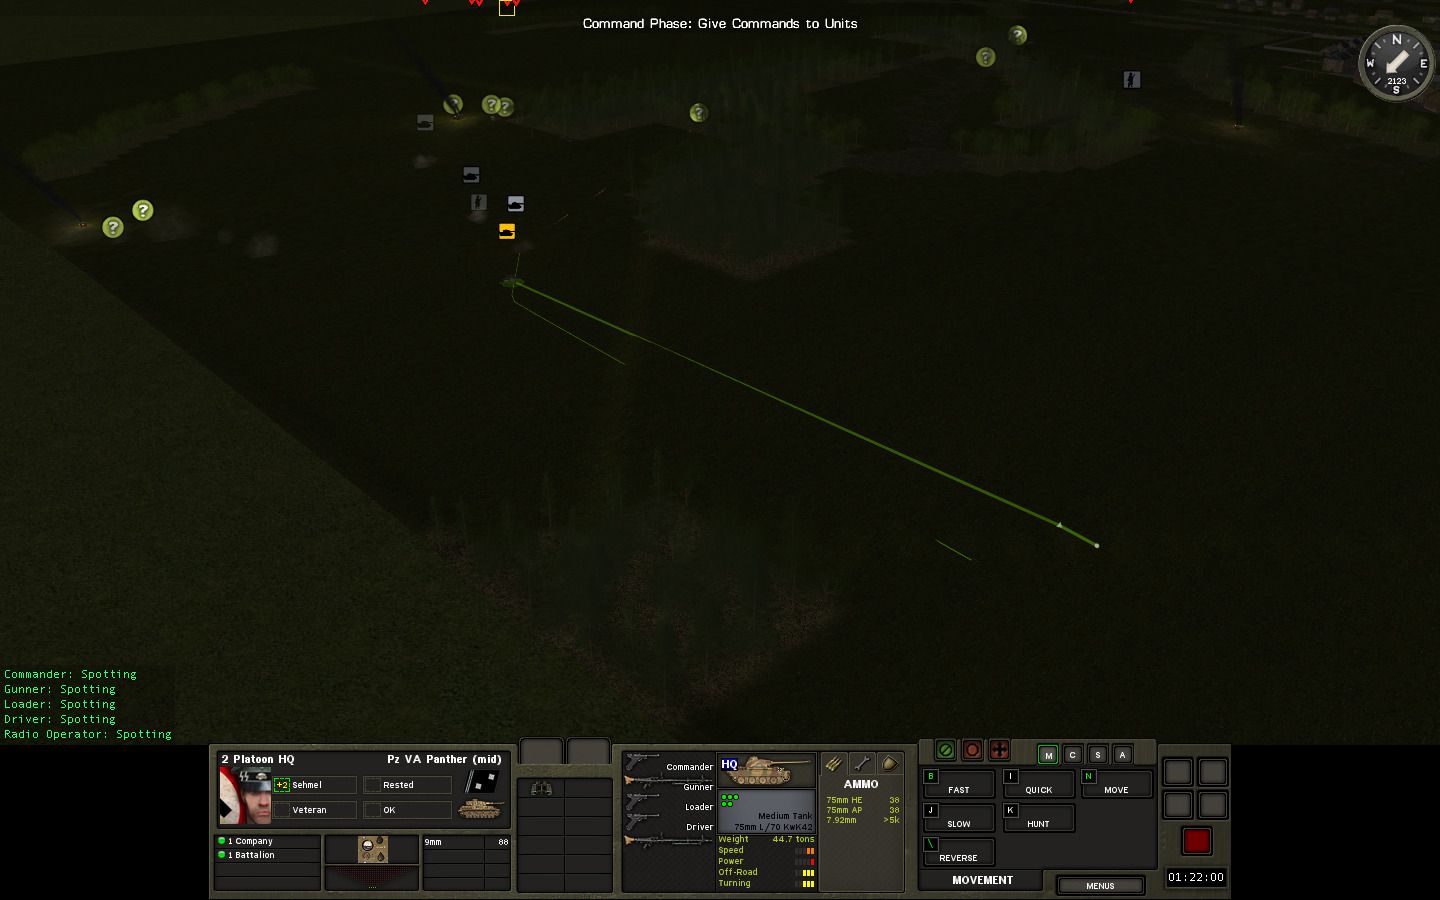 Minor skirmishes on the right as my HT eliminates Crécy's sniper team and one of the Panthers blows up a PIAT team hiding in the forest. I also spot some of his infantry moving into the town. Question is: Are those his forward troops or his rearguard? 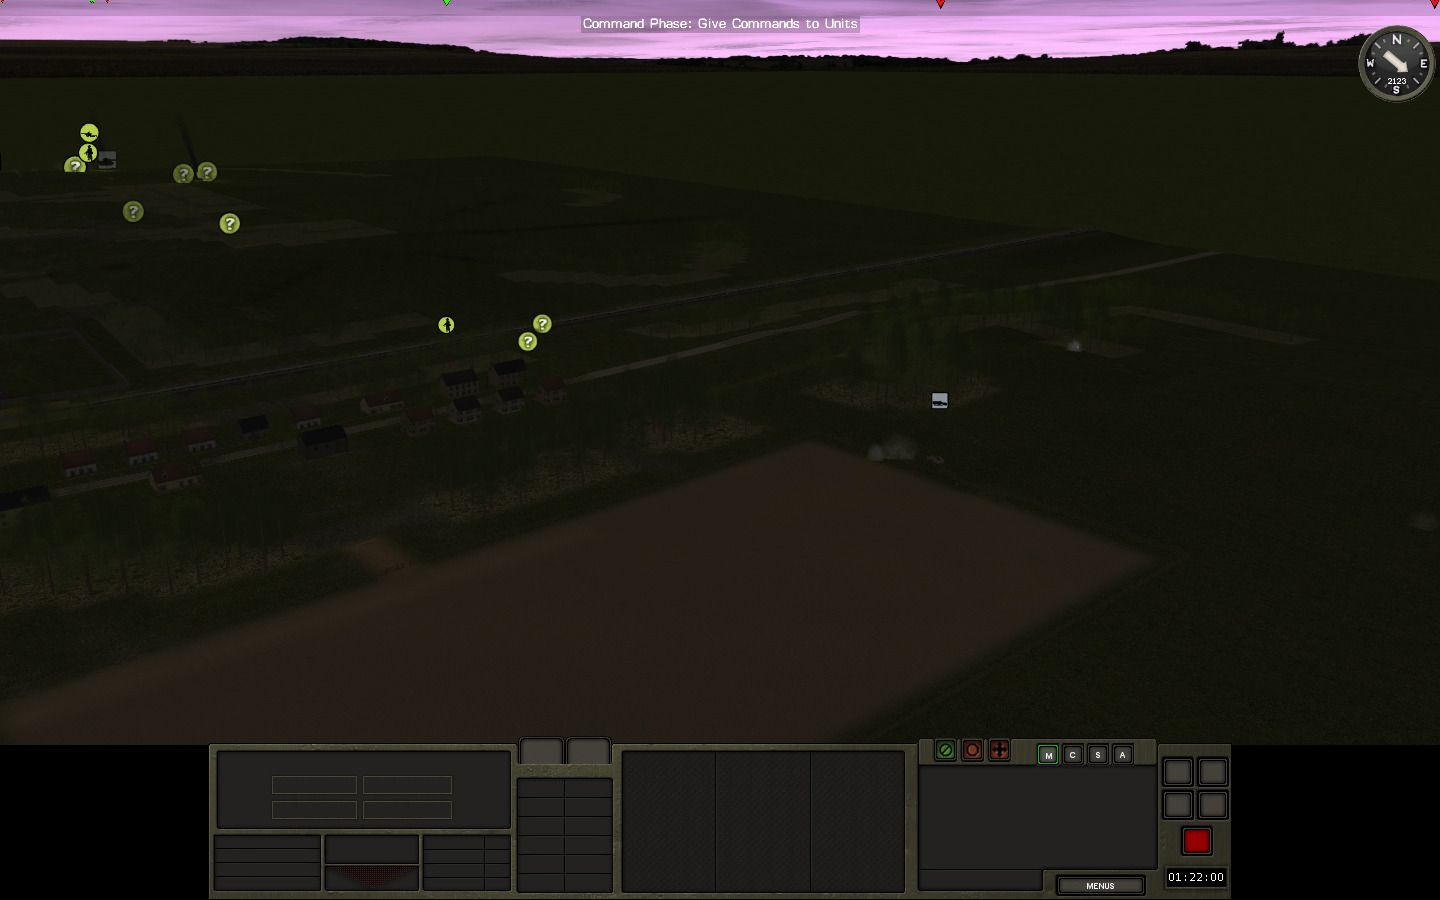 Learning absolutely nothing from the disaster on the left flank, I order the Panthers to advance on the right. What could go wrong, right? 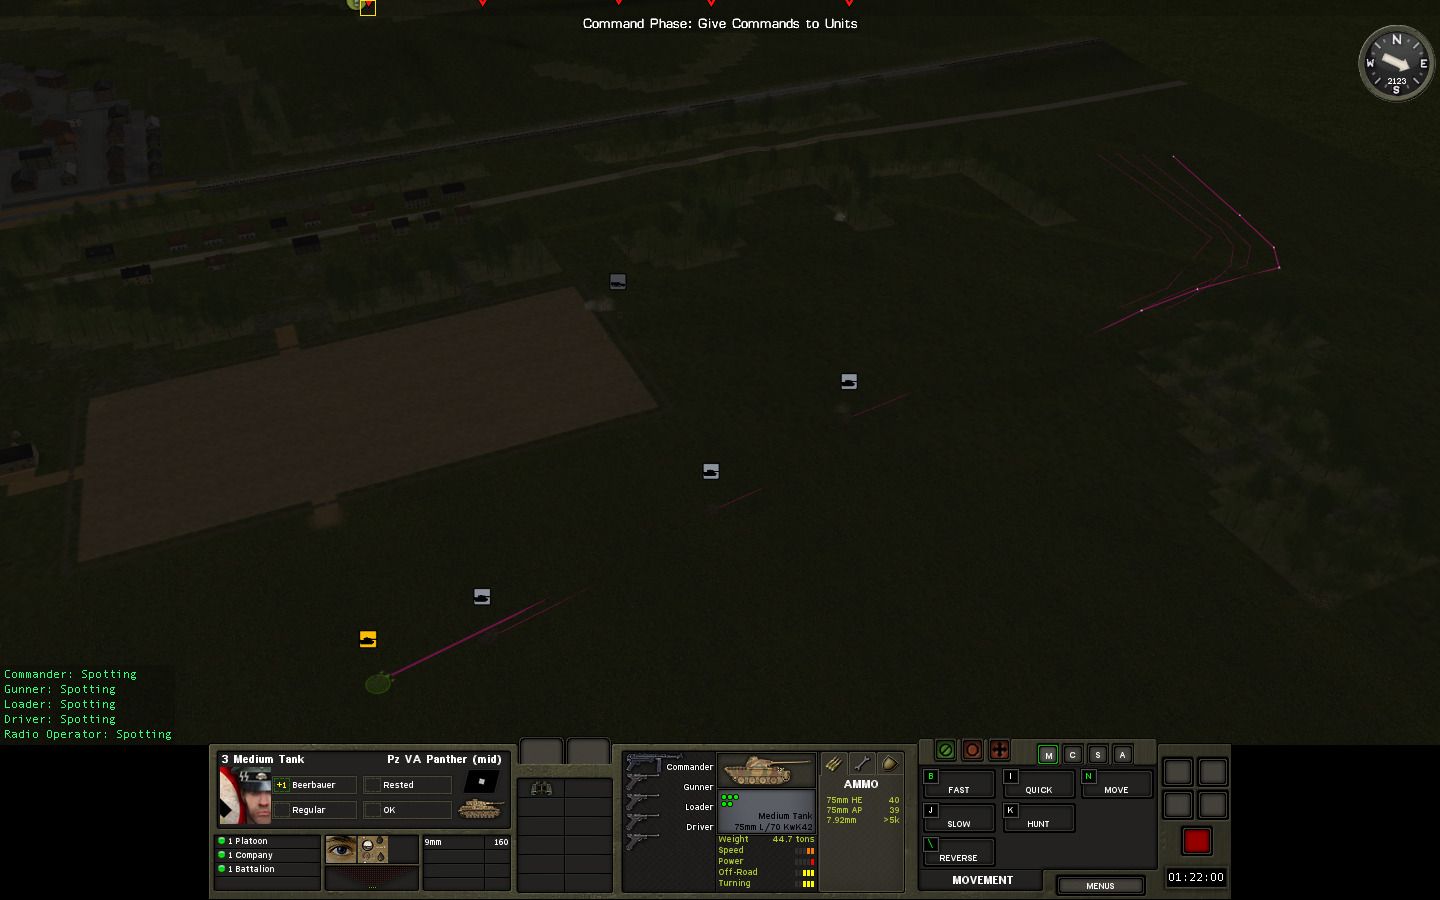 Losing another Panther, that's what. Crécy's PIATs were able to pop 3-4 rounds off before my stationary Panthers saw them. Hate PIATs! 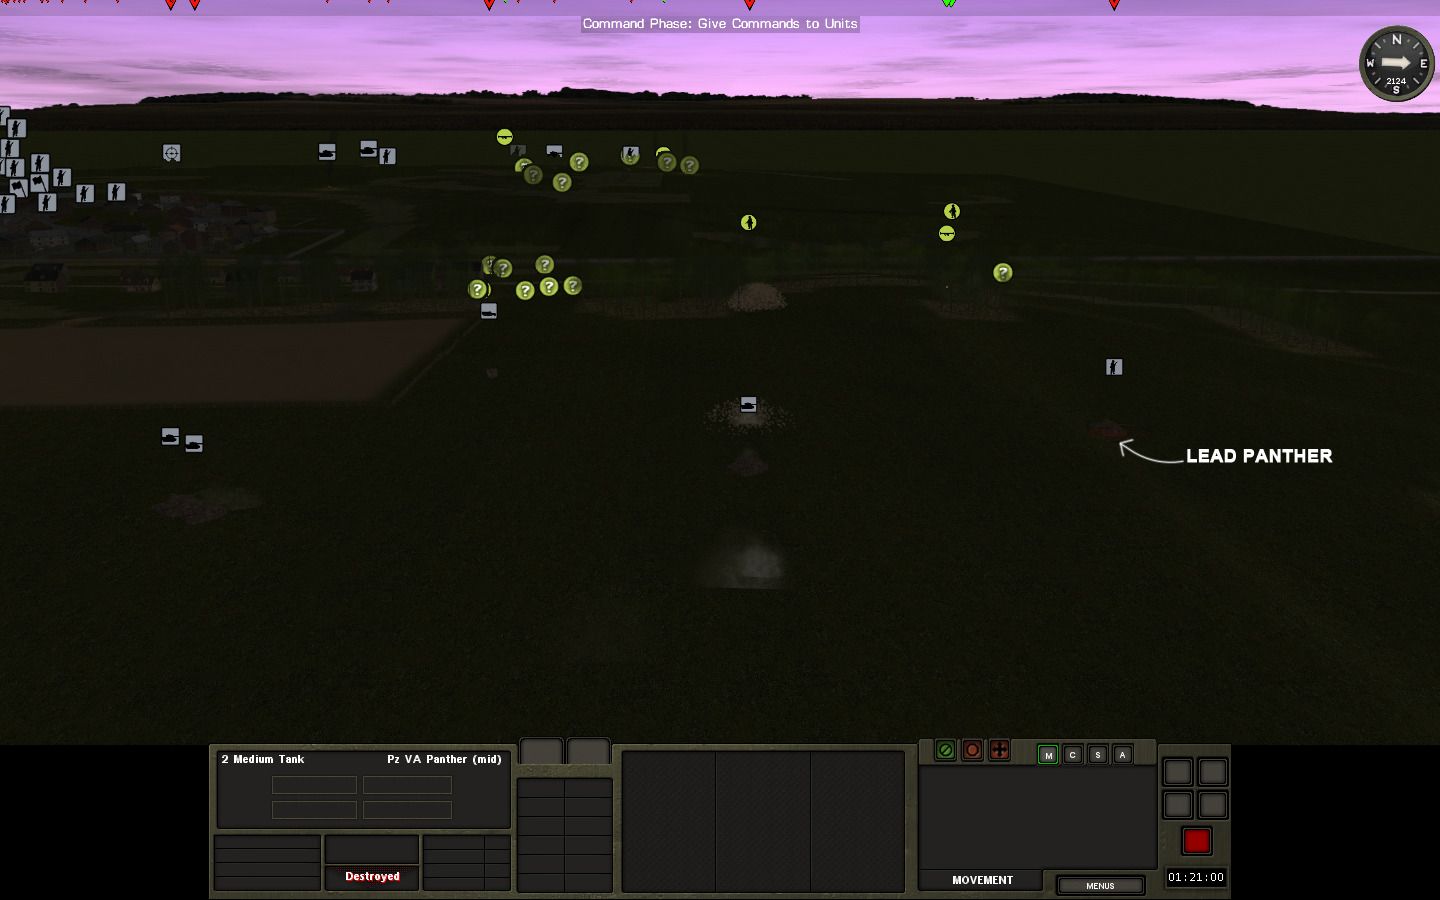 Think that's enough Panthers lost. I call off the advance on both flanks. Orders are passed on to pull out of the PIAT's range and hold position. 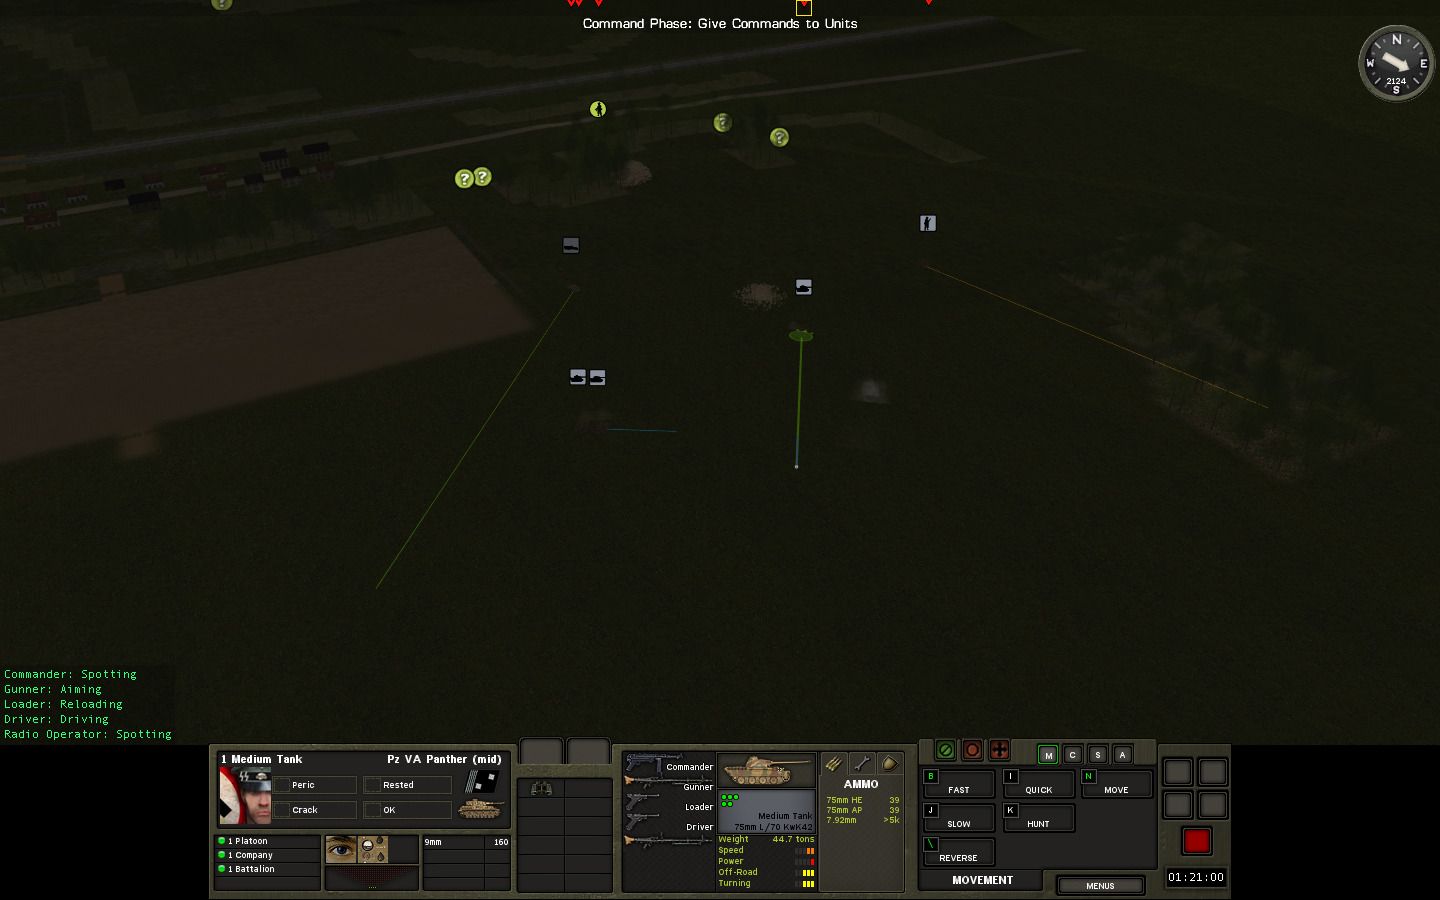 Situation prior to turn 11. Still no idea what Crécy's grand plan is, if he has one that is. I can possibly block his infantry's advance on the right with the Panthers, though the darkness makes it hard for them to spot anything. I haven't seen any of his forces in the main part of the town, which is pretty much under my control now. Smells like a déjà vu of our first match where Crécy had to attack against the town after I had occupied it already. 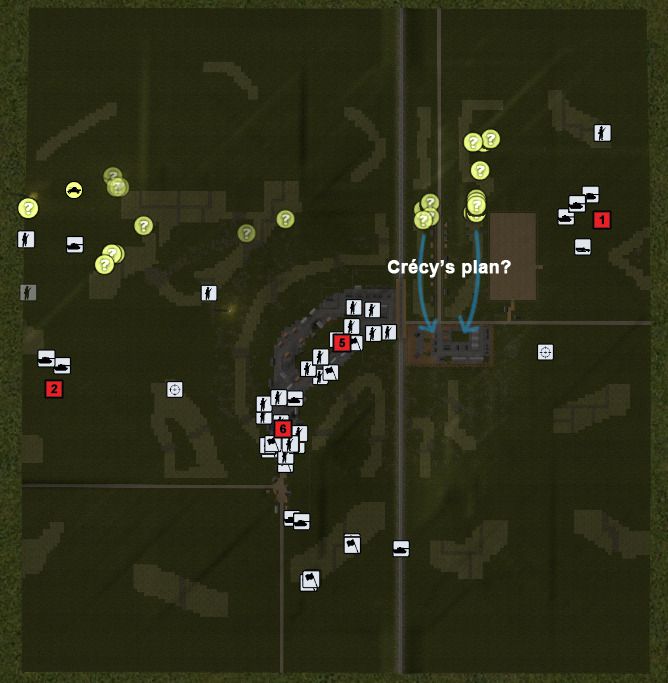
|

|

|
 |
| Thread Tools | |
| Display Modes | |
|
|


 Hybrid Mode
