
|
|
SUBSIM: The Web's #1 resource for all submarine & naval simulations since 1997
 |
SUBSIM: The Web's #1 resource for all submarine & naval simulations since 1997 |
 01-27-15, 08:32 PM
|
#751 |
|
Eternal Patrol
 |
Just getting ready for some touch-up on the paint and looking through my decal box for the markings I need when I noticed I had left the radiators off! Cut them out, sand them to shape, glue them together, let them dry, scrape off some paint, glue them in place, let them dry, paint them, let that dry, and tomorrow I'll be ready to put on the markings.
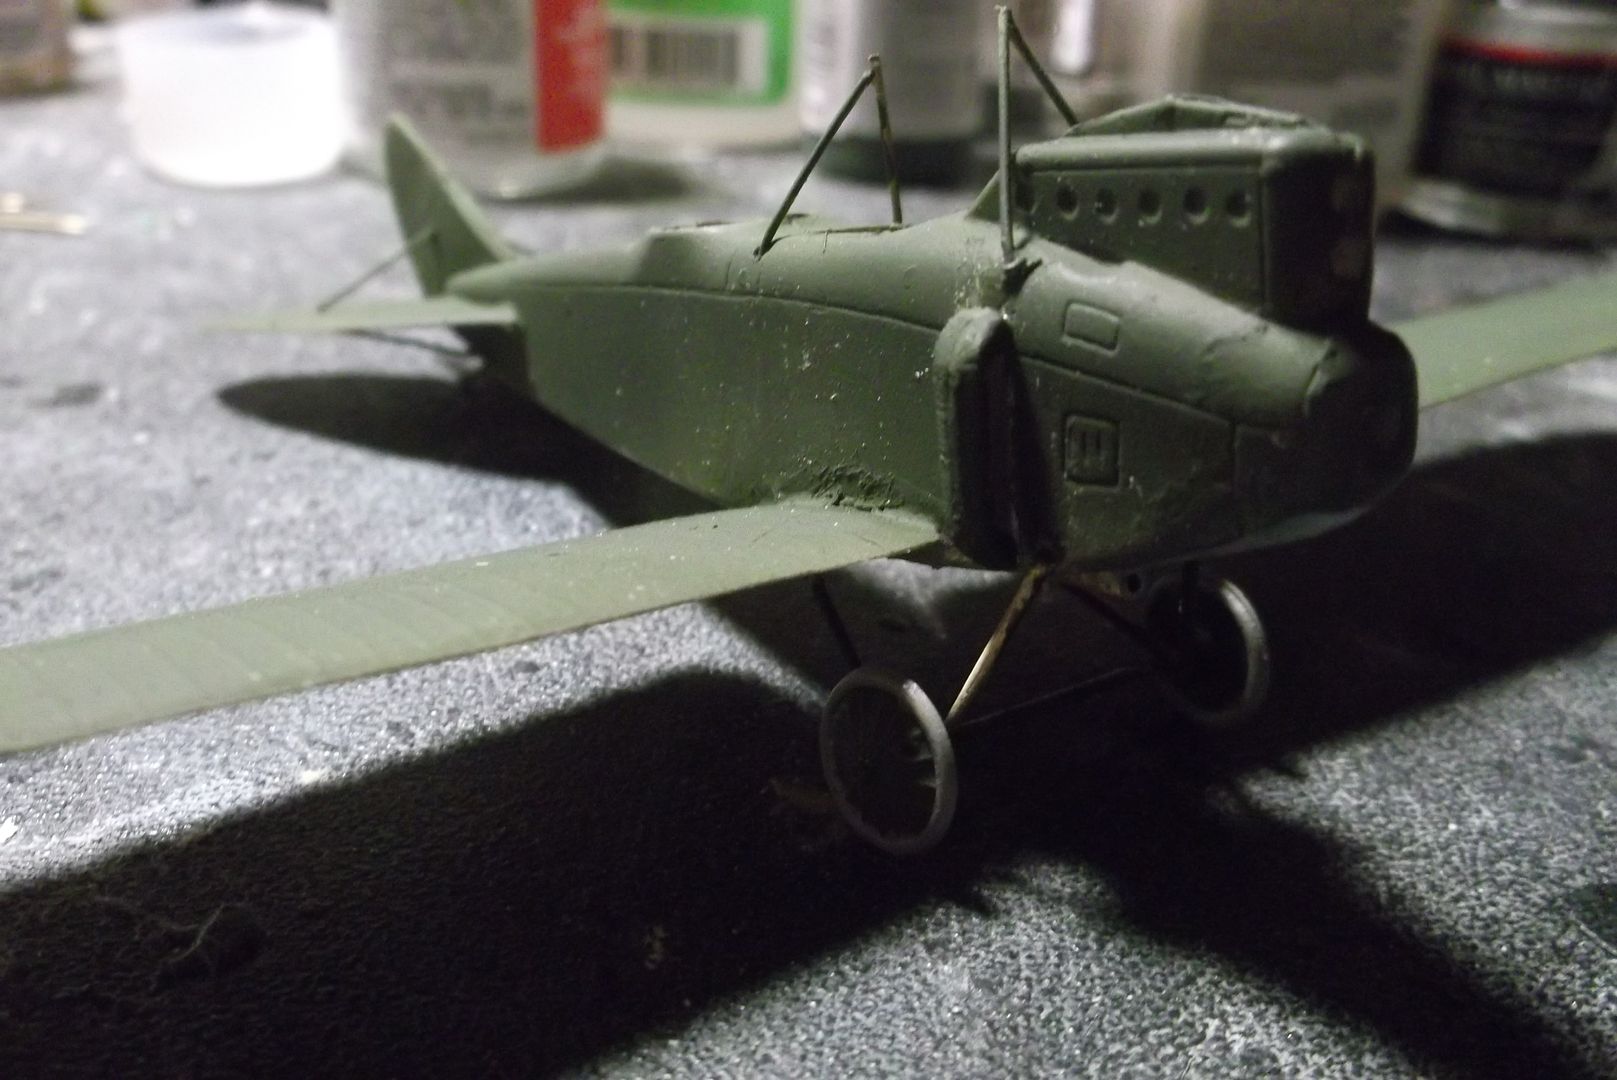 Of course the close-up shows the rough spots along the wing root. I'll have to fix that too.
__________________
“Never do anything you can't take back.” —Rocky Russo |

|

|
 01-27-15, 08:38 PM
|
#752 |
|
Canadian Wolf
|
Looking good Steve.
|

|

|
 01-28-15, 09:26 PM
|
#753 |
|
Eternal Patrol
 |
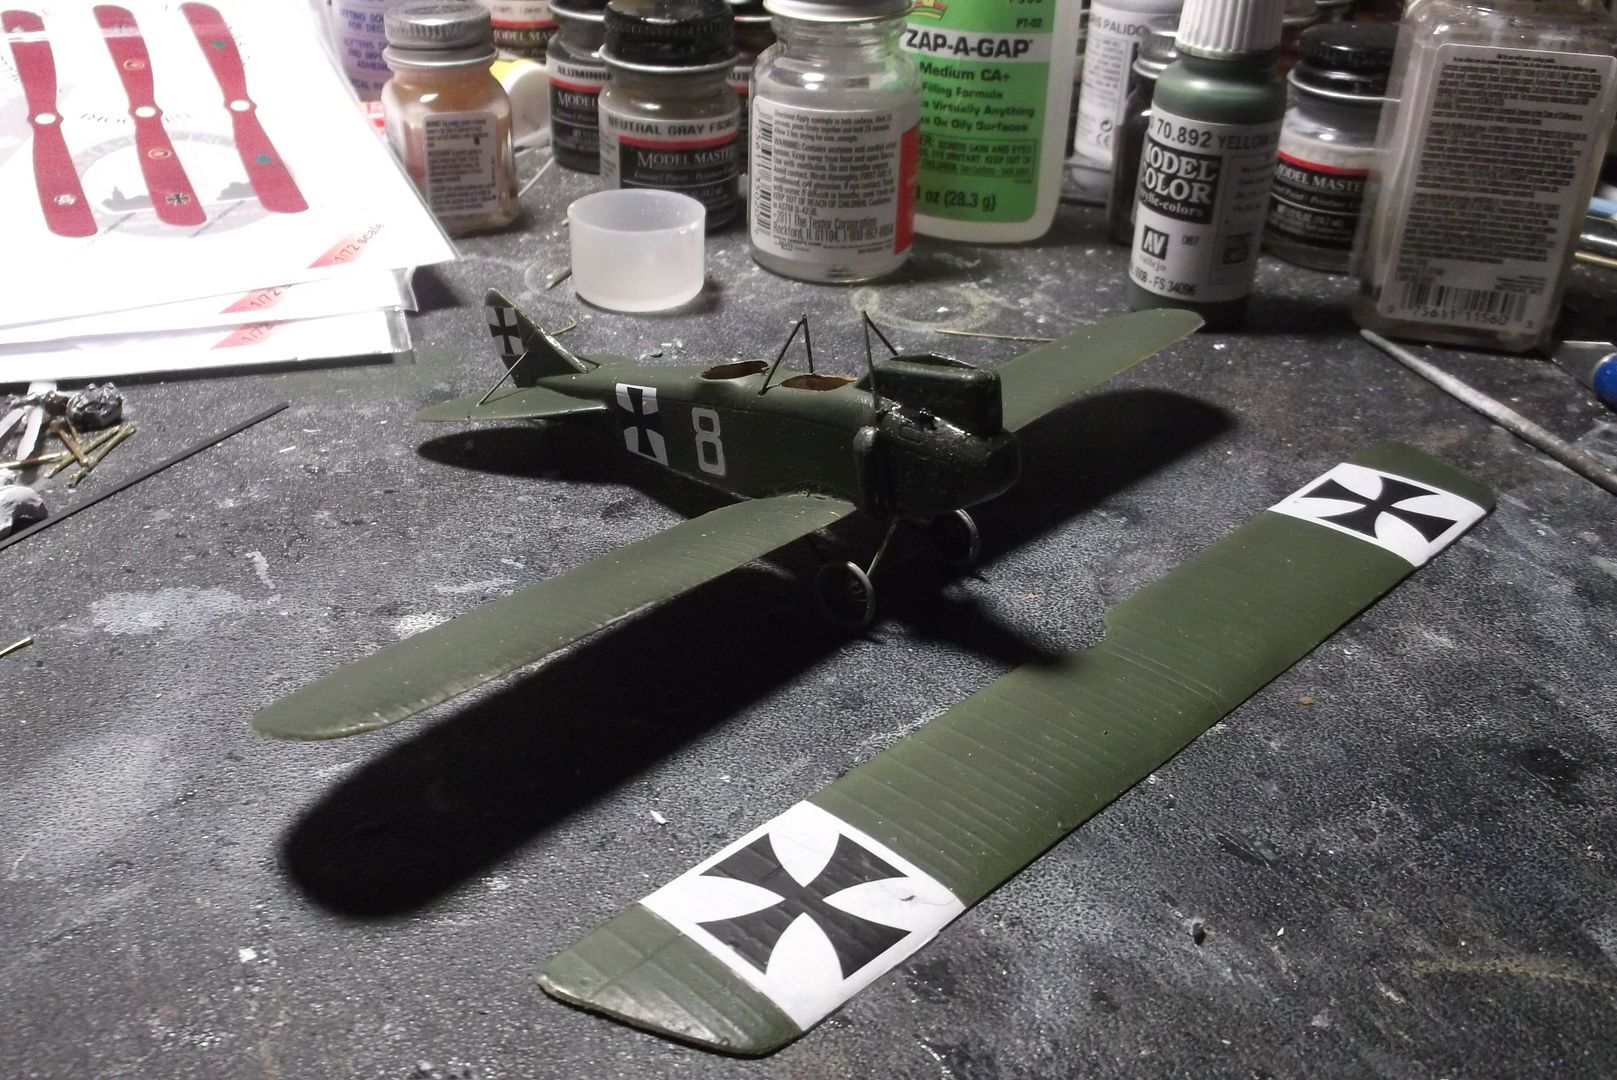
I was about to get the decals on when I realized I had also left off the pilot's machine gun. It wasn't easy to forget but it was hard to find because not one of the photographs shows it. I finally found it on a three-view drawing, half buried under the cowling. I had to do a lot of digging and repainting, but I got the gun installed and the decals on.
__________________
“Never do anything you can't take back.” —Rocky Russo |

|

|
 01-29-15, 11:32 PM
|
#754 |
|
Eternal Patrol
 |
__________________
“Never do anything you can't take back.” —Rocky Russo |

|

|
 01-31-15, 08:43 PM
|
#755 |
|
Eternal Patrol
 |
__________________
“Never do anything you can't take back.” —Rocky Russo |

|

|
 01-31-15, 09:23 PM
|
#756 |
|
Gefallen Engel U-666
|
__________________
"Only two things are infinite; The Universe and human squirrelyness; and I'm not too sure about the Universe" |

|

|
 02-05-15, 03:16 PM
|
#757 |
|
Eternal Patrol
 |
__________________
“Never do anything you can't take back.” —Rocky Russo |

|

|
 02-06-15, 03:47 PM
|
#758 |
|
Eternal Patrol
 |
Next up is a makeover. I built this Nieuport 10 from a vac kit at least twenty years ago, and probably more. It represents a later one with a gun for the pilot and a real rear-seat ring mount for the observer. I put British markings on it and called it good, and after years of wear and tear it's still in pretty good shape, though both the guns are gone.
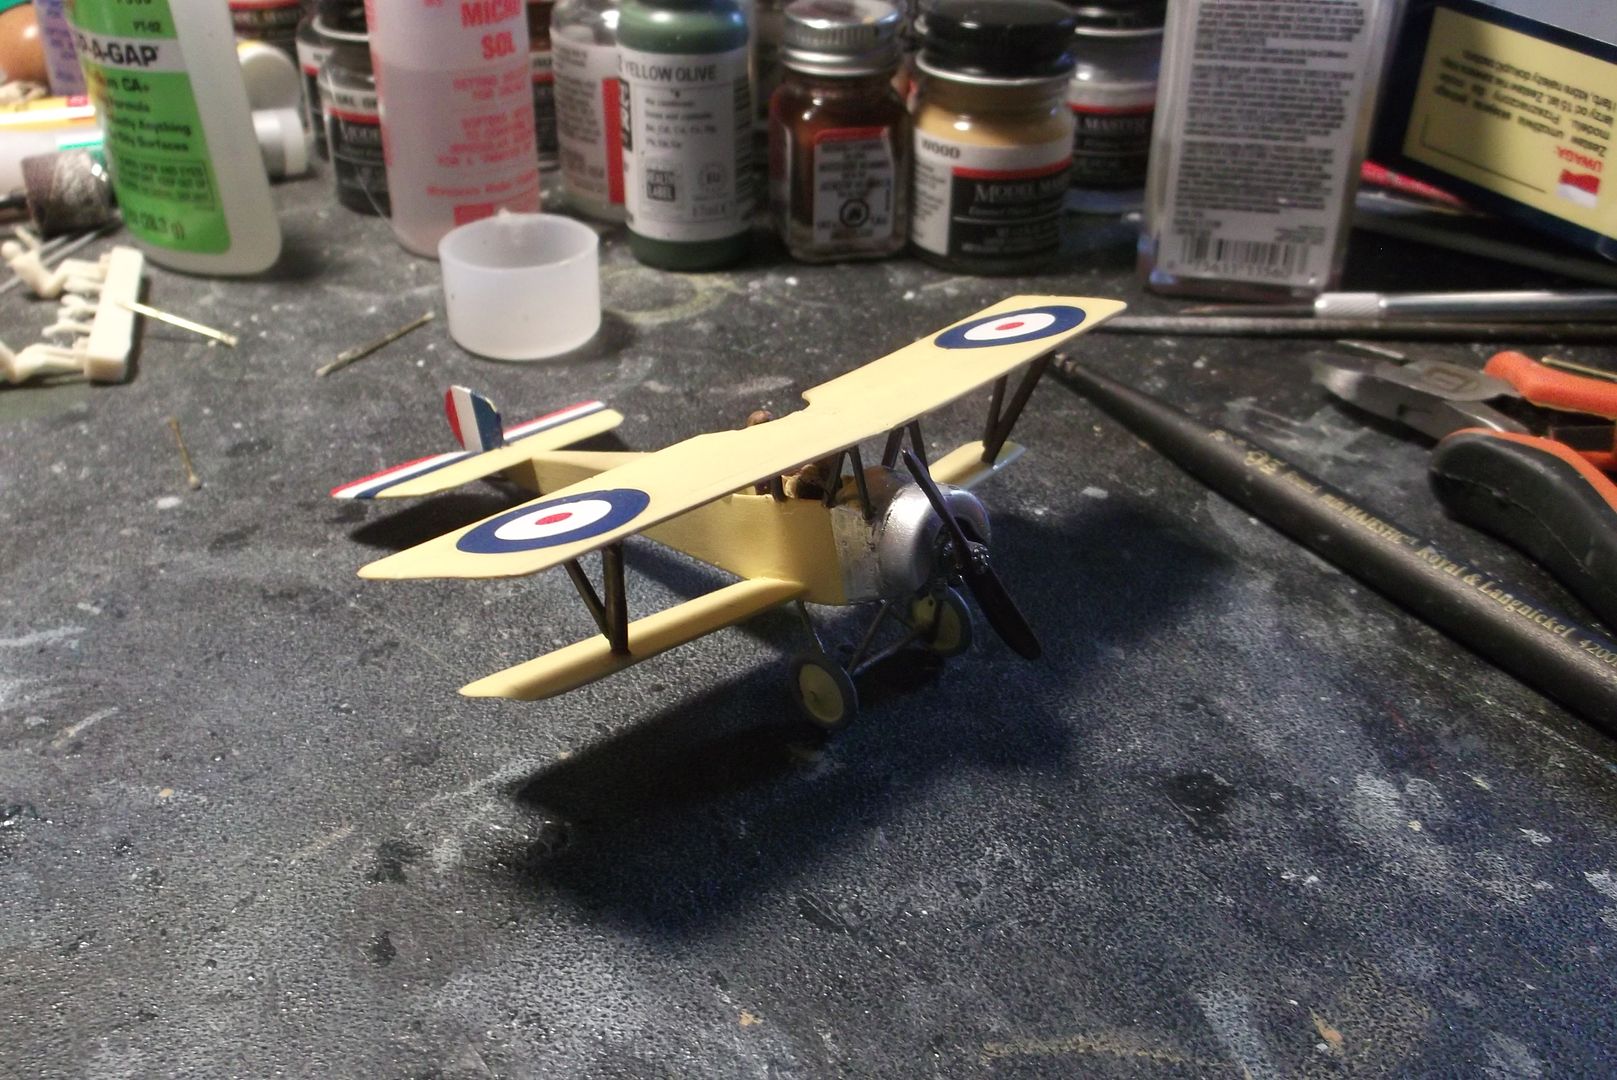 While I was building my two early versions I came across some pretty cool decals for a later one and decided I'd like to start over and make this one better if I could. It's going to involve a little restoration, French markings, and of course rigging.
__________________
“Never do anything you can't take back.” —Rocky Russo |

|

|
 02-06-15, 08:14 PM
|
#759 |
|
Eternal Patrol
 |
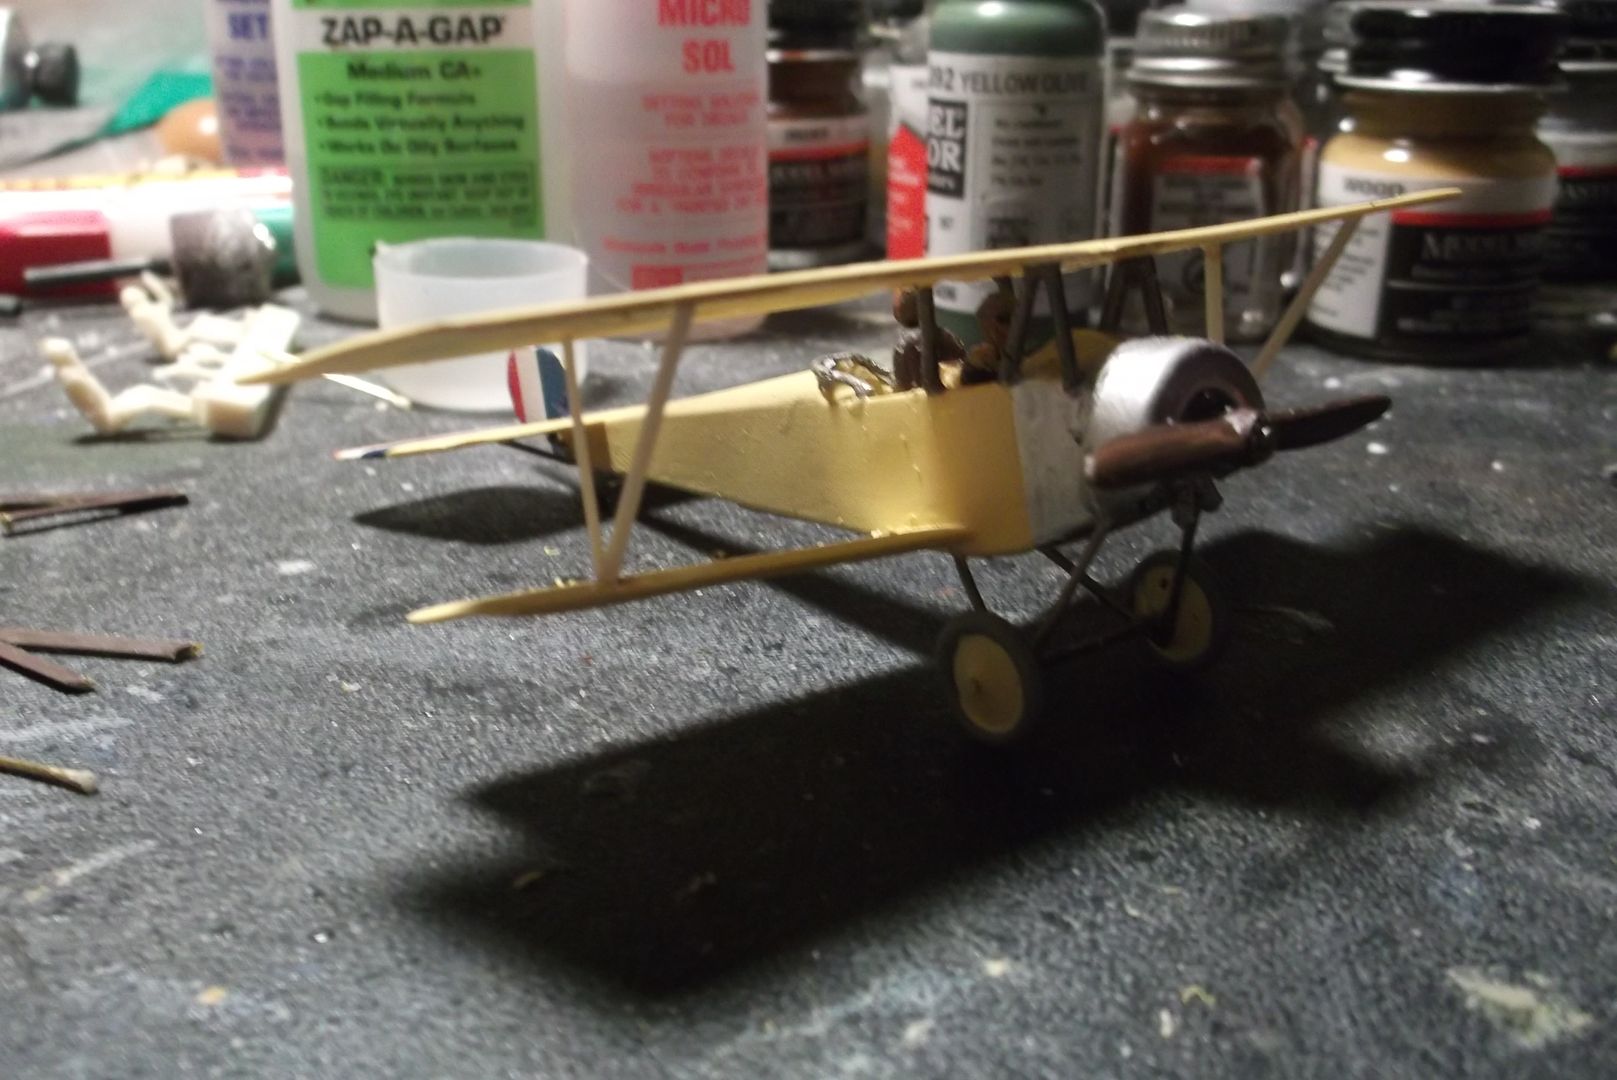
The first step is to replace the wing struts. When I built the model the only reference available was Harleyford Publications' Fighter Aircraft of the 1914-1918 War. That book put the Nieuport 10 and 12 together, but their only drawing was of the 12. The kit was also of the N.12, so their drawing was the same. Because of that my '10' had the struts sloping, which the 12 does to compensate for the longer top wing. It wasn't until recently when I built the two N.10 kits that I discovered that on the 10 the struts are vertical. I removed the struts entirely and built new one from some aerofoil shaped material I had on hand.
__________________
“Never do anything you can't take back.” —Rocky Russo |

|

|
 02-07-15, 05:35 PM
|
#760 |
|
Eternal Patrol
 |
__________________
“Never do anything you can't take back.” —Rocky Russo |

|

|
 02-07-15, 06:28 PM
|
#761 |
|
Eternal Patrol
 |
Step three is to mask the nose and tail and repaint it. The color is not clear-doped linen but rather a darker yellow paint the French were experimenting with at the time.
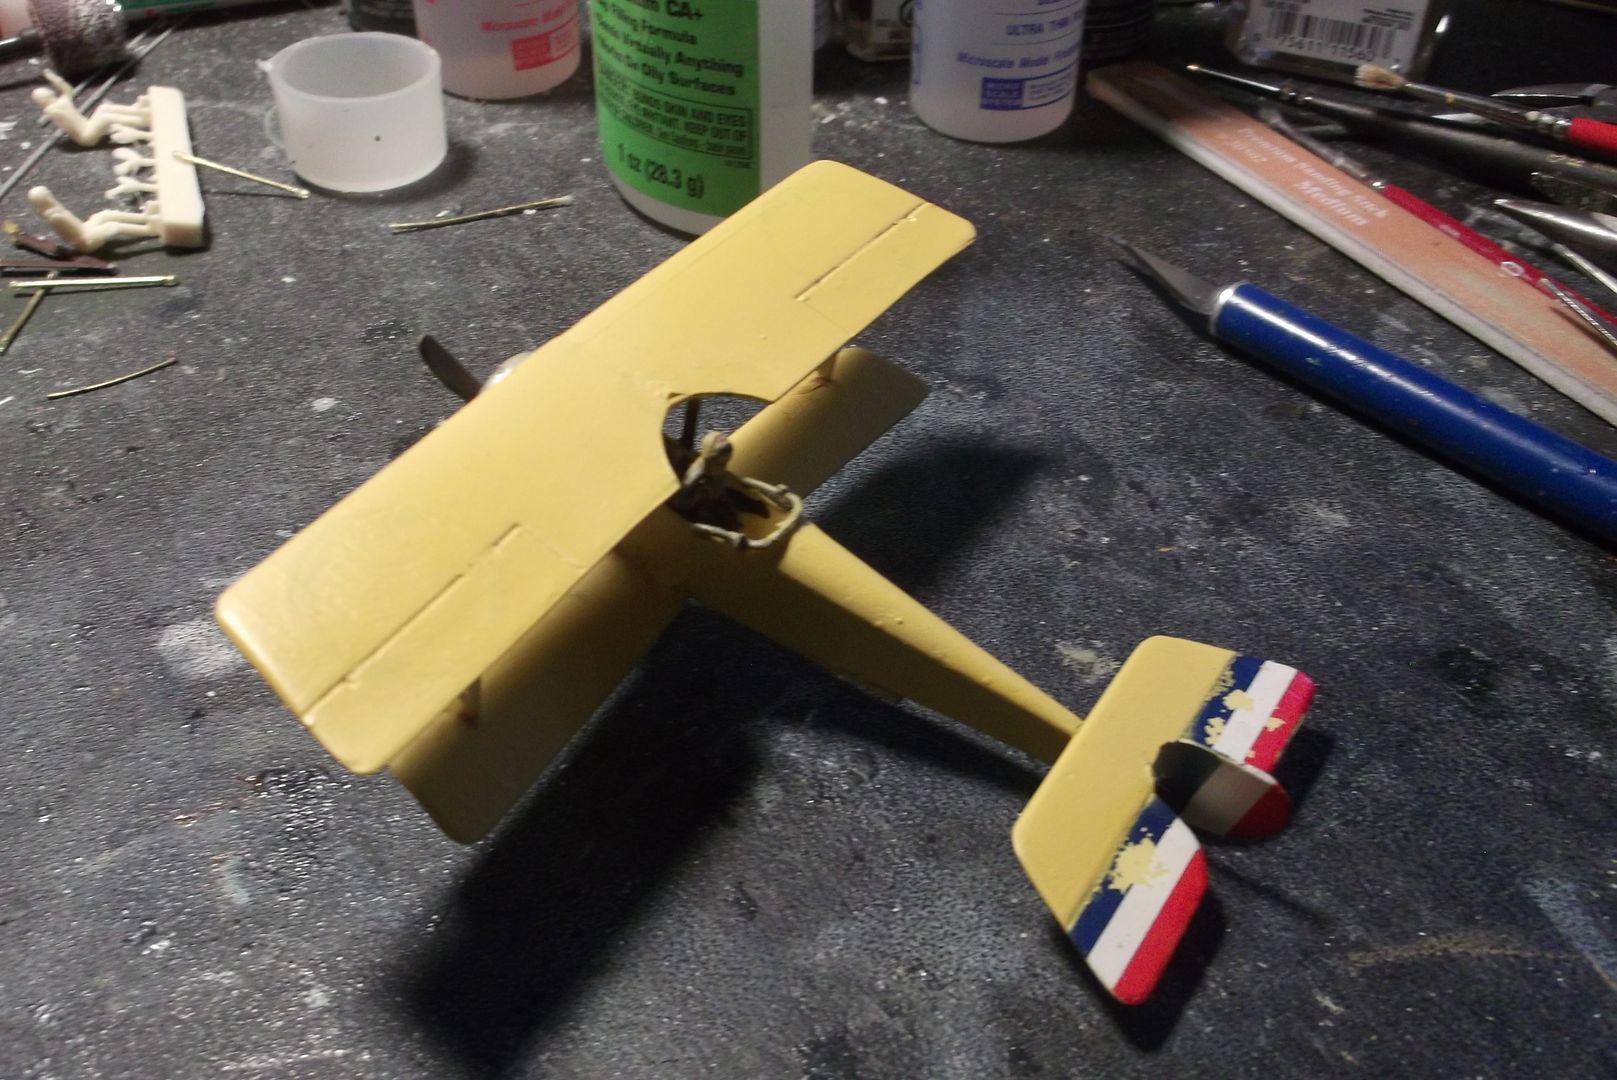 Some of the old decal lifted from the elevators. Easy enough to fix later.
__________________
“Never do anything you can't take back.” —Rocky Russo |

|

|
 02-07-15, 06:56 PM
|
#762 | |
|
Ocean Warrior
 Join Date: Mar 2004
Posts: 3,282
Downloads: 0
Uploads: 0
|
Quote:

__________________
Looks like we need a Lemon Law for Presidents now! DNC sold us a dud, and they knew it. |
|

|

|
 02-07-15, 08:35 PM
|
#763 |
|
Eternal Patrol
 |
Thanks.
It's akin to fishing line, but purchased at a fabric store. I think the diameter is .003, and I bought one roll of 300 yards so many years ago I've forgotten the time-frame. I don't think I've used half of it, so it should last the rest of my life. If not, the stuff is still dirt cheap. Every plane is different, depending on how the original was done, but most of it is strung from a single piece, as long as I can make it. In this case the lower attachments were to the wing roots. so I drilled two tiny holes on each side. Starting with the forward root it runs to the top of the forward inner strut. From there it goes aft to the bottom of the after strut, then to the top of the outer aft strut, forward to the bottom of the outer front strut, then inward to the top of the inner forward strut again. There's nowhere to go from there, so I tie that one off, glue and cut it. Next the procedure is reversed from the rear fuselage hole. Once both wings were done that way I attached the opposite inside wires, tying it to the front bottom strut first, then up to the top of the cabane and down the other side, then doing the rear in the same way. There is a line which runs from the forward landing gear brace to the top of the aft inner strut and keeps the wings anchored laterally. I started at the strut and ran it to the landing gear brace, then across and down the front and back up the rear to make the landing gear wires. My next project will be a pusher. They have a lot of rigging. 
__________________
“Never do anything you can't take back.” —Rocky Russo |

|

|
 02-07-15, 09:09 PM
|
#764 |
|
Gefallen Engel U-666
|
I can't tell from the photo; did you put decals on the propeller?
__________________
"Only two things are infinite; The Universe and human squirrelyness; and I'm not too sure about the Universe" |

|

|
 02-08-15, 09:54 AM
|
#765 |
|
Eternal Patrol
 |
Yes.
__________________
“Never do anything you can't take back.” —Rocky Russo |

|

|
 |
| Tags |
| model |
|
|
