
|
|
SUBSIM: The Web's #1 resource for all submarine & naval simulations since 1997
|
SUBSIM: The Web's #1 resource for all submarine & naval simulations since 1997 |
 01-31-09, 01:16 PM
|
#1 |
|
Rear Admiral
 Join Date: Mar 2005
Posts: 13,224
Downloads: 5
Uploads: 0
|
Okay I know its not 'naval' but...
There was a discussion in General about paper airplanes. I posted about having built stick and tissue models for a loooong time. Here is my latest start ! Enjoy !  Almost forgot the box shot ! 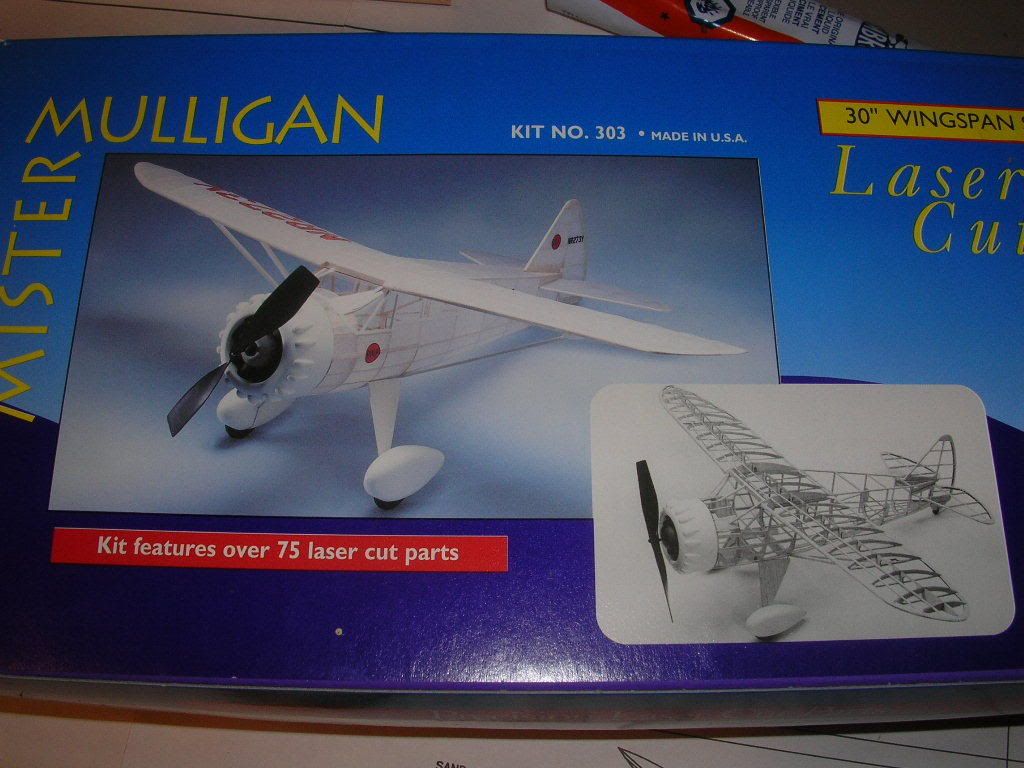 Credit where credit is due 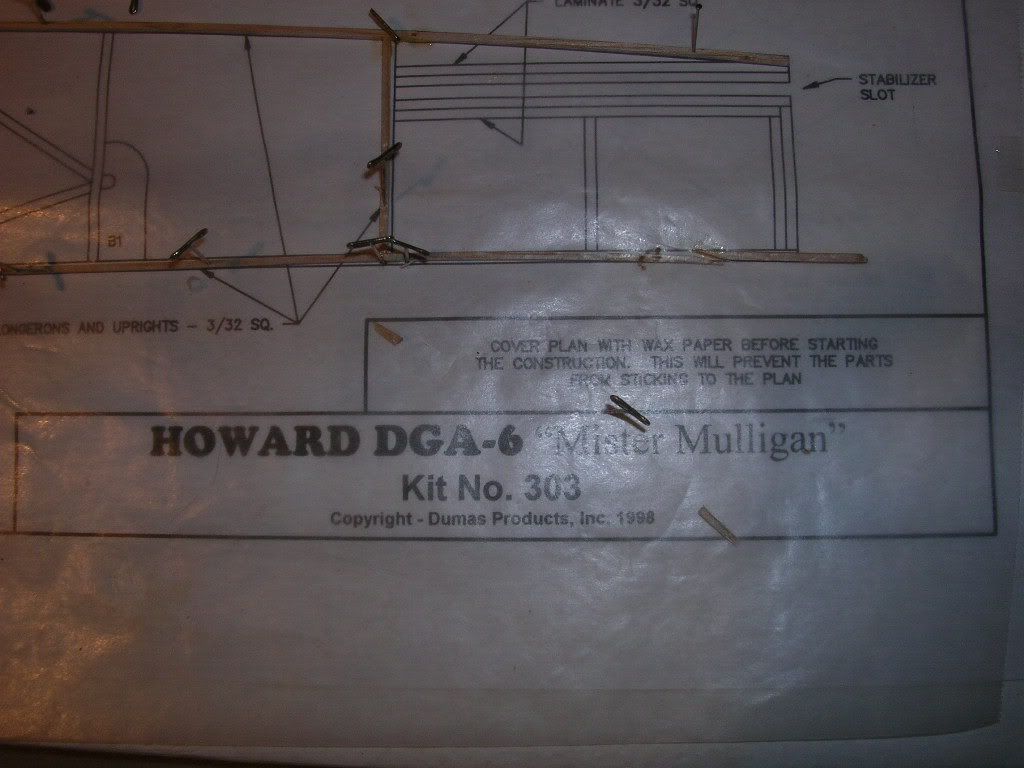 A sense of its scale 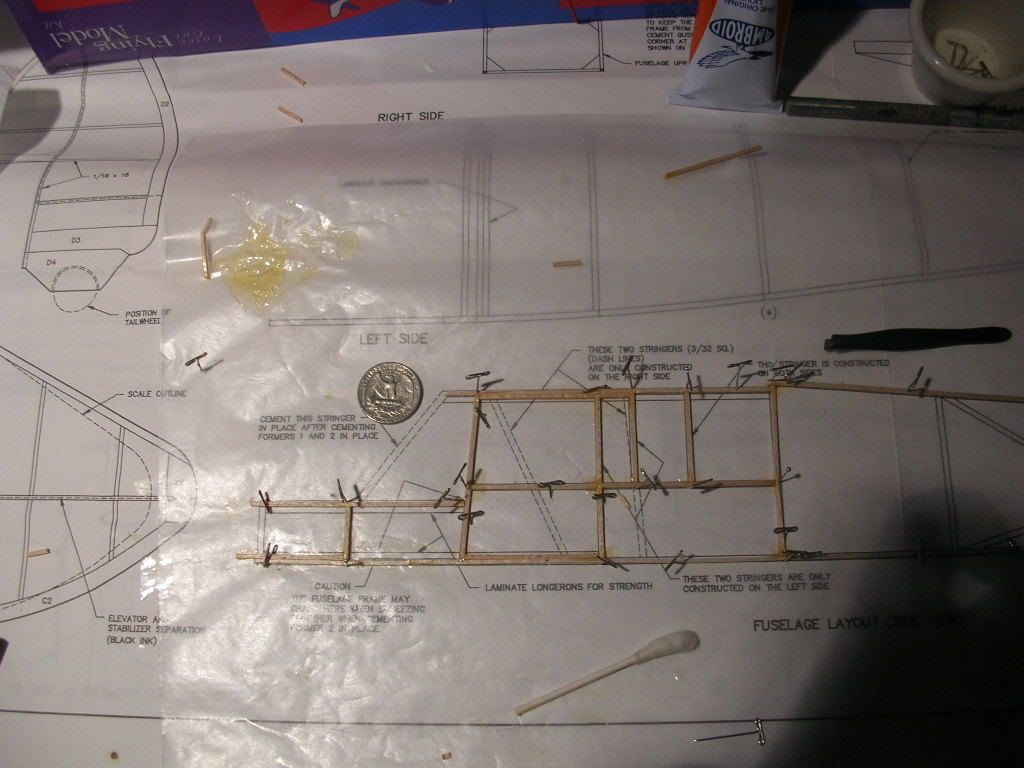 T pins ! 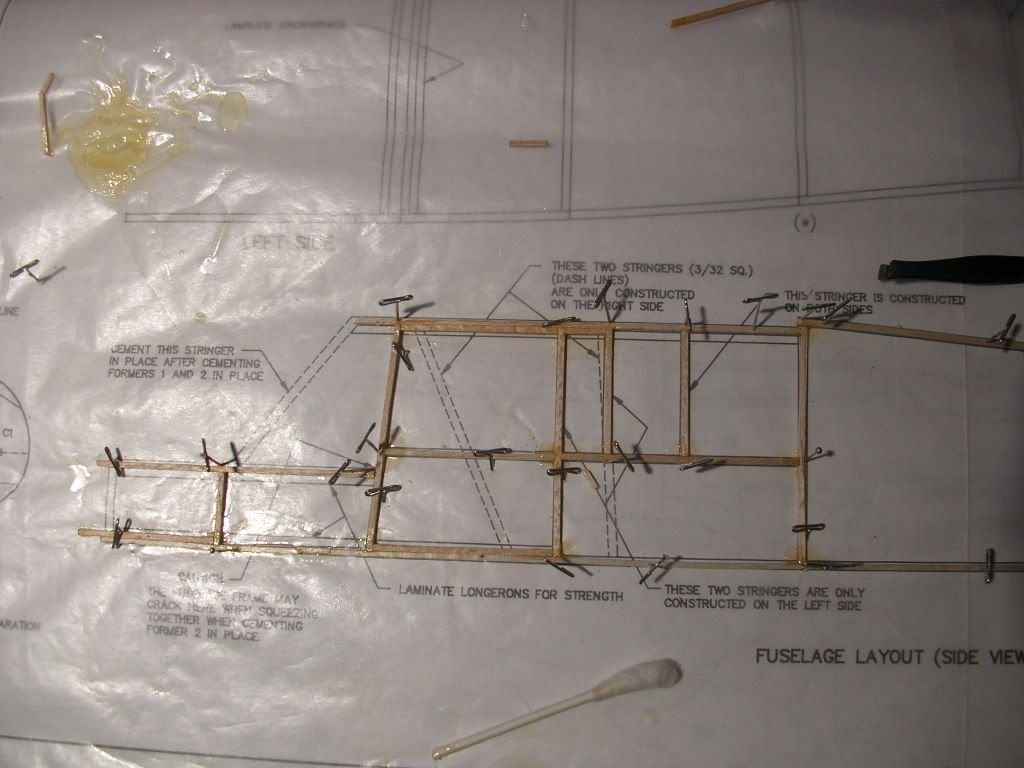 The stringers are of 3/32" balsa. The wood is of very poor quality. I may have to throw the lot out and get some 'good' wood from the hobby shop. In the meantime They sure are thin ! (Thats the edge of a quarter behind) 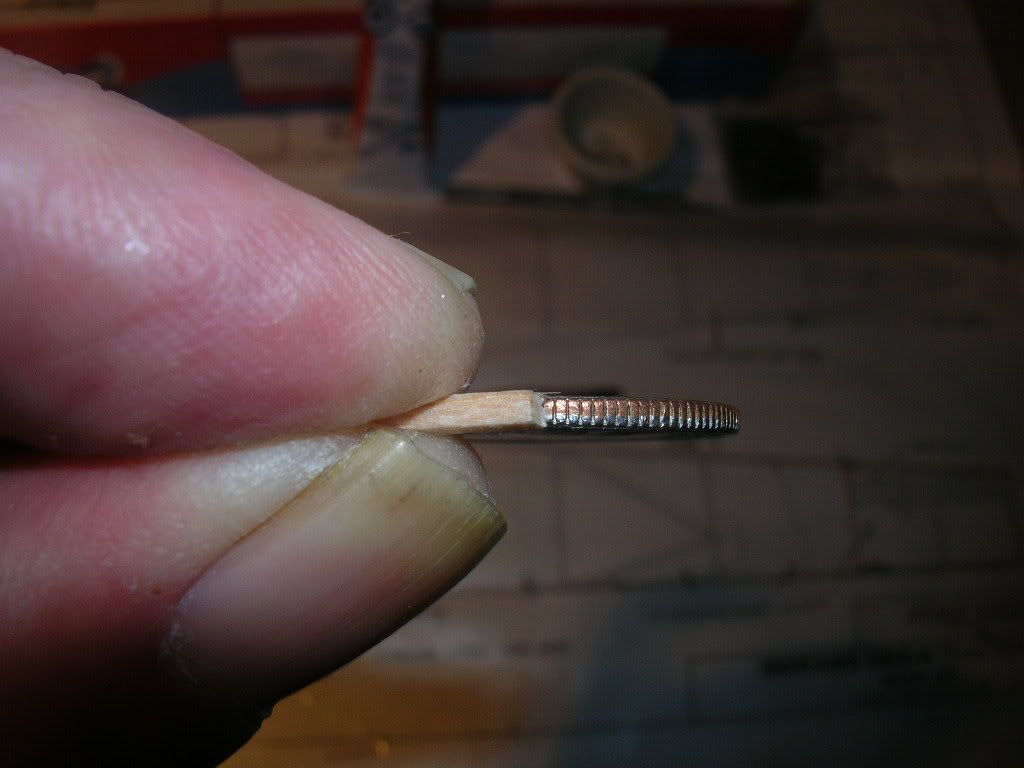 My 'workspace' 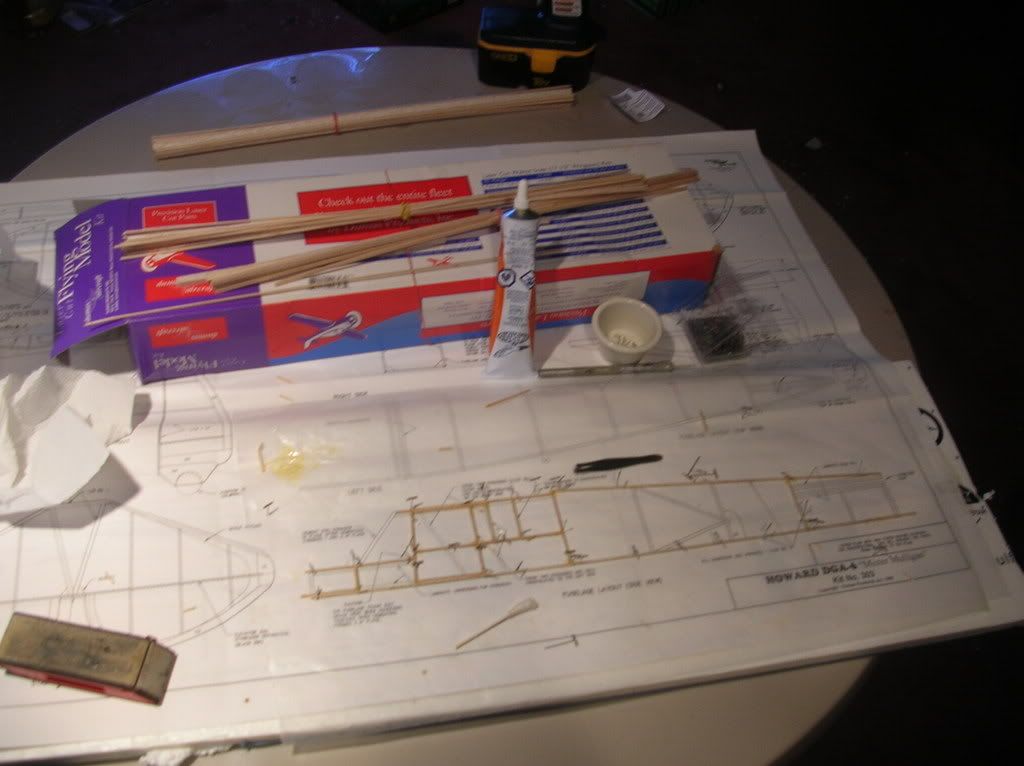 Ill add more as she comes along or I end up burning it :rotfl: I really have my doubts of the fuse holding together with the thin stringers. Still they get doubled up in some spots and Ill be adding gussetts so we will see. |

|

|
|
01-31-09, 02:15 PM
|
#2 |
|
Rear Admiral
Join Date: Mar 2005
Posts: 13,224
Downloads: 5
Uploads: 0
|
Well Mr. Experienced modeler the jokes on me
 Seems that those stringers that are so thin is because there the wrong ones :rotfl: I looked for another part in the box and found these 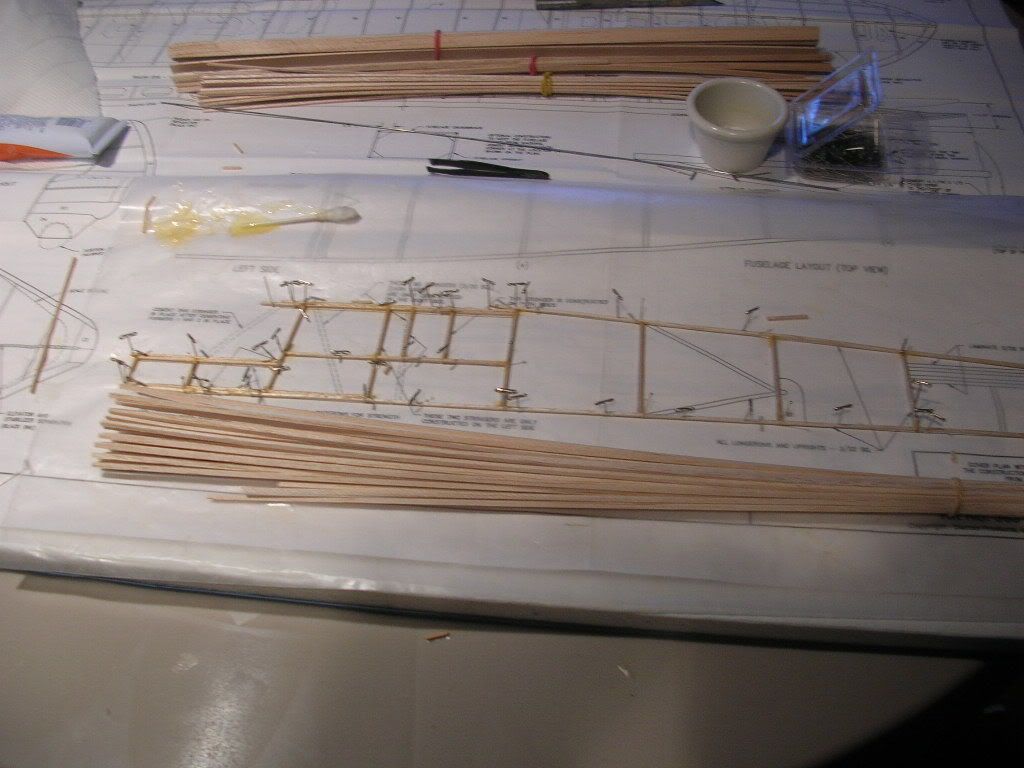 Another edge of the quarter shot 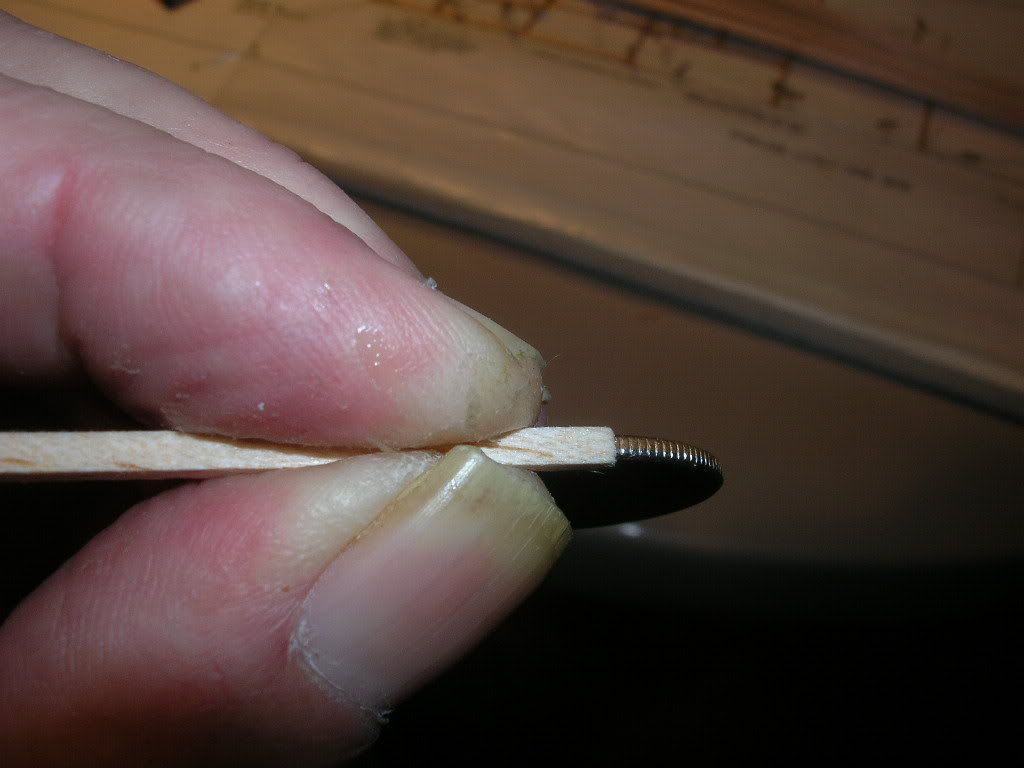 Well Im off to start pulling pins  oh and to buy some 1/16 balsa oh and to buy some 1/16 balsa  Tip to the modelers out there... check the box twice ! |
|
|
|
|
02-02-09, 03:57 PM
|
#3 |
|
Rear Admiral
Join Date: Mar 2005
Posts: 13,224
Downloads: 5
Uploads: 0
|
Now this is more like it. What I like to see nice tight jointwork.
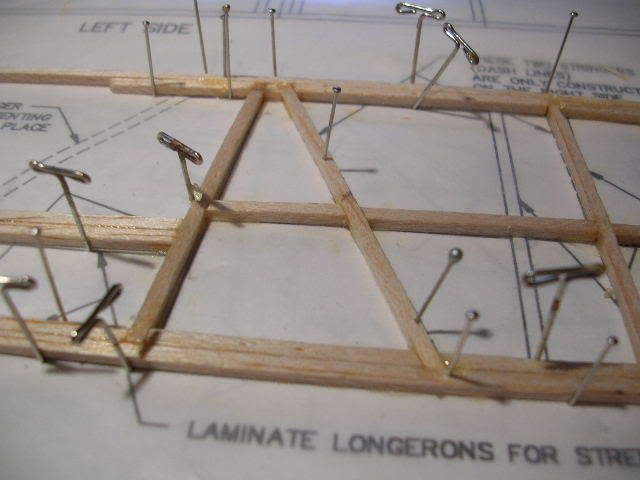 Close up of tail section 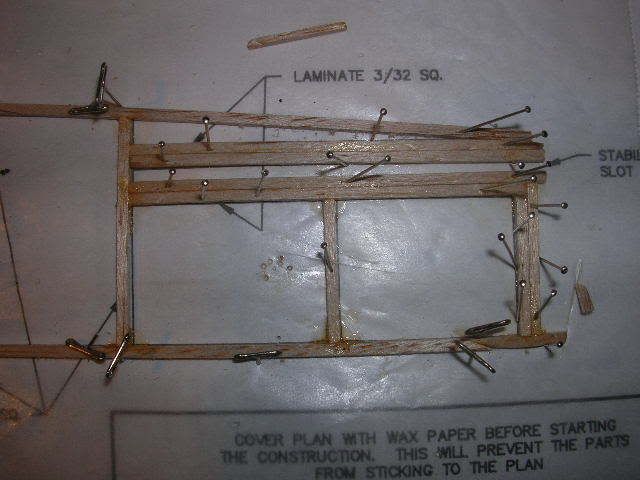 Both 'sides' done now 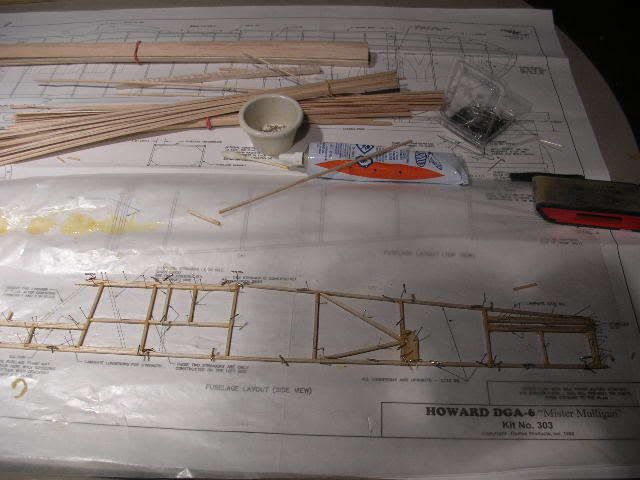 Now for the hard part 
|
|
|
|
|
02-02-09, 04:17 PM
|
#4 |
|
Admiral
 Join Date: Aug 2003
Location: Michigan, USA
Posts: 2,387
Downloads: 21
Uploads: 0
|
What an interesting project! I didn't know kits like this were available. I'll be following this thread closely. Keep it up!

|
|
|
|
|
02-02-09, 05:25 PM
|
#5 | |
|
Rear Admiral
Join Date: Mar 2005
Posts: 13,224
Downloads: 5
Uploads: 0
|
Quote:
This kit from Dumas is one of the better ones. Designed to fly and not just look purdy. Some of the kits offered by other (Guillows) manufacturers while they will fly are just too heavy. Remember a rock will fly too if you throw it hard enough. But they can still be nice display pieces. Another quality manufacturer is peck polymers and SIG (if sig still does stick and tissue). The actual construction will probably go in fits and starts with little to nothing getting done weekday/nights. The next phase is what I call 'boxing up' the fusealage. When the two halfs are joined together to form... well a fusealage. This is one of the most cruical and difficult steps. The hardest part is to get it straight and plumb and not racked or twisted. Get a bad enough warp in the fuse and you will never get the thing to fly right. Now whered I put those triangles
|
|
|
|
|
|
02-02-09, 05:31 PM
|
#6 |
|
Eternal Patrol
 Join Date: Mar 2006
Location: CATALINA IS. SO . CAL USA
Posts: 10,108
Downloads: 511
Uploads: 0
|
I'll be following this too. This plane is kool.
 BTW get a manacure.
|
|
|
|
|
02-02-09, 08:23 PM
|
#7 | |
|
Rear Admiral
Join Date: Mar 2005
Posts: 13,224
Downloads: 5
Uploads: 0
|
Quote:
The sides pinned down ready for boxing 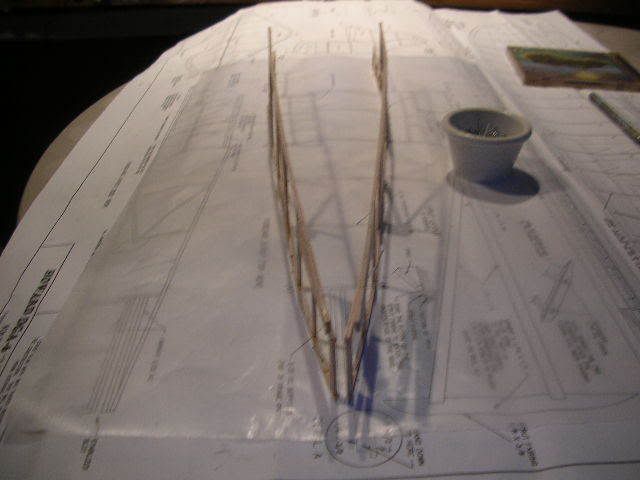 Theres always a supprise... the stern doesent match up over the plan. No biggy Ive seen this before. Will deal with it in due course. 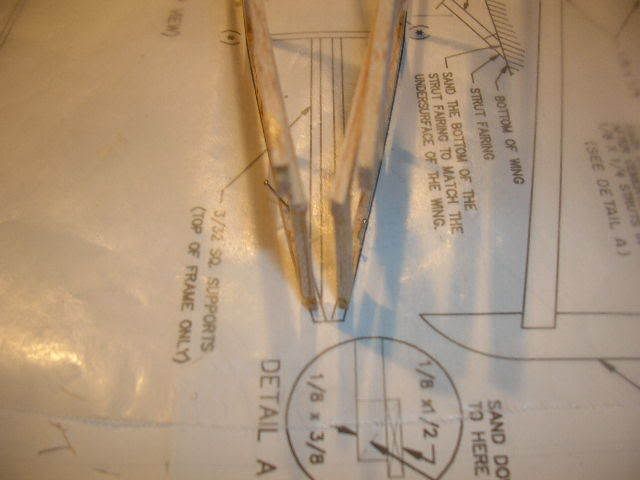 A little dab of extra glue here, this is where the landing gear will enter the fuse. 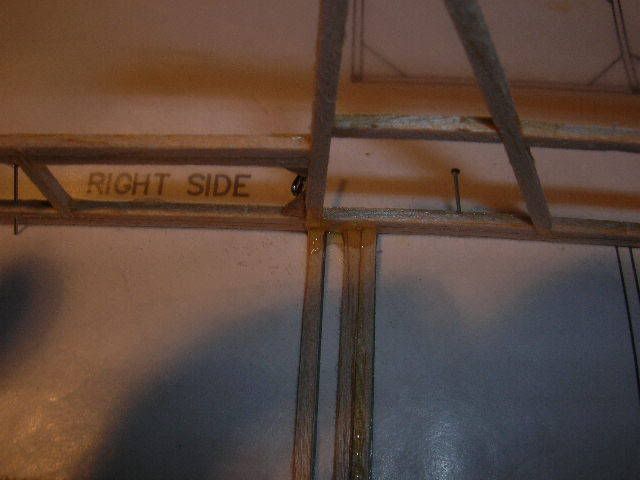 Lower horizontal struts in place. Cant see it in this picture but the tail remains un-connected. I'll wait till the horizontals are dried in then using 'triangles' Ill make sure the fuse is squared before I pin the tail. 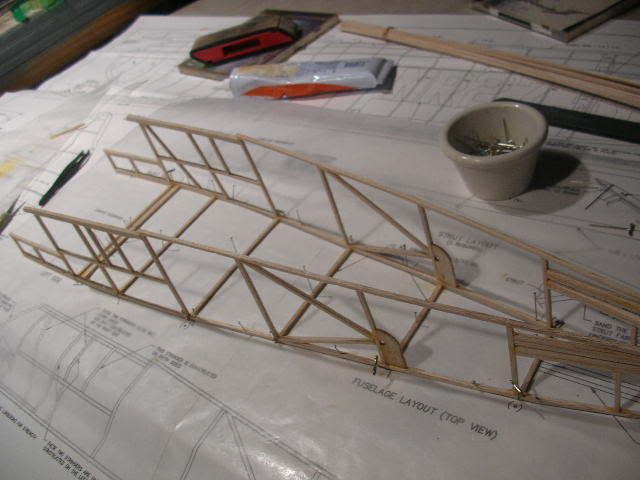
|
|
|
|
|
|
02-06-09, 08:43 PM
|
#8 |
|
Admiral
Join Date: Aug 2003
Location: Michigan, USA
Posts: 2,387
Downloads: 21
Uploads: 0
|
Have you made any progress with the model? I checked out the Dumas website and was shocked at the prices for the boats. The planes don't seem to bad with the pricing but the boats were just astronomical. They have some nice models, though!
|
|
|
|
|
02-11-09, 06:36 PM
|
#9 |
|
Rear Admiral
Join Date: Mar 2005
Posts: 13,224
Downloads: 5
Uploads: 0
|
Well like I said it will go in fits and starts.
I did finish (more or less) the boxing out Top Down View 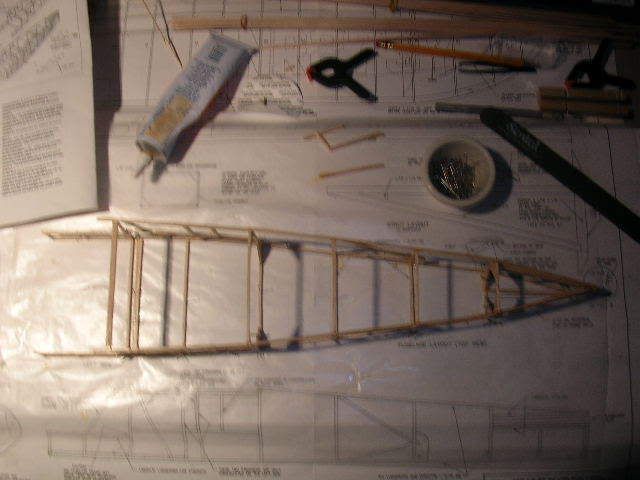 Looks pretty square 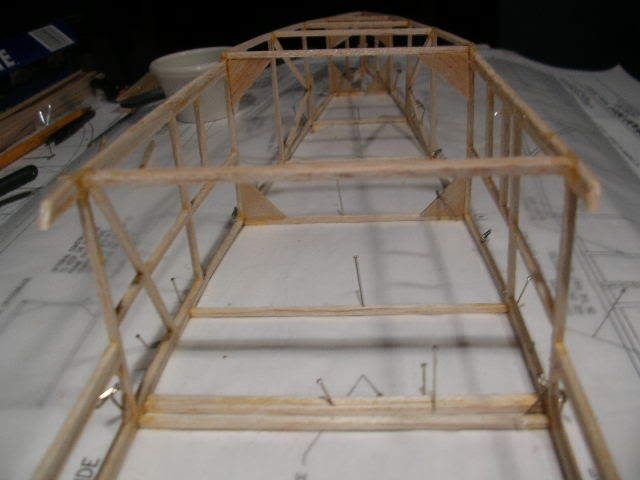 These large gussets (the triangles) lend strength and help keep the fuse from 'racking' or twisting when you wind er up. 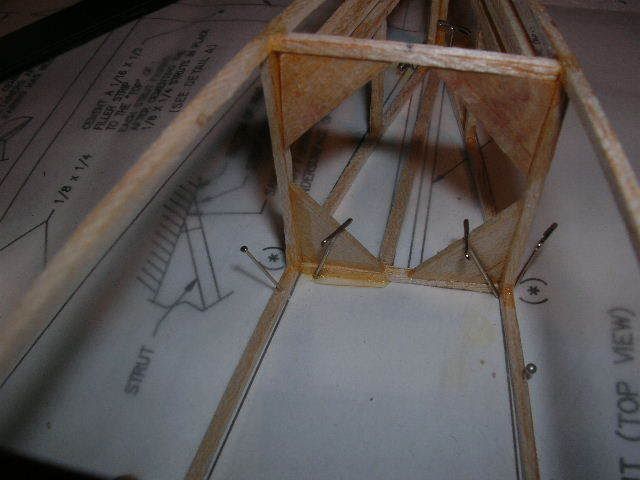 View from the stern. There are two pieces I need to place that hold the rudder in place, however I have to wait till all this dries in, pull the pins and flip her over. Note how the stern dident pin together over the plan.. no one will ever notice. 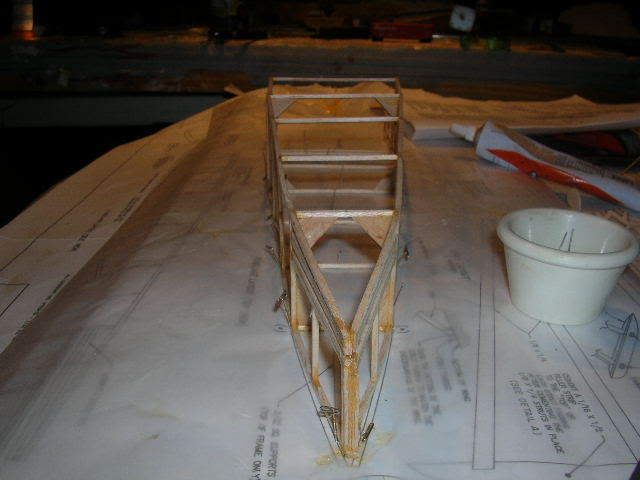 ps; you catch a glimpse of my trainset in the last pic. |
|
|
|
|
02-23-09, 11:52 AM
|
#10 |
|
Rear Admiral
Join Date: Mar 2005
Posts: 13,224
Downloads: 5
Uploads: 0
|
Some progress has been made
The fuselage is more or less complete, the next step is to bend and place the wire for the landing gear but I'm putting that off till later. 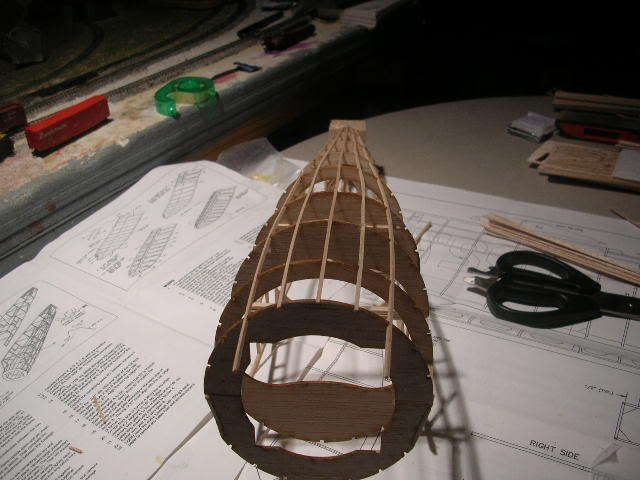 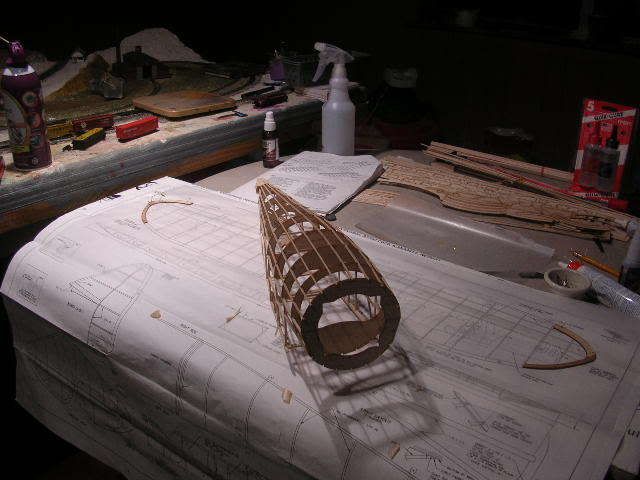  Starting on the wing now. You saw the tips in the previous photo. 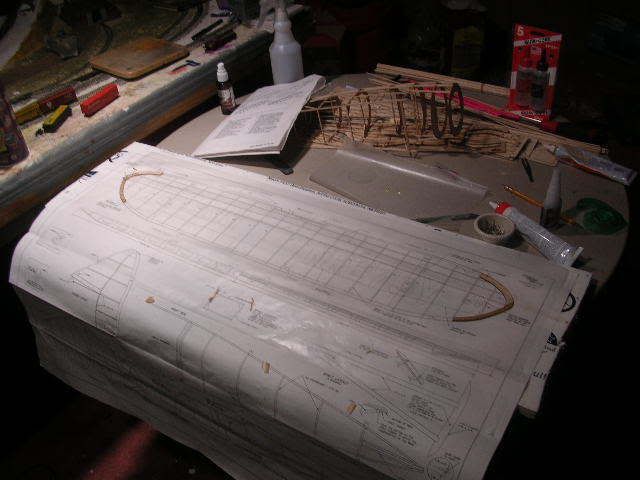 The tips get doubled up not only for strength but for shaping. They will be rounded off later. 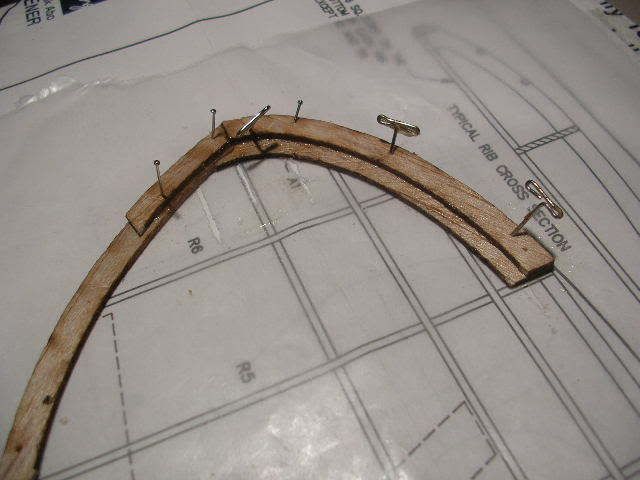 Some sections are just layed out over the plan. Diheadral or angles will be added later at some point. You have to be careful what you glue and what you dont. You really have to think ahead at this point. (I apologize for my lame photoshop skills). 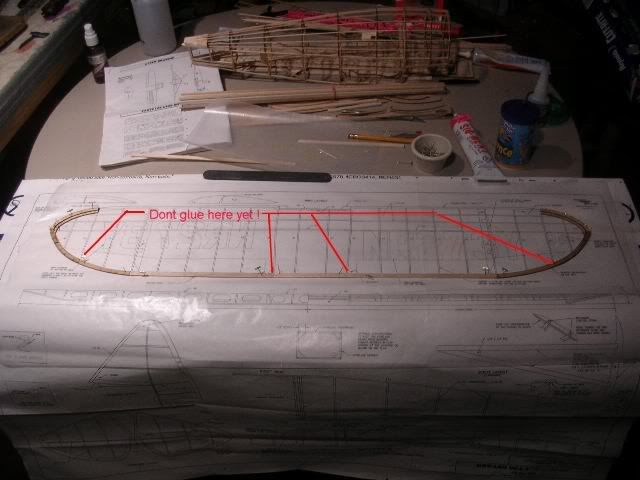
|
|
|
|
|
02-25-09, 12:10 AM
|
#11 |
|
Weps
 Join Date: Aug 2006
Posts: 362
Downloads: 13
Uploads: 0
|
I wish I had the your patience!
I'm with Syxx (as usual): keep us posted! This is fascinating! |
|
|
|
|
02-26-09, 10:03 AM
|
#12 |
|
Rear Admiral
Join Date: Mar 2005
Posts: 13,224
Downloads: 5
Uploads: 0
|
Thanks for the words of encouragement.
Some small progress made on the wing. Center section takes shape and lower ribs on the starbord wing section. I had to stop here because I ran out of pins 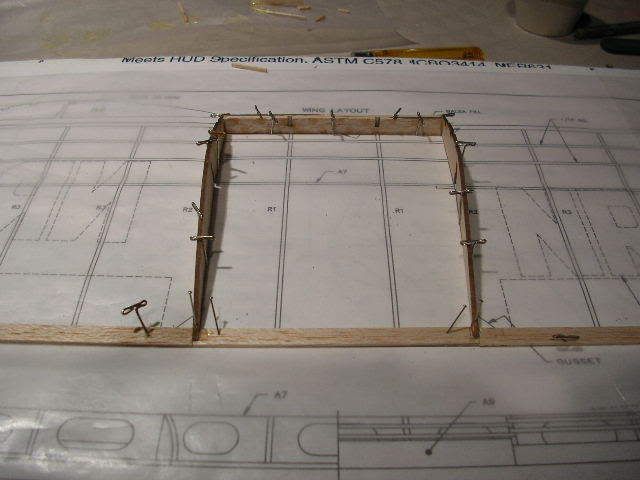 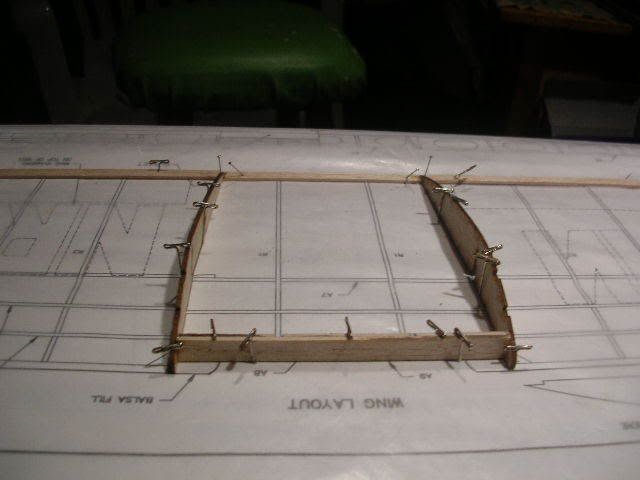 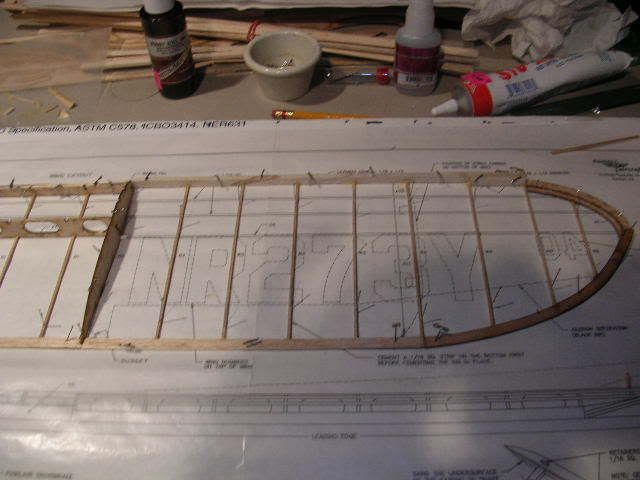
__________________
Follow the progress of Mr. Mulligan : http://www.subsim.com/radioroom/showthread.php?t=147648 |
|
|
|
|
03-06-09, 12:12 PM
|
#13 |
|
Rear Admiral
Join Date: Mar 2005
Posts: 13,224
Downloads: 5
Uploads: 0
|
The wing is really starting to take shape now with the constant chord ribs in place.
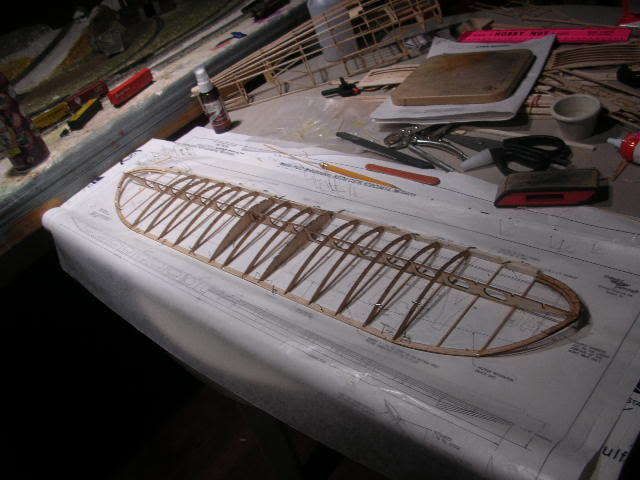 I like the engineering of this model. Notice the lightning holes in the main spar and the 'hollow' ribs. Although I did find a mistake in the instructions, the main spar is part A6 not A7. and the center spar is A7 not A6. It was pretty easy to figure out. 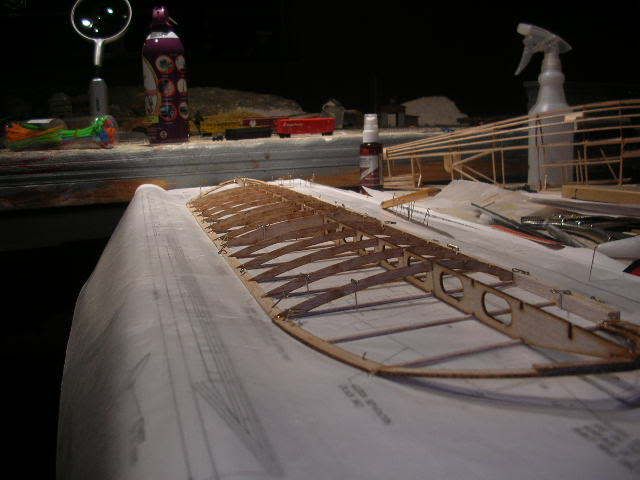
__________________
Follow the progress of Mr. Mulligan : http://www.subsim.com/radioroom/showthread.php?t=147648 |
|
|
|
|
03-06-09, 12:50 PM
|
#14 |
|
Lucky Jack
 
Join Date: Jun 2005
Location: In a 1954 Buick.
Posts: 27,343
Downloads: 90
Uploads: 0

|
Been a long time since I made a balsa wood plane. I could never get the covering on the wings and fuselage right. Good luck!
__________________
You're painfully alive in a drugged and dying culture. ― Richard Yates, Revolutionary Road |
|
|
|
|
03-06-09, 04:46 PM
|
#15 | |
|
Rear Admiral
Join Date: Mar 2005
Posts: 13,224
Downloads: 5
Uploads: 0
|
Quote:
As to applying the tissue it's a real artform. Ill try to post some of my tips and tricks when I get there. The main thing is lots of little pieces on the curved parts, a soft pencil, and an xacto blade... a NEW one. But thats down the road a bit. Im going to try to get the wing finished, set the diheadral and get it off the board this weekend. The stabilizers go together fast. So its starting to come together.
__________________
Follow the progress of Mr. Mulligan : http://www.subsim.com/radioroom/showthread.php?t=147648 |
|
|
|
|
 |
|
|


 Linear Mode

