|
THROUGH THIS LINK SUPPORTS SUBSIM, THANKS! |
The Web's #1 BBS for all submarine and naval simulations!
|
Click here to access the Helosim website |
The Web's #1 BBS for all submarine and naval simulations! |
 01-12-12, 08:55 PM
|
#1 |
|
Lucky Jack
 Join Date: Apr 2005
Location: Finland
Posts: 25,005
Downloads: 32
Uploads: 0


|
Hai!!!
I remember learning this method years ago from ScreenShotArt (ScreenShotWorld these days), but it seems the tutorial has vanished and is not available anymore, so I decided to do a remake of it. The first post will be about making fire, the smoke bit is quite similar to this one, but I'll go over that too tomorrow. Right then. 1. Choose the Chalk 17px brush (should be there by default) and add scattering and spacing via the brush settings panel. I used 65% spacing with 325% scattering. 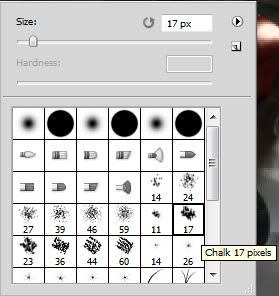 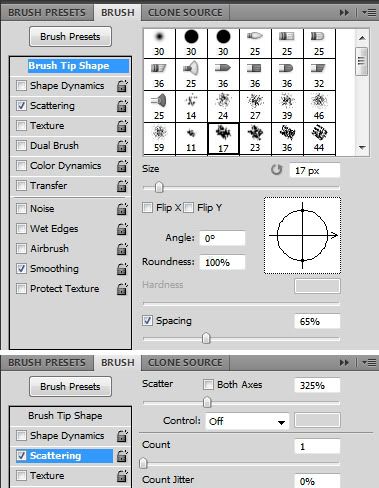 2. Pick a appropriate color to use as the base for the fire and using the brush we set up, draw the basic shape of the fire. (doesn't have to be perfect, you can add to it later on) 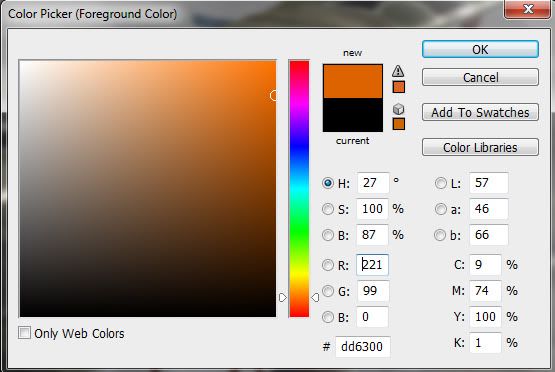 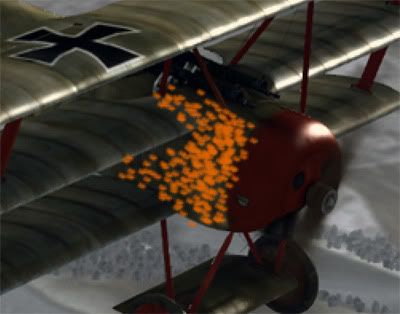 3. Take out the smudge tool and choose a soft round brush (strength = 35% worked fine for me). Start smudging the fire to give it a wispy shape, try to follow the flow of the structure. (smaller brush = more detail) 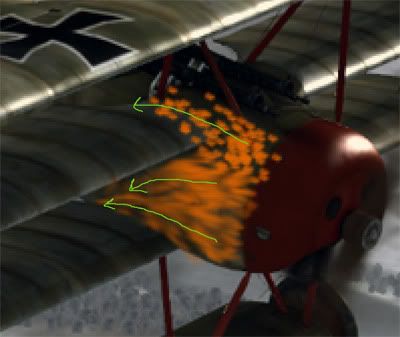 4. Start adding more layers on top of the base and smudge in small amounts of different colors to give the fire more texture and detail. IIRC, I use total of 6 different colors + some black to give back some details in the center area. This took around 4 minutes to do, it doesn't look very pretty... 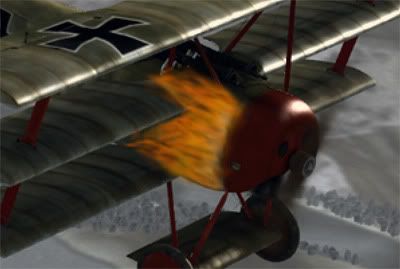 But you can always use layer blend modes to spice it up. 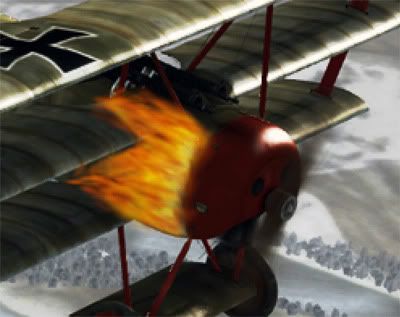 That pretty much covers the fire, not much more to it. Just make the basic shape with the customized brush, smudge it and start blending other colors in. I'll get the smoke tutorial out tomorrow at some point. 
|

|

|
|
|


 Threaded Mode