 JSGME Adding A New Mod To A New Position Tutorial 2 Of 4
Last updated 24th April 2018
JSGME Adding A New Mod To A New Position Tutorial 2 Of 4
This tutorial will show you how to add a mod and move it to a new position.
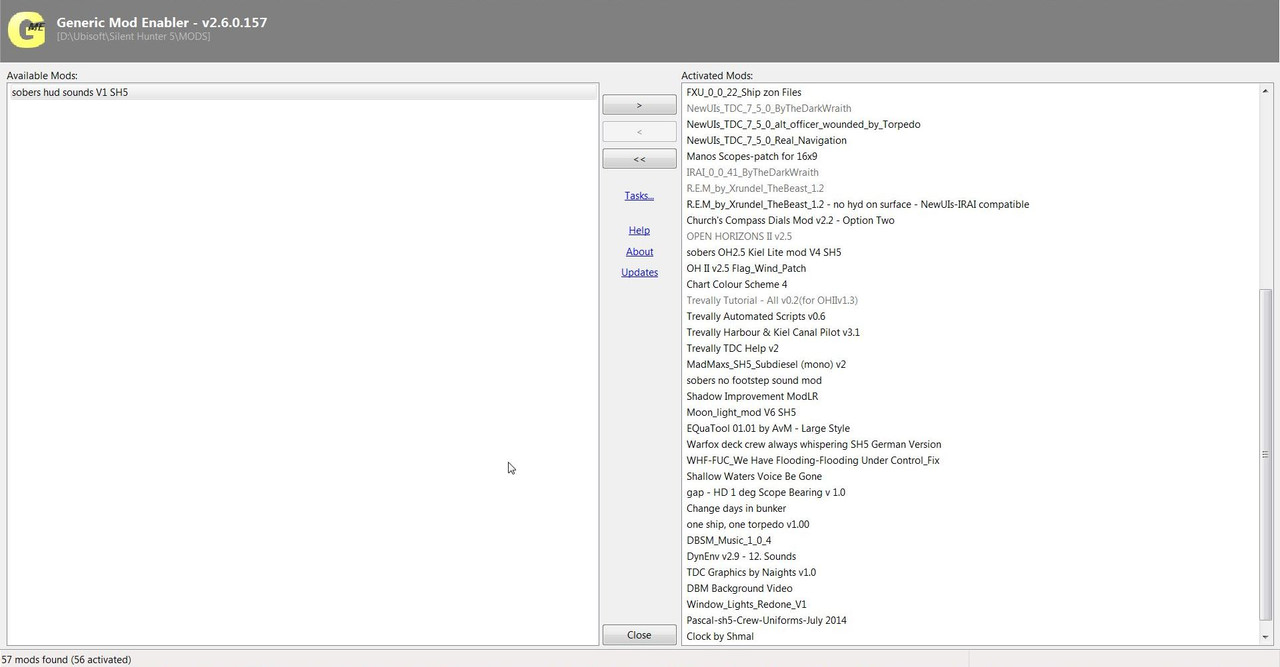
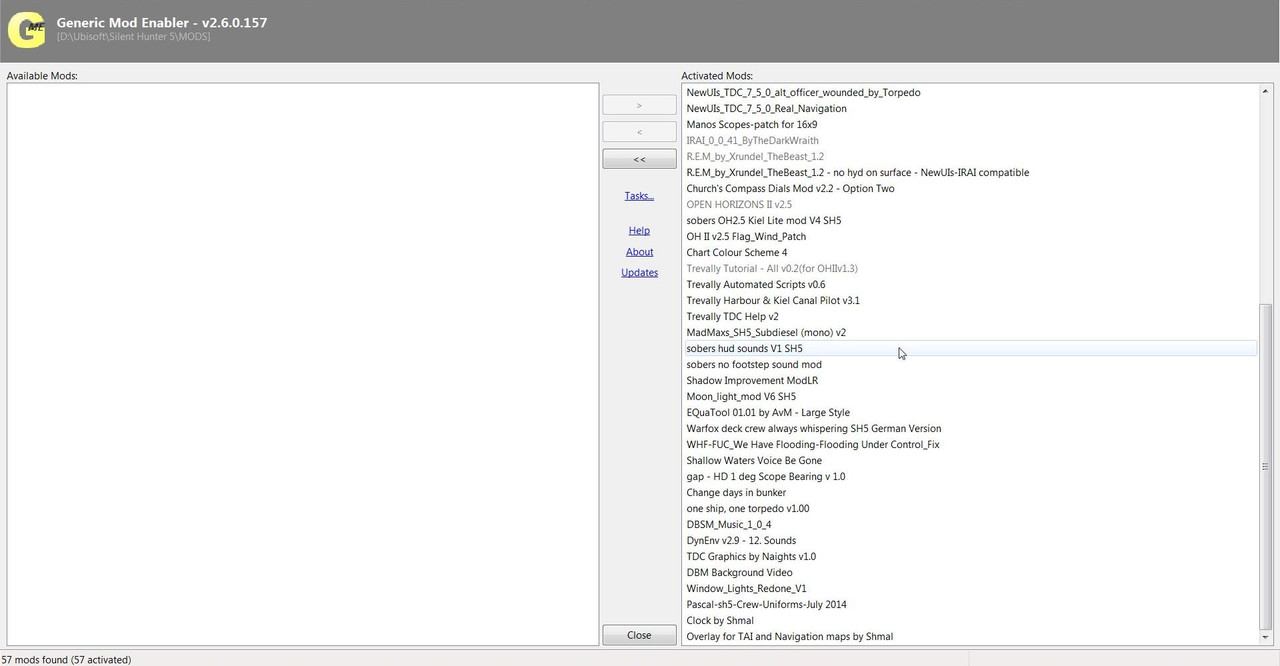
1. For this Tutorial I am going to Add the Mod > sobers hudsounds V1 SH5 underneath the Mod seen in Picture 1 > MadMaxs_Sh5_Subdiesel (mono) v2.
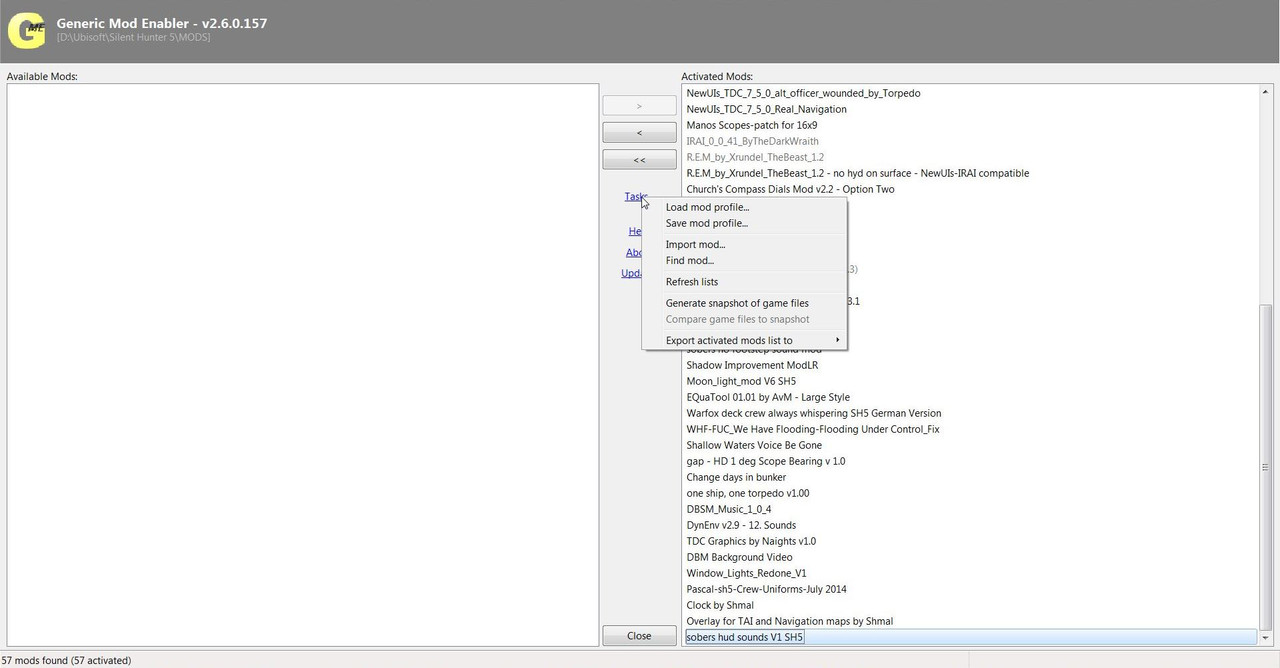
2. Open JSGME.
3. You can see sobers hudsounds V1 SH5 Disabled on the Left Side of JSGME.
Picture 1
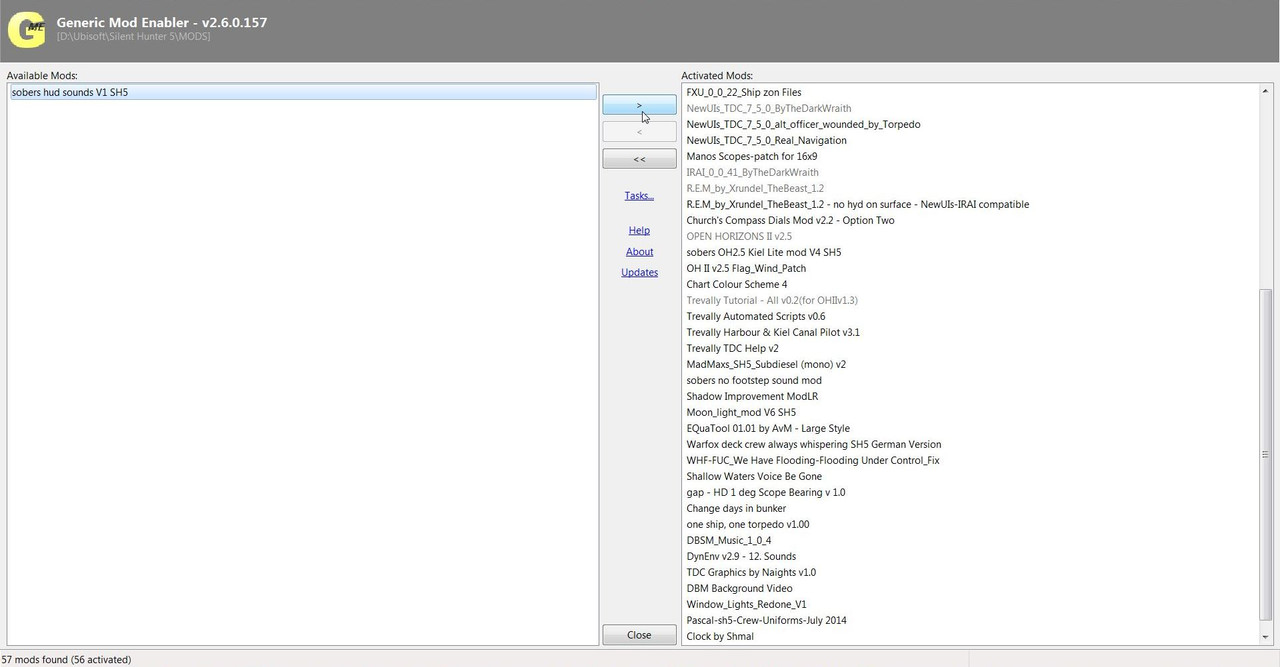
4. Click on the Mod and it will Highlight.
Picture 2
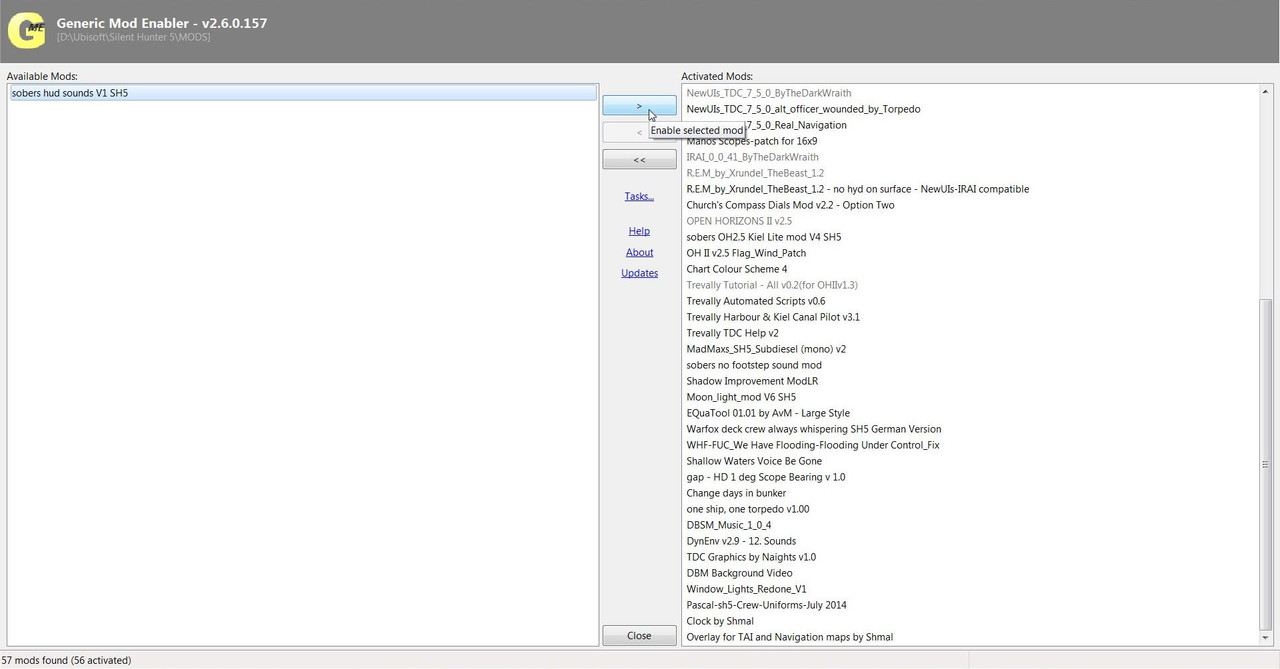
5. Click on the Right Arrow in the Centre Section.
Picture 3
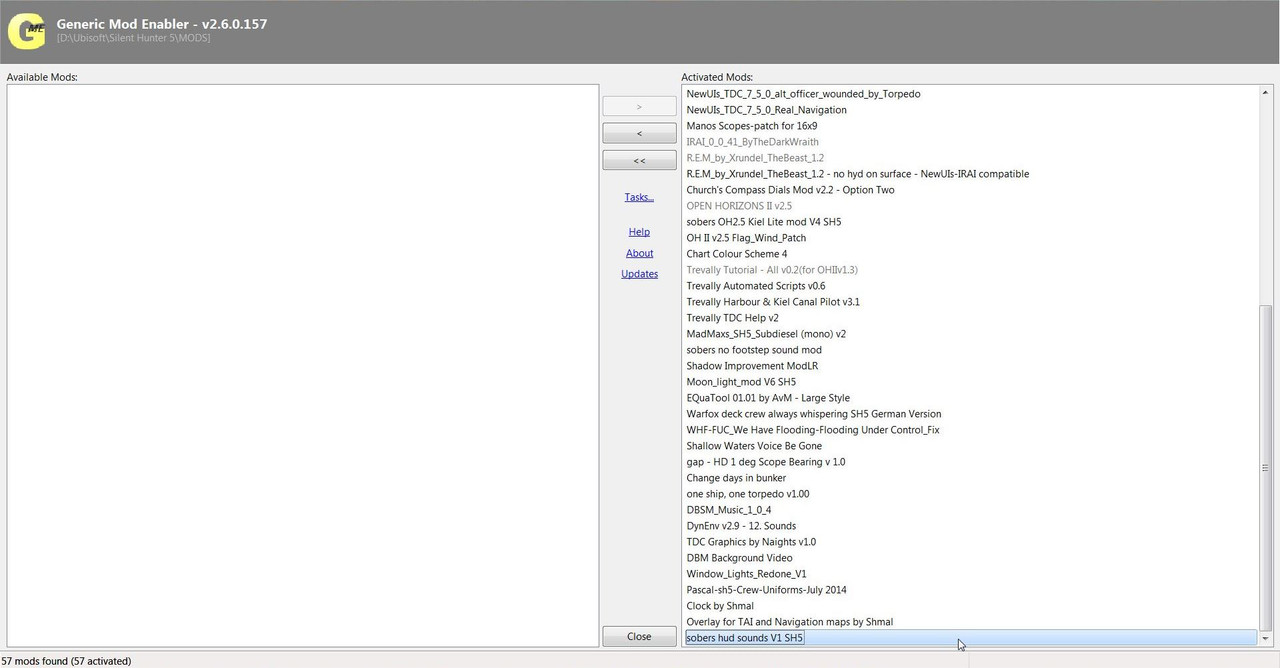
6. You now see the Mod has been Added to the End of the Enabled Mods.
Picture 4
7. I will use a New Mep File although a Previously Saved Mep File could also be used.
8. Click on Tasks and Select > Save Mod Profile
Picture 5
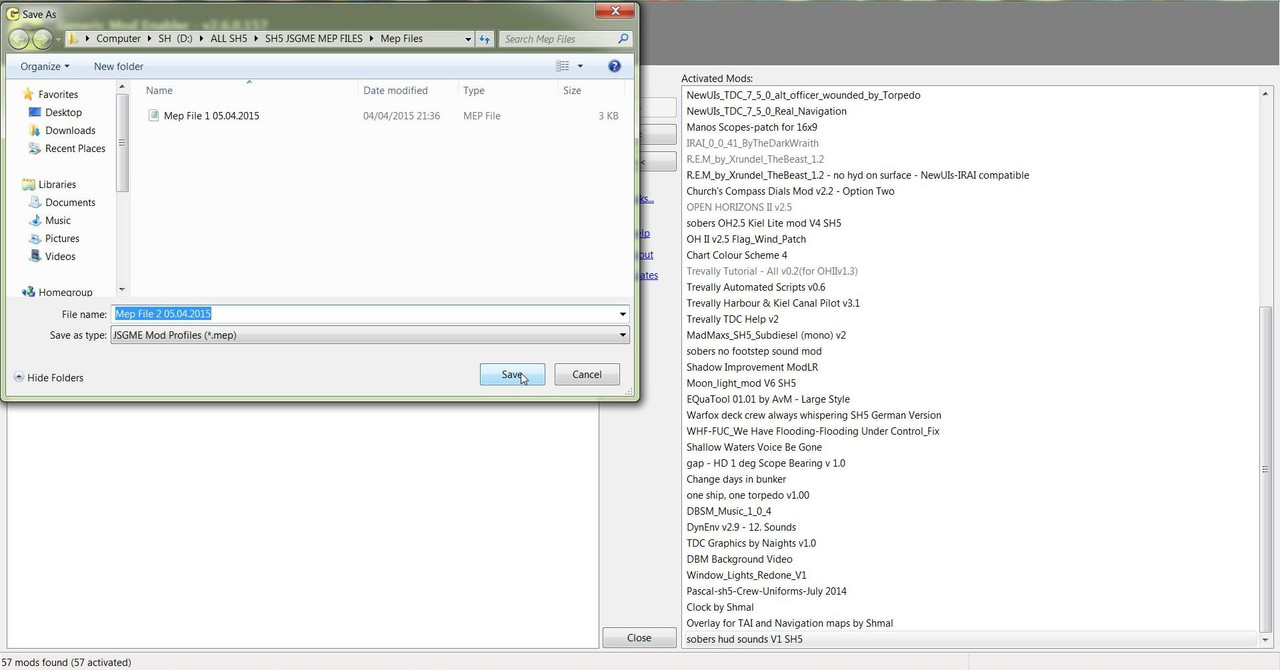
9. Enter the File Name. (Picture 6)
10. For this Tutorial it will be called Mep File 2 05.04.2015
11.Find the Mep Files Folder if it is not automatically showing as the Folder to Save to.
12. Click on Save.
Picture 6
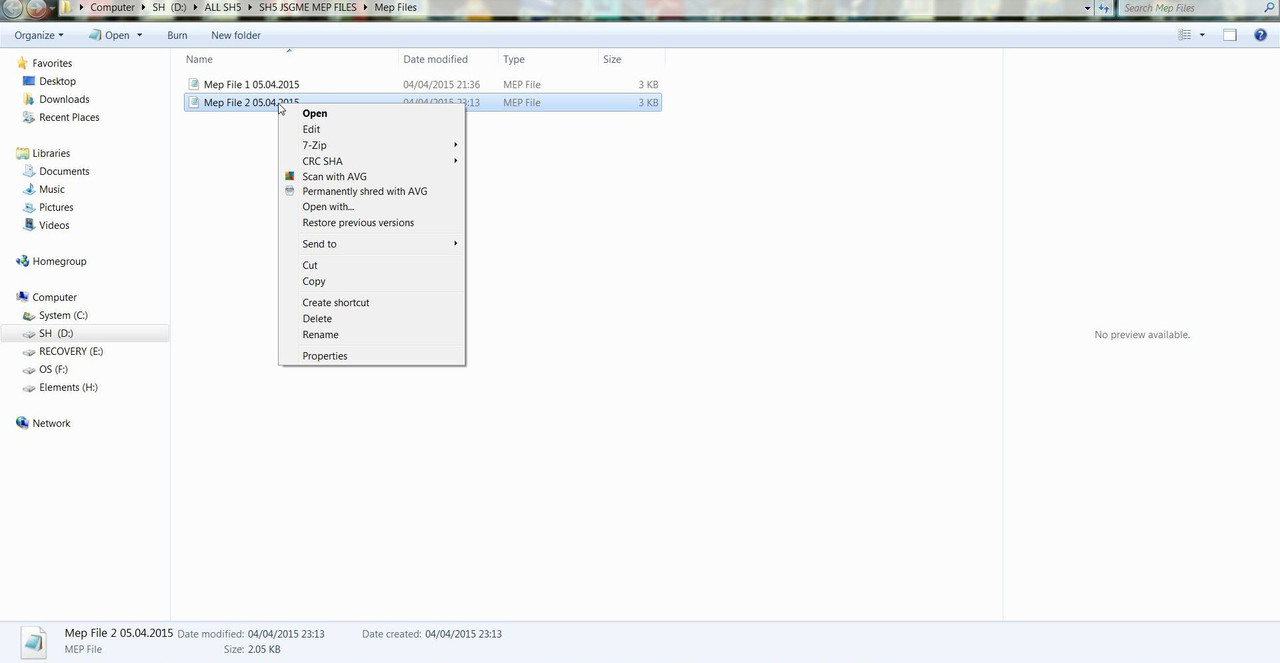
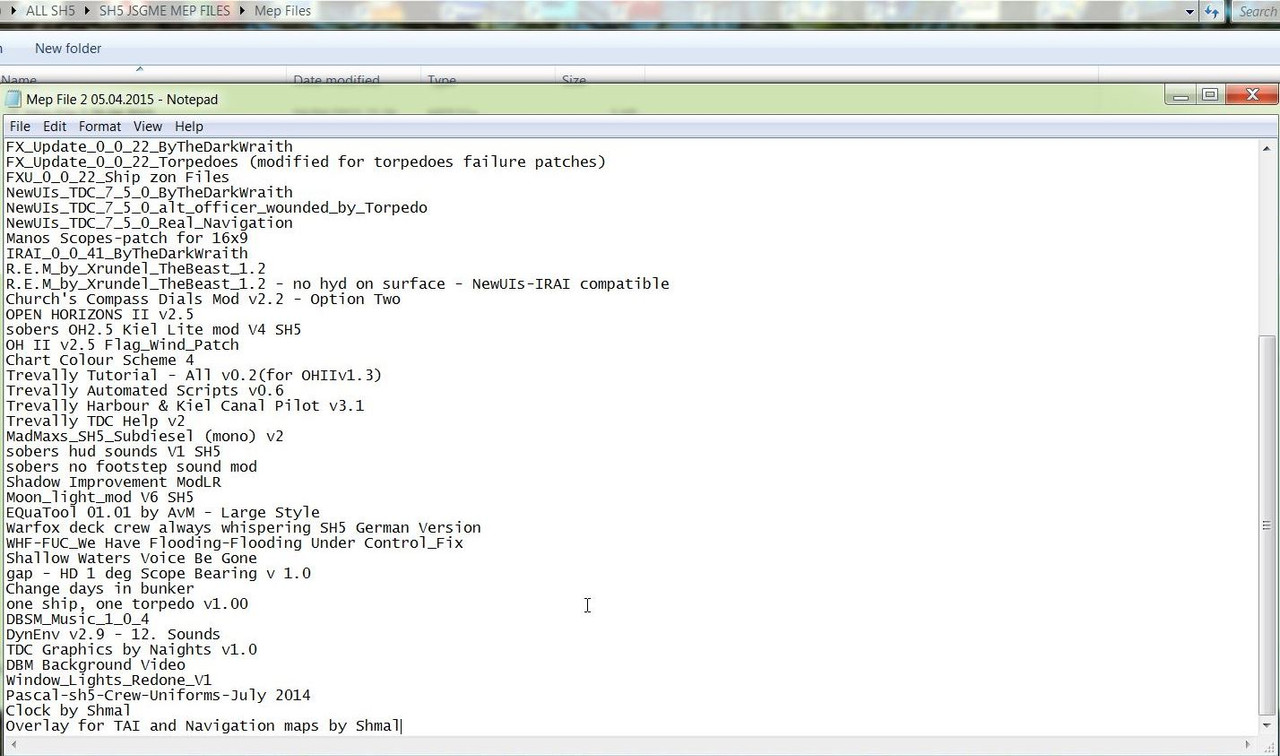
13. Go to the Mep Files Folder.
14. Open the Mep File 2 05.04.2015 (Picture 7)
Picture 7
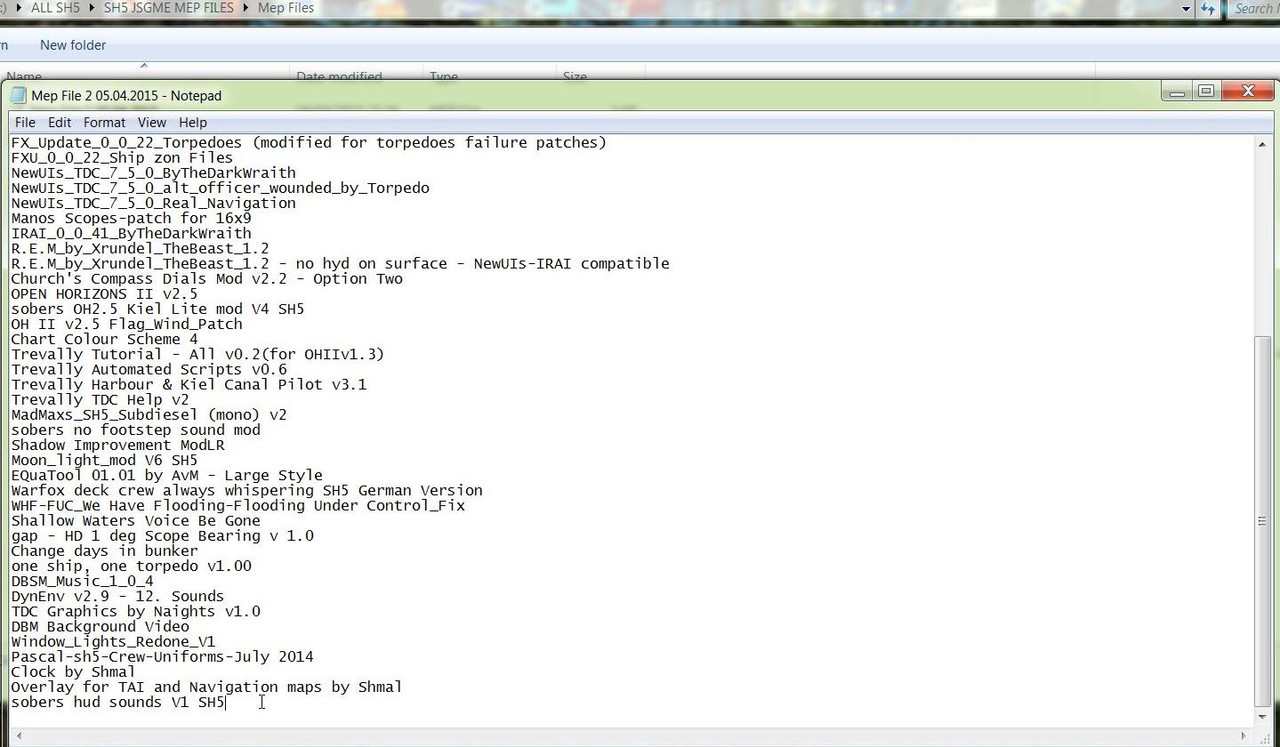
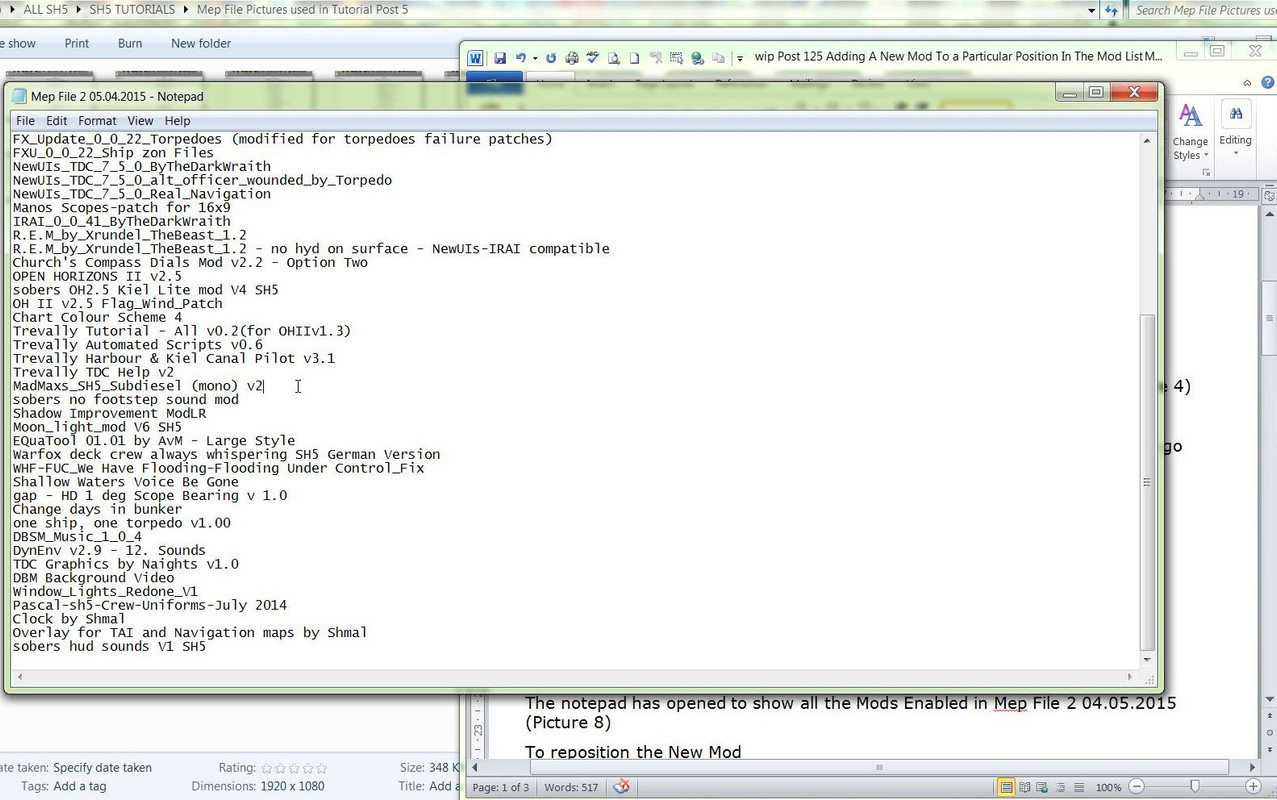
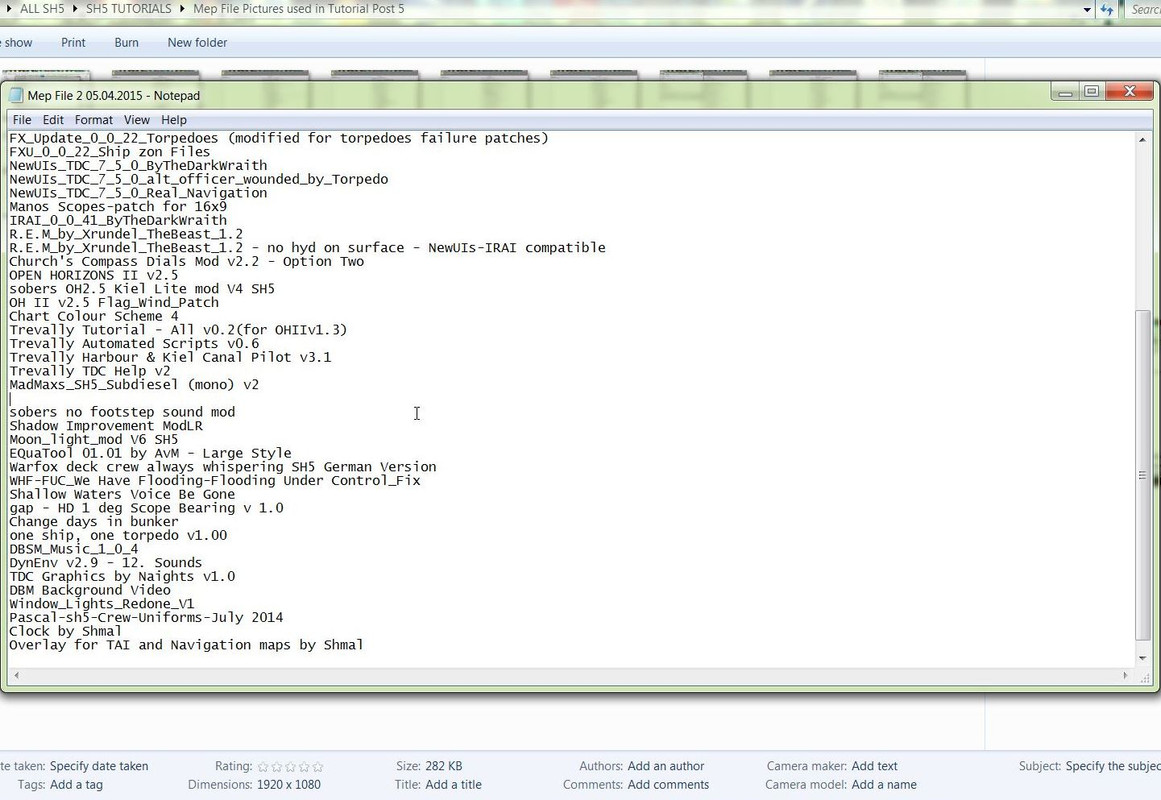
15. The Notepad has opened to show all the Mods Enabled in Mep File 2 04.05.2015
Picture 8
16. To reposition the New Mod place the Mouse so the Curser is at the end of the Mod > MadMaxs_Sh5_Subdiesel (mono) v2.
Picture 9
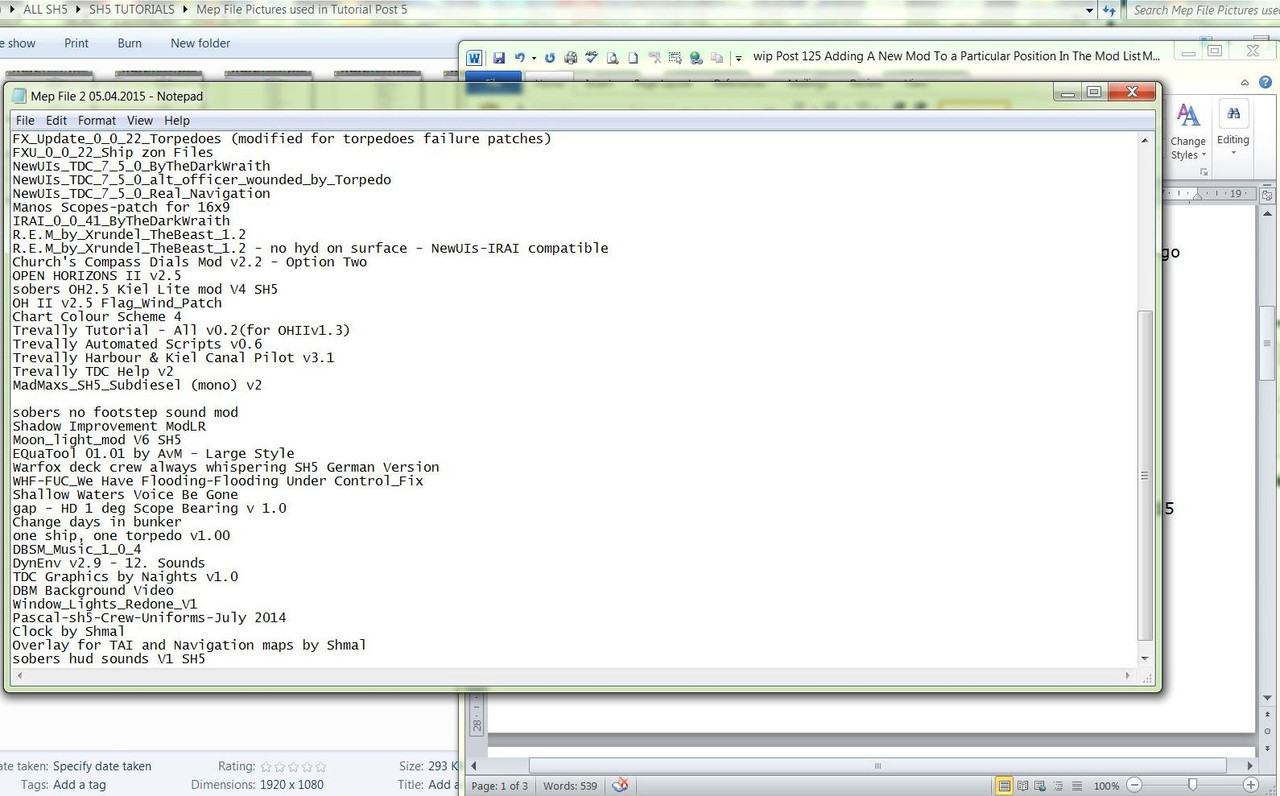
17. Press the Enter Key. (Picture 10)
18. You can now see an Empty Line Space is showing.
Picture 10
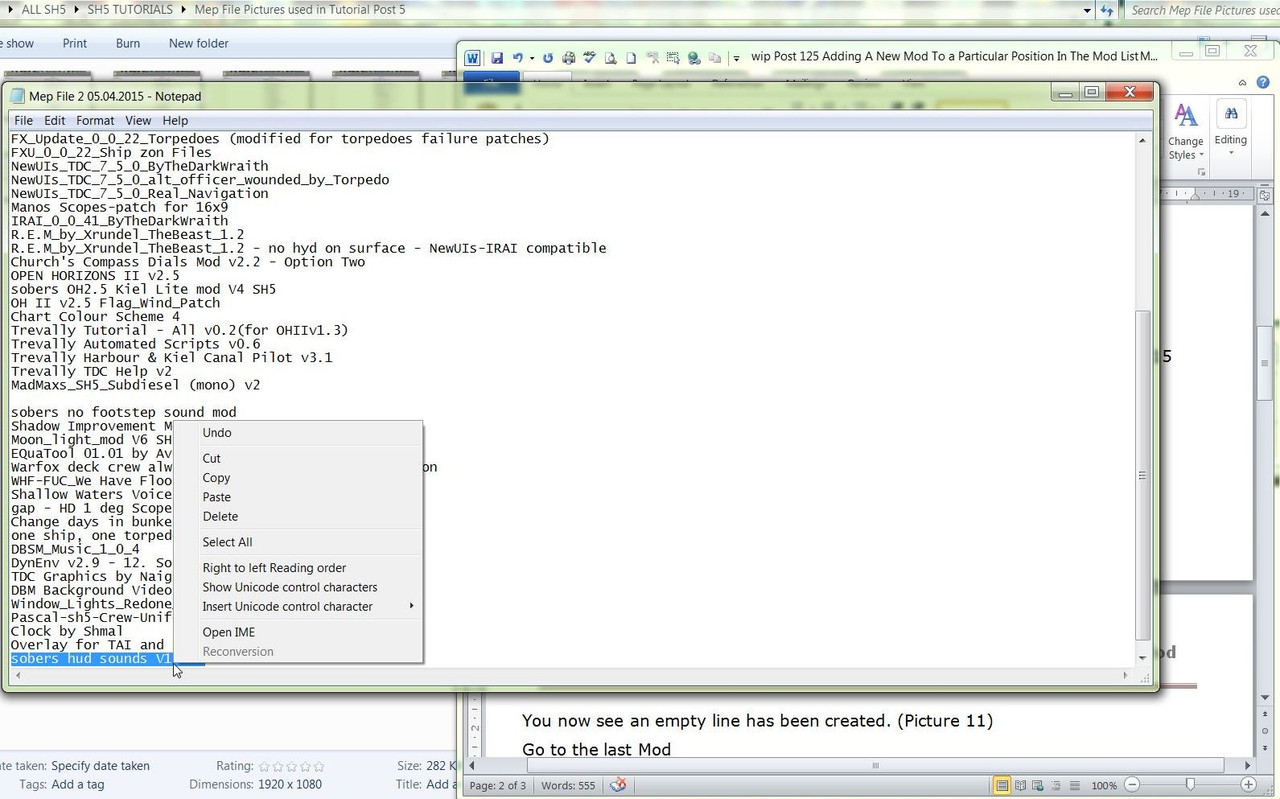
19. Go to the Last Mod sobers hudsounds V1 SH5. (Picture 11)
20. Highlight it with your Mouse. (Picture 11)
21. Right Click with your Mouse and Select Cut.
Picture 11
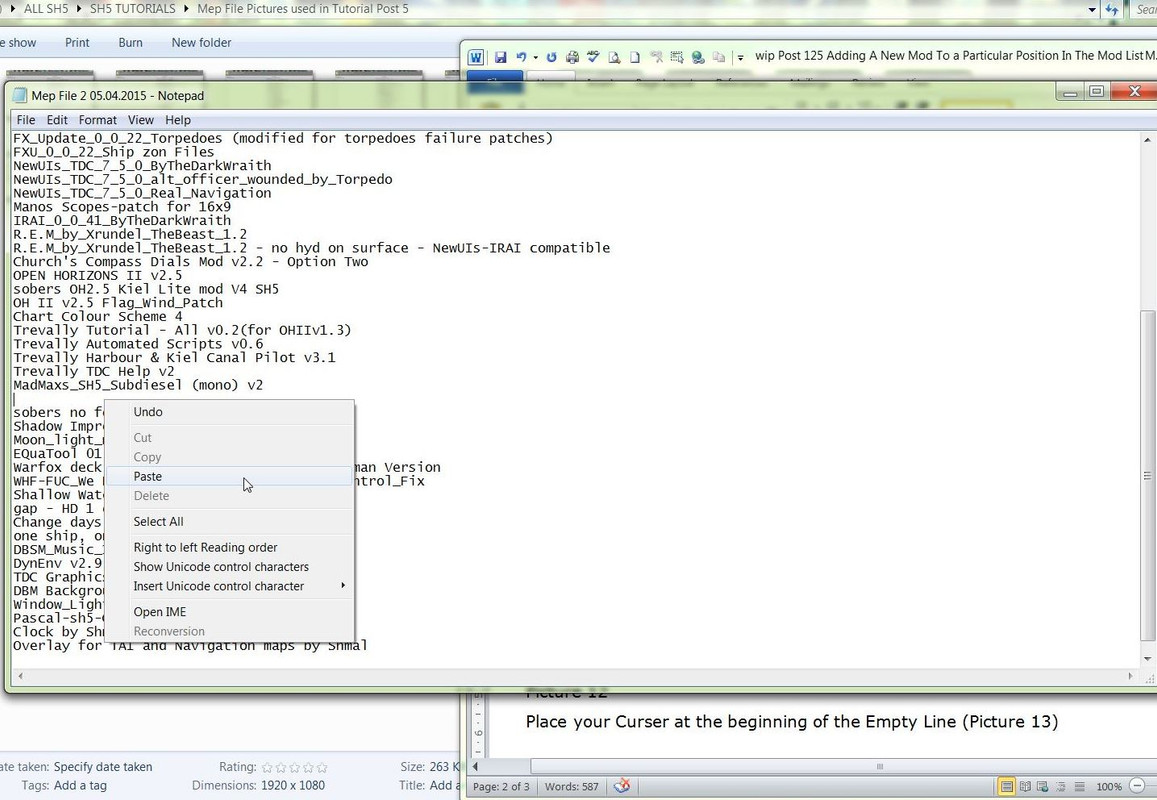
22. Place your Mouse Curser at the Beginning of the Empty Line
Picture 12
23. Right Click with your Mouse and Select Paste
Picture 13
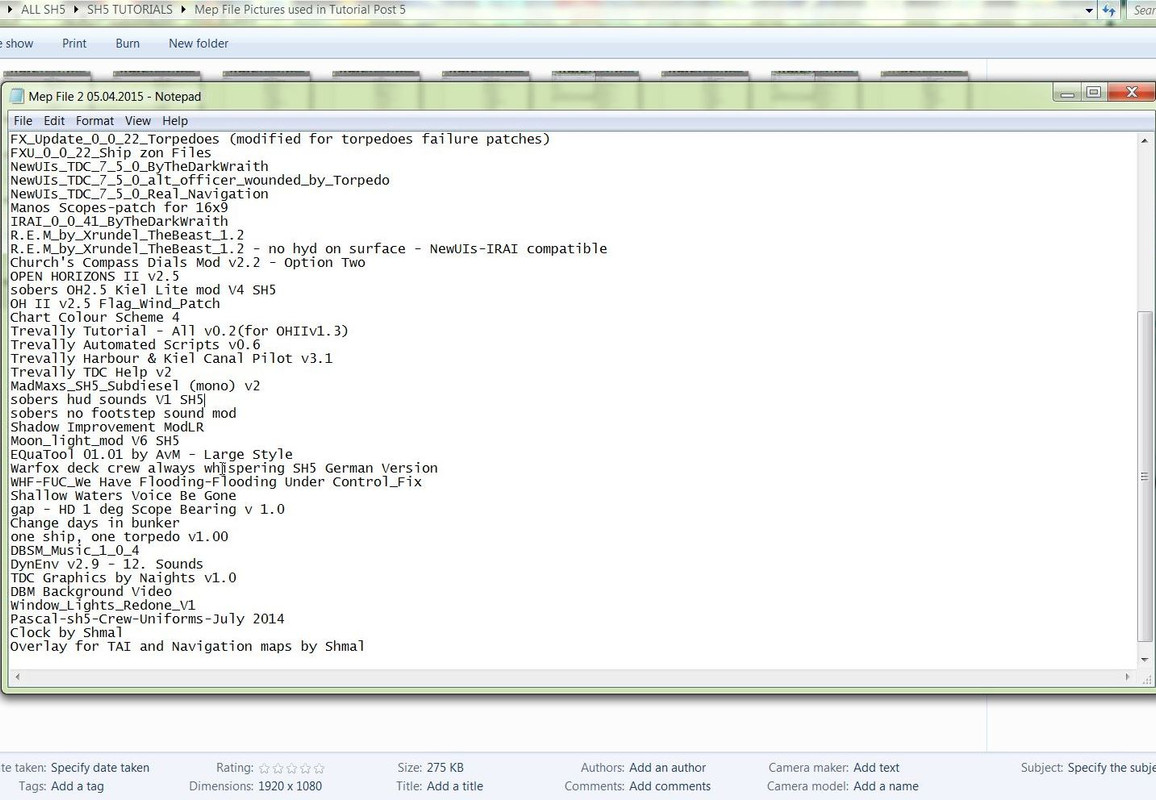
24. The Mod is now showing in the chosen position. (Picture 14)
25. We can also see the Empty Line Space now where the Mod was previously. (Picture 14)
26. This Empty Line Space needs to be removed.
Picture 14
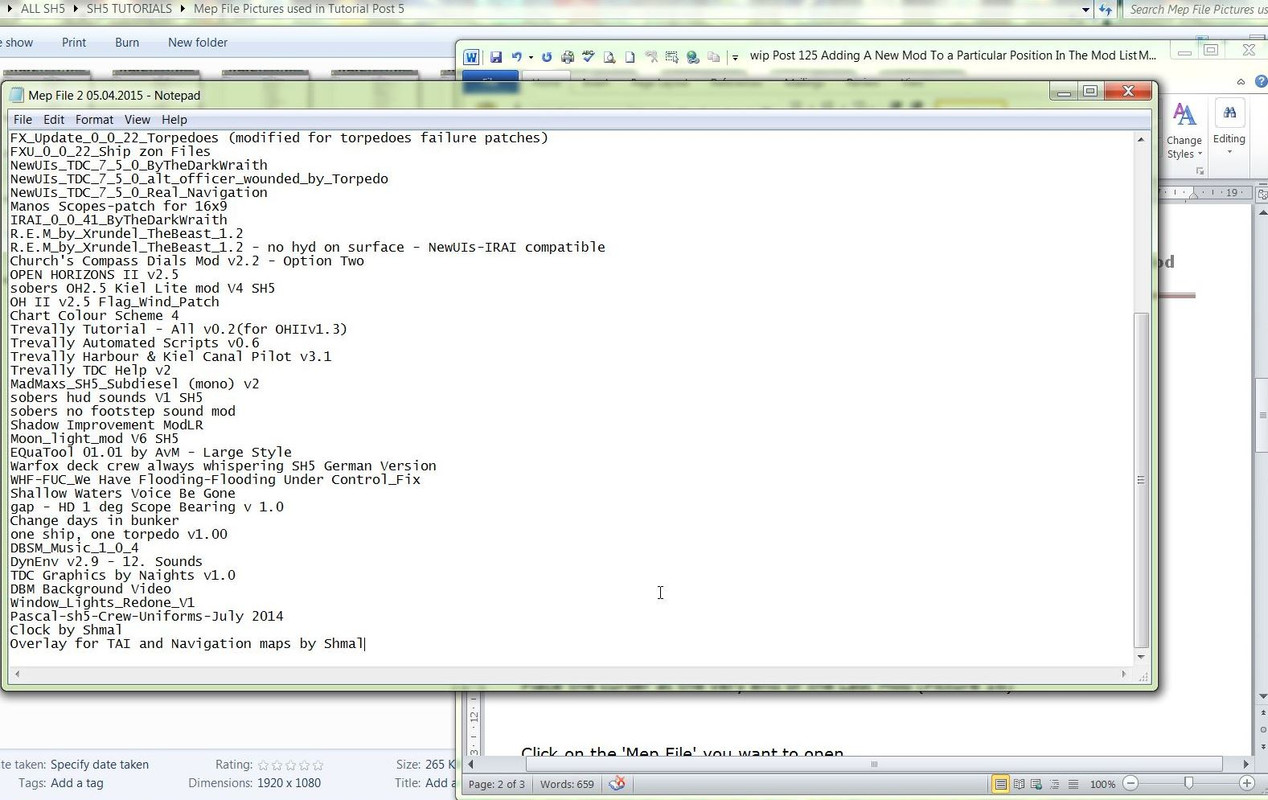
27. Place your Mouse Curser at the Very End of the Last Mod.
Picture 15
28. Press the Delete Key to Remove the Empty Line Space. (Picture 16)
29. With the Mouse Curser still placed at the Very End of the Last Mod (Picture 16)
30. This is a Very Important Action and has to be done correctly or you will get an Error.
Picture 16
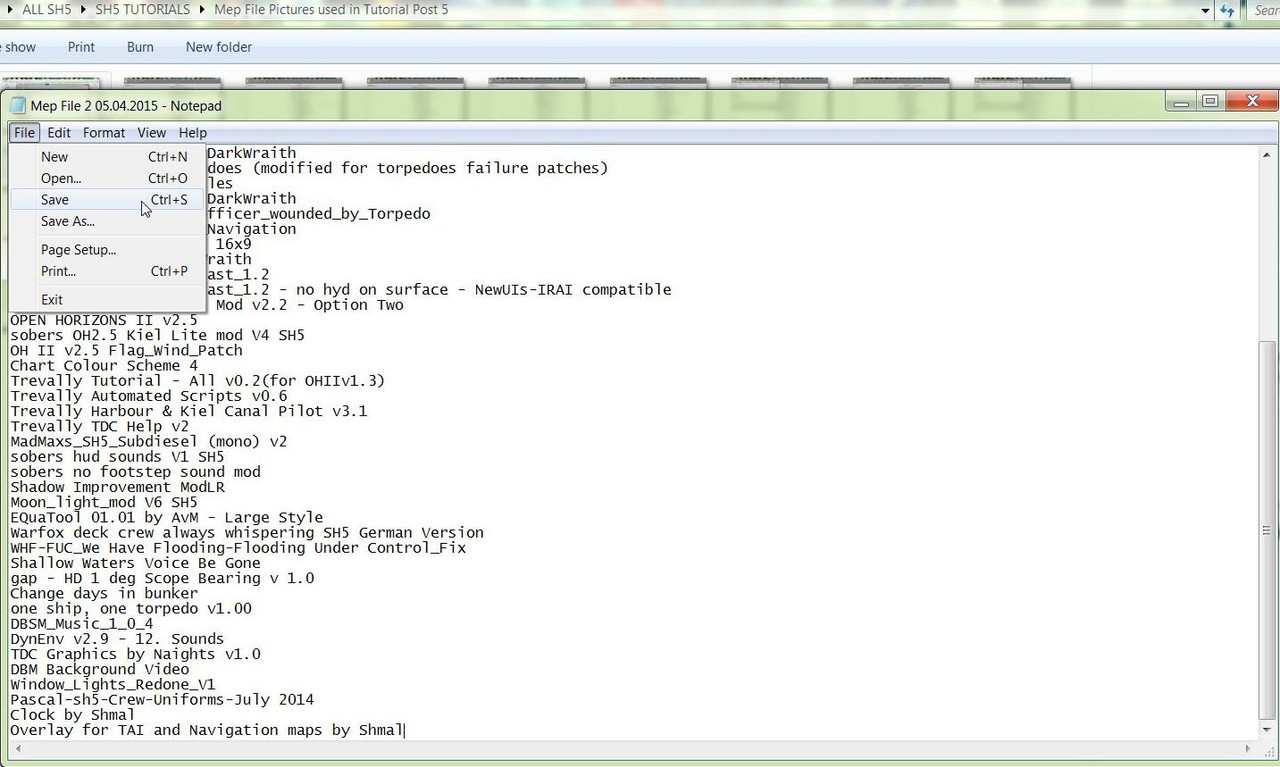
31. Click on the File Tab
32. Click on Save
Picture 17
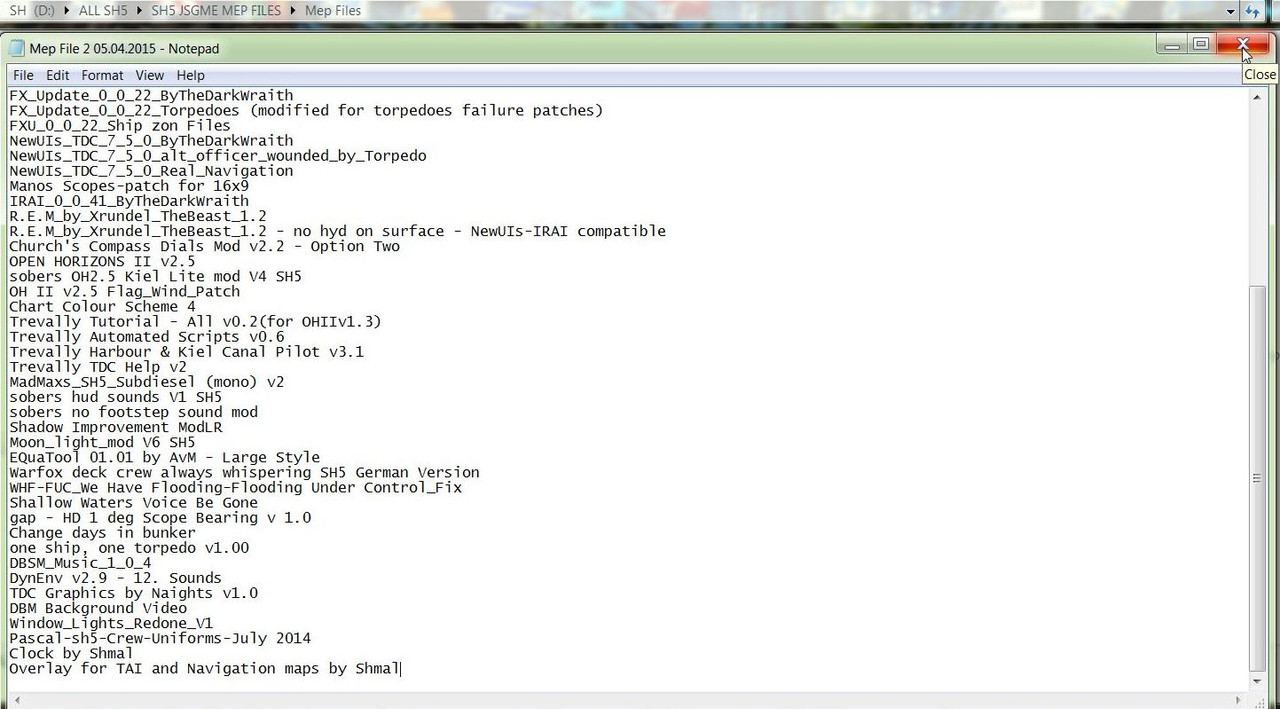
33. Close the Notepad
Picture 18
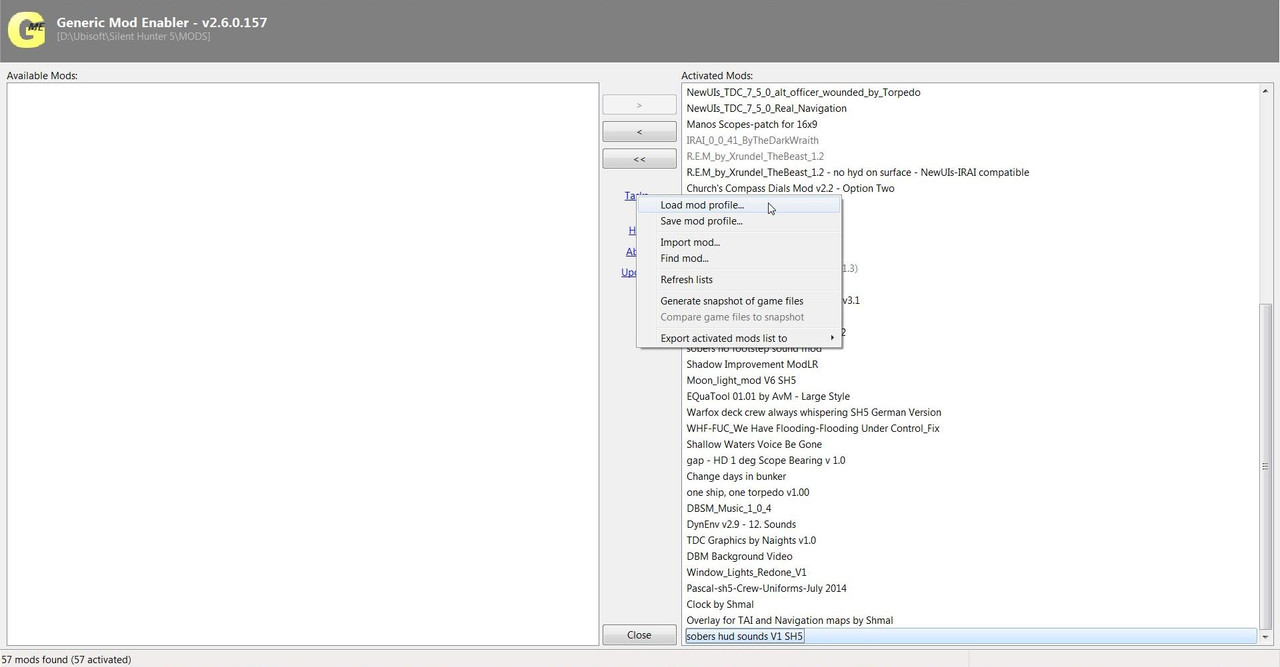
34. Go to JSGME
35. Select Tasks and Load Mod Profile
Picture 19
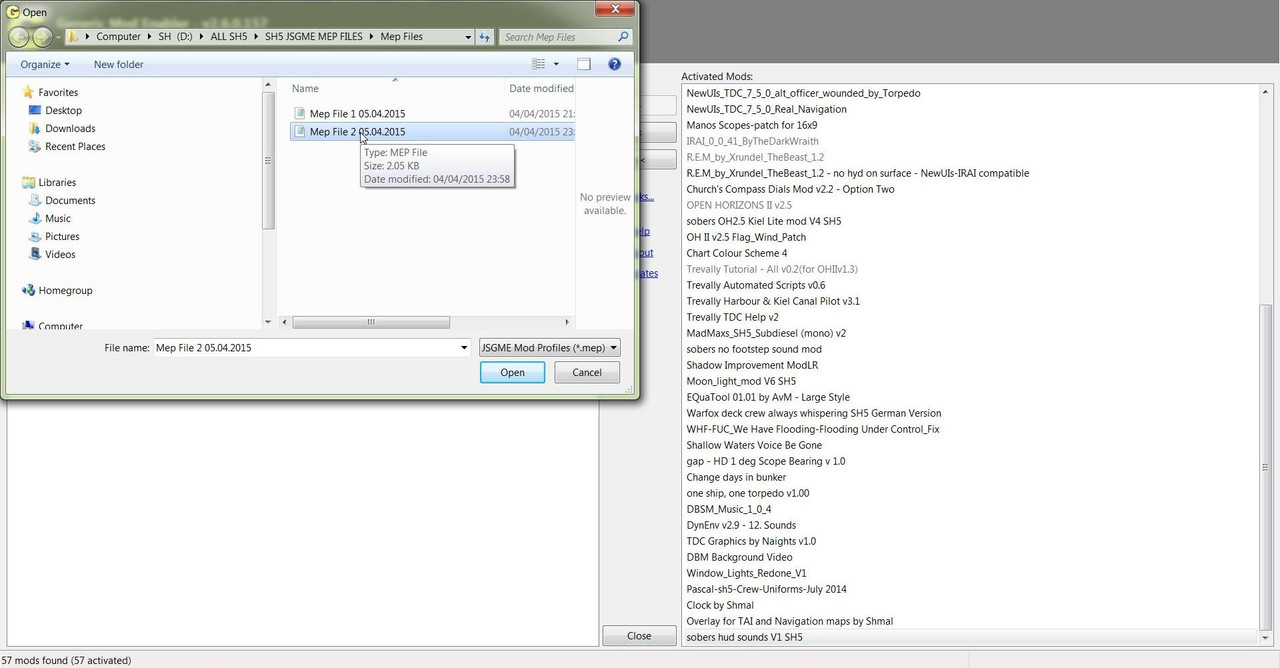
36. The Mep File Folder should be showing.
37. Double Click on the Mep File 2 05.04.2015 or Press Open
Picture 20
38. JSGME will now start to Disable and Re-Enable the Mods depending on how far back it has to go to insert the Added Mod to its new position.
39. You can now see that JSGME has finished and placed the mod where it was cut and pasted to in the Mep File.
Picture 21.
40. Close JSGME.
41. If you do get an Error Message then Close JSGME and then Open It Again and you will see that the Mods have still Enabled correctly.
42. It is also possible to Type the Mod Name in the Mep File using the Keyboard.
43. It is essential that it is entered exactly as you it see it in JSGME.
44. If this not done correctly then an Error will occur when the Mep File is Loaded.
45. I would advise Adding the Mod and then moving it to the desired position rather than the possibility of making a typing mistake.
TIP
If you shade this Tutorial and then copy and paste it to your PC Notepad you can then edit it.
Last edited by THEBERBSTER; 04-24-18 at 04:12 PM.
Reason: Replaced missing pictures
|