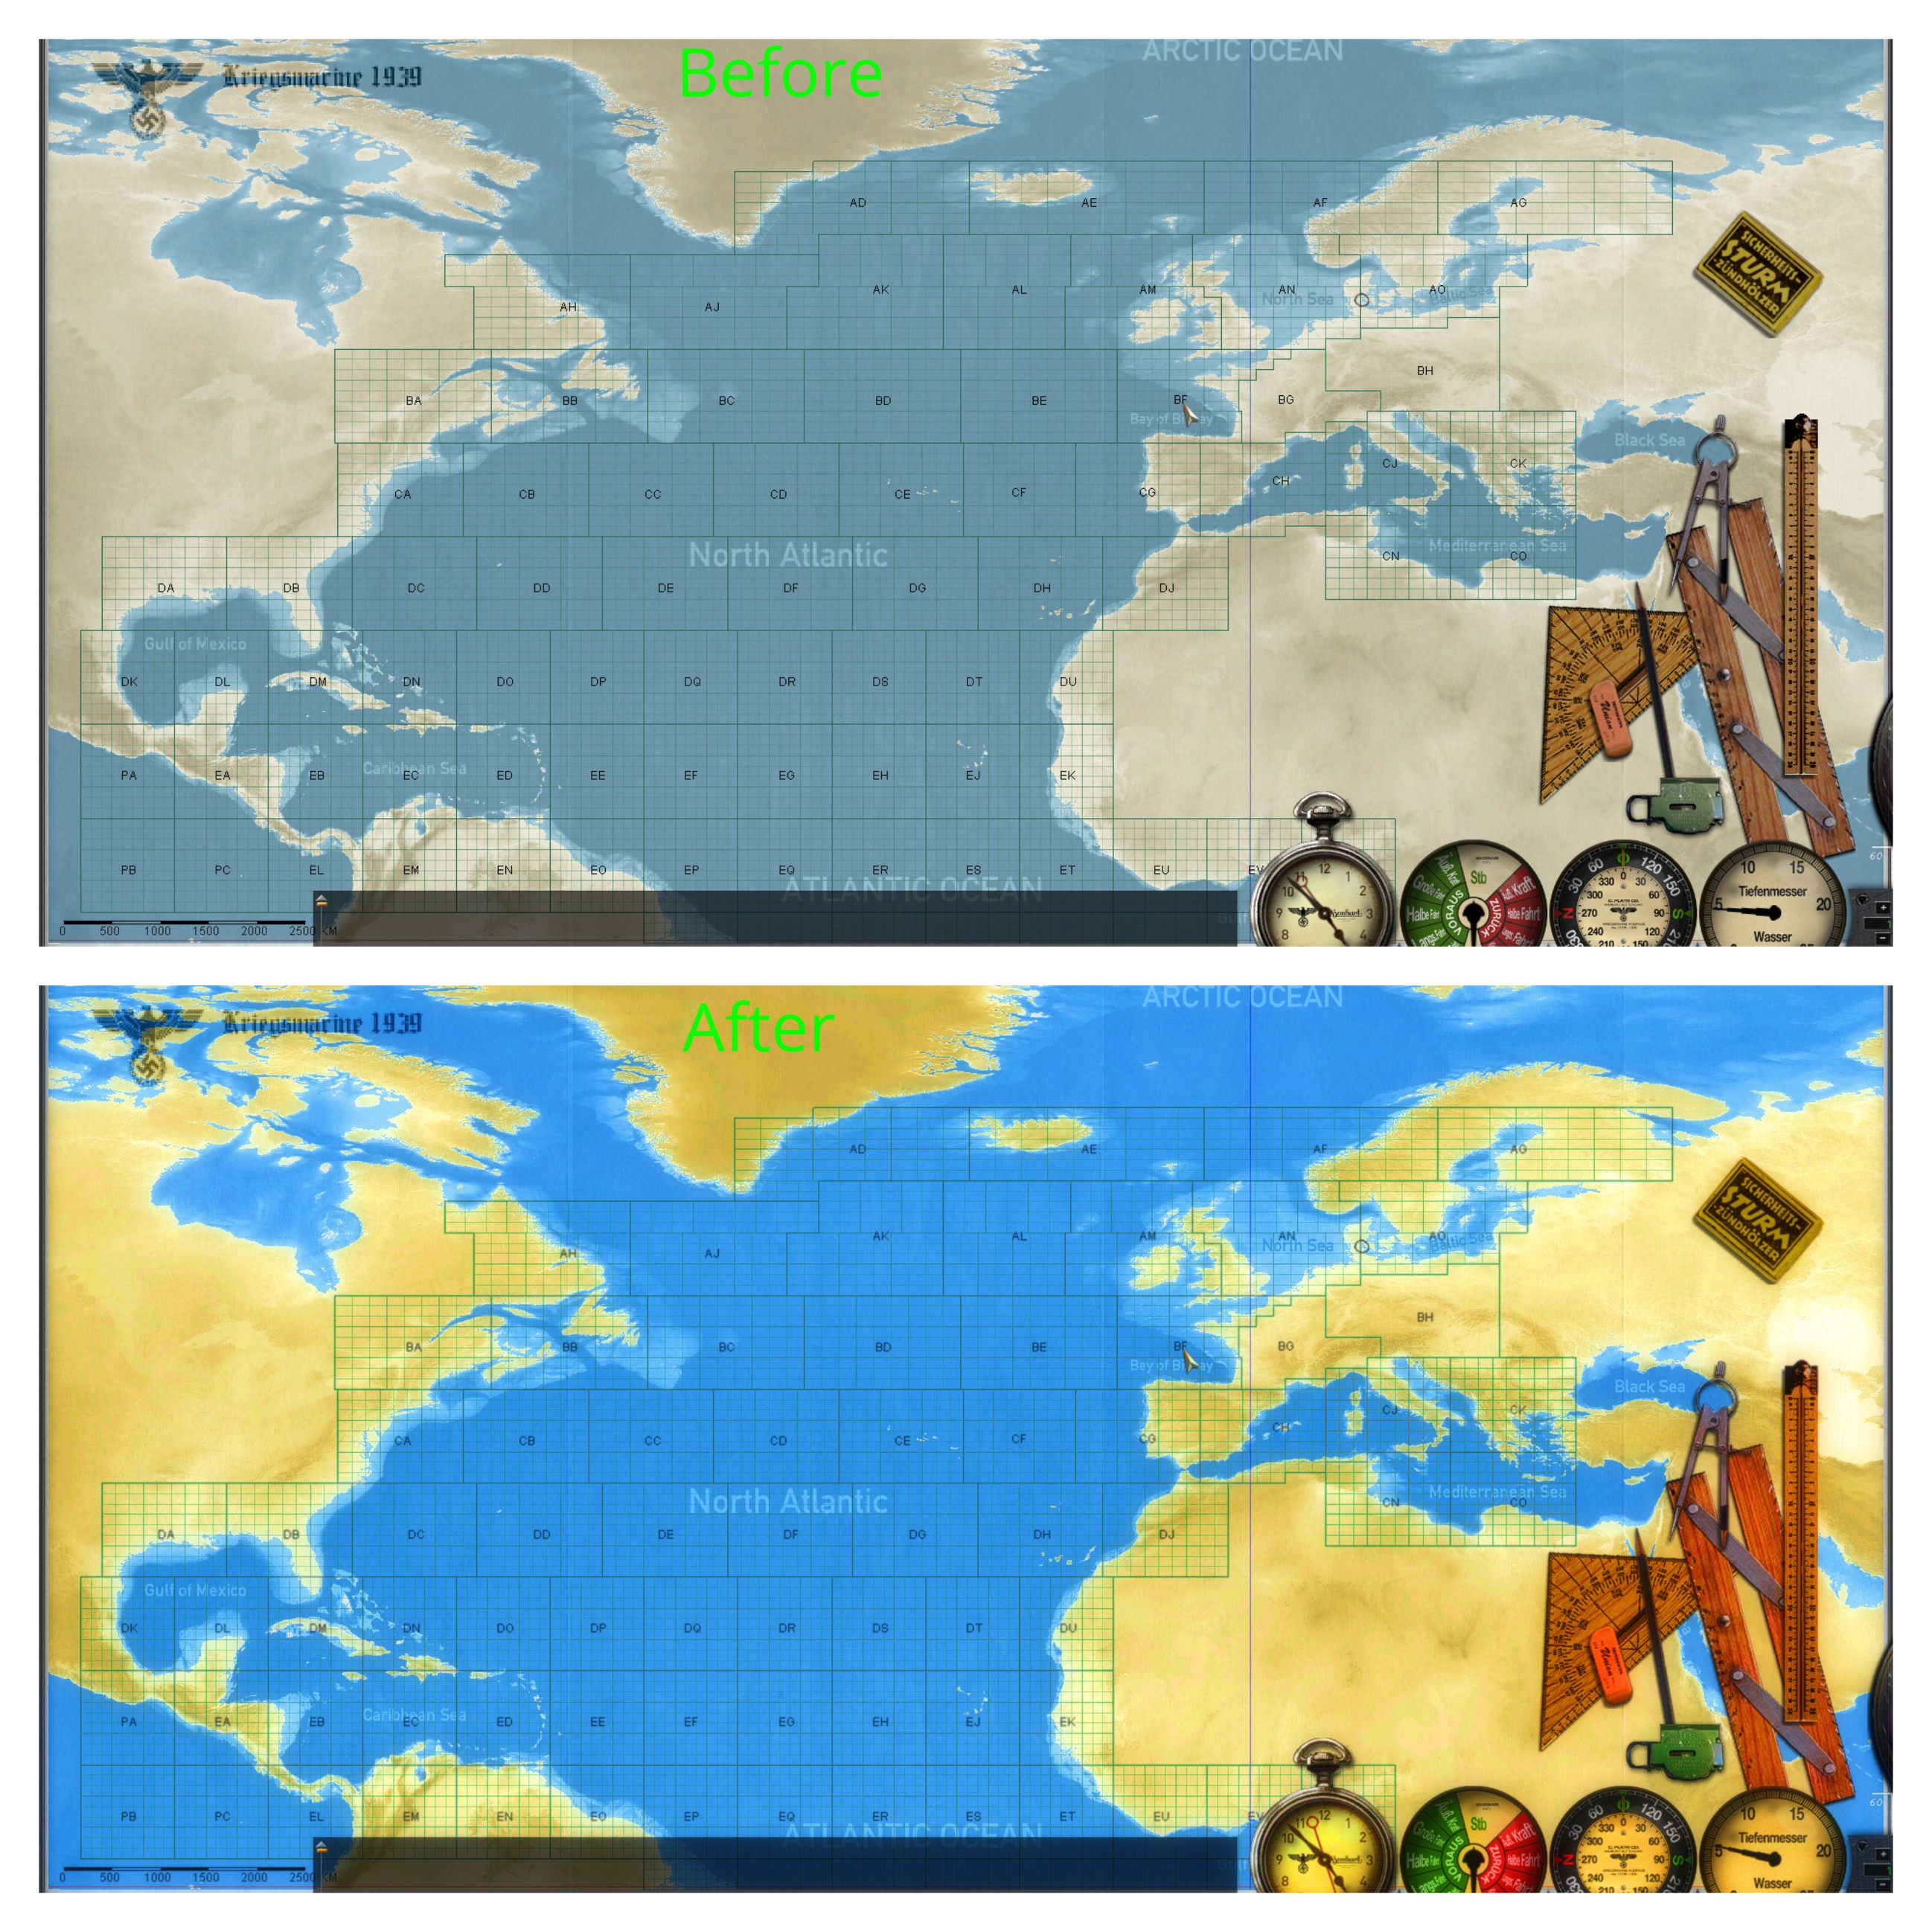
Reshade can be tricky to get running with SH3, but it is an essential tool for setting the game up to look the way you want it. I've always thought that SH3, while being an amazing game, looked sort of washed out and absent of color. This will help. I've been able to figure out how to get it running. For those that are interested, I thought that I would share with you how I did it. Feel free to ask any questions.
UPDATE: MediaFire was throwing a fit over some copyright issues with a couple reshade files I had uploaded (oops!), so I've updated the whole installation procedure. It's a bit more work on your end, but will produce the same result. It is worth it in my opinion.
Reshade For SH3 Installation:
1.) Firstly, you need to download the official setup file for Reshade. This is version 4.6.1 that I use. It is not the "most current" version, but I know that it works with SH3 without any issues:
https://www.mediafire.com/file/njqdz...4.6.1.exe/file
2.) Now, assuming d3d9.dll already exists in your game directory, it won't let Reshade install correctly. This is the main issue with why it doesn't work, but there is an easy workaround. Make a new folder in your JSGME mods folder and name it "Reshade" or whatever you want. Copy your sh3.exe and paste it in this folder.
3.) Run the Reshade setup. Hit "browse" and then point it at the copy of sh3.exe in the folder you just created and hit open. Select "Direct3D 9" and hit install. It will ask you what shaders you want to install. I usually just install all of them except for the legacy shaders, in which I just use what they have selected. It's up to you really. When it is done it should say it was installed successfully.
4.) Go ahead and delete the copy of sh3.exe you made earlier as it is not needed anymore. Rename the d3d9.dll in your mod folder to "sh3_d3d9.dll".
5.) Download the DLL injector from here:
https://sourceforge.net/projects/autodllinjector/
6.) Simply extract the .exe to the Reshade mod folder you've created.
7.) Now open JSGME and activate "Reshade" to copy the files into the game directory.
8.) In the main game directory, right click AutoInject.exe, go to properties and set it to run as administrator. This is crucial for this to work. I run it in win7 compatibility mode too for peace of mind. Exit.
9.) Go ahead and right click AutoInject again. Click "send to", and then "desktop (create shortcut)". You will need to have an instance of this running before running the game.
10.) Run the shortcut you just made to start AutoInject. Under Processes, hit the box with 3 dots. Select your sh3.exe and hit open. Click the "+" to add it into the processes section. Select the sh3.exe process, then under libraries, hit the box with 3 dots. Select sh3_d3d9.dll (in your main directory) and open. Hit the "+" to add it. Check the box that says inject upon process startup. AutoInject will create a config file so that you only have to do this once during initial setup.
11.) Run the game. There should be a loading dialog that pops up at the top of the screen. If not then something is wrong. Double check all previous steps.
The default key to open the Reshade overlay is "Home". You can change this to whatever you want under the settings tab in the overlay. I like to use "Scroll Lock" There are lots of other settings in here. Set it up however you want to.
Here is the preset that I use:
https://www.mediafire.com/file/mwmg1...shade.ini/file
Simply place it in your game directory and load it via the Reshade console. Feel free to adjust it to your taste, or simply create your own from scratch.
A few obligatory before and after shots:


