 JSGME How To Move A Mod To A New Postion In A Mep File
Last updated 27th April 2018
JSGME How To Move A Mod To A New Postion In A Mep File.
1. I will show you How to Move a Mod to a New Position in a Mep File and How to Move a Number of Mods to New Positions by also using a Mep File.
2. The Mod DynEnv v2.9 - 12. Sounds is going to be moved and will be placed behind the DynEnv v2.9 - 11.a.III Sea Plants - Atlantic Kelp Forests (low resolution) Mod.
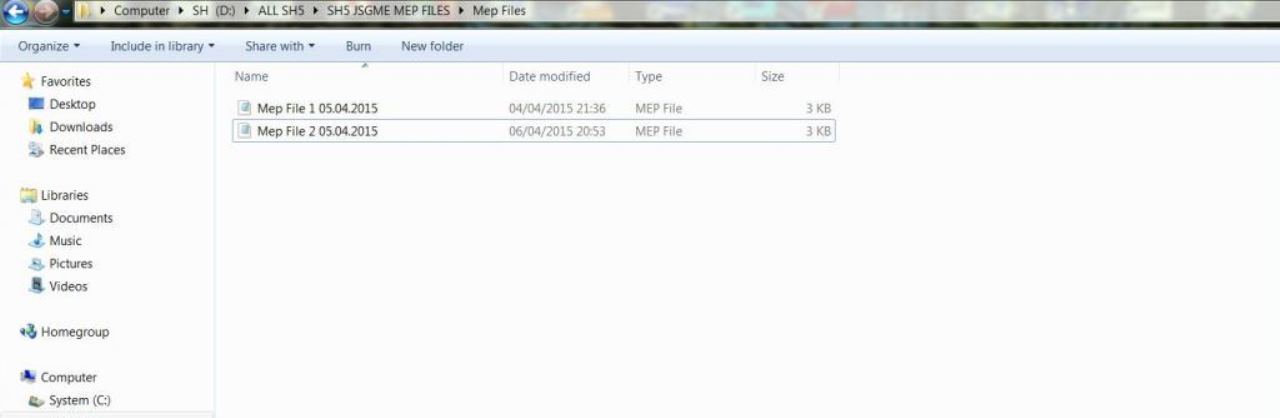
3. If you have been following my other 2 Tutorials in this series you will know that I have a Saved Mep File called Mep File 2 05.04.2015. (Picture 1)
4. This has been Saved to a Folder called Mep Files. (Picture 1)
5. Go to the Mep Files Folder. (Picture 1)
Picture 1
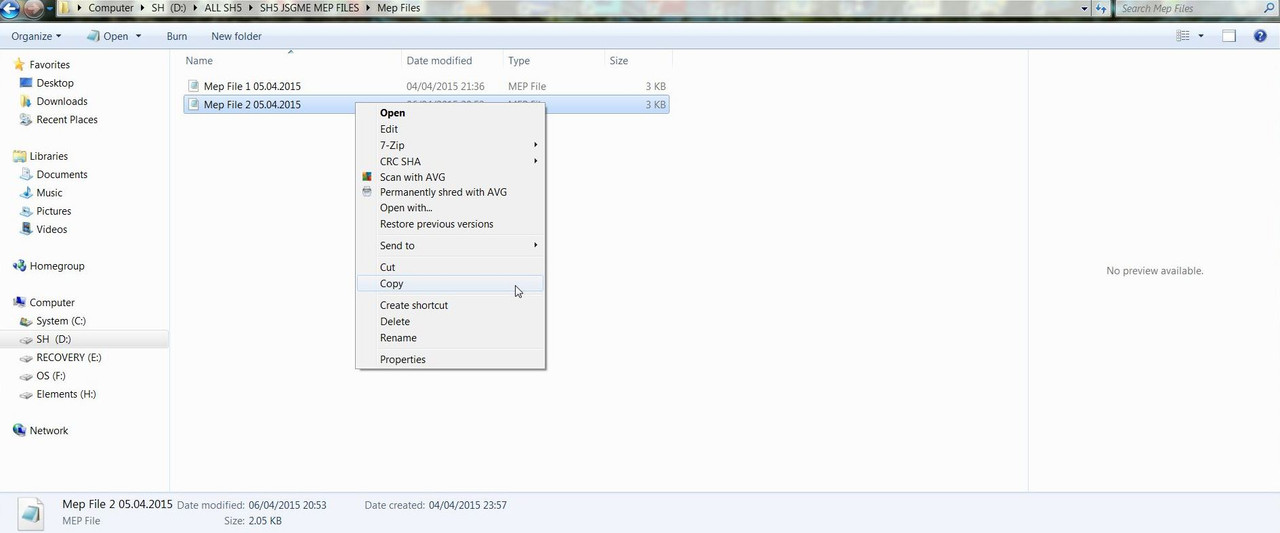
6. Click on the Mep File 2 05.04.2015 once with your Mouse to Highlight it. (Picture 2)
7. Right Click with the Mouse on the Highlighted Section and Select Copy. (Picture 2)
Picture 2
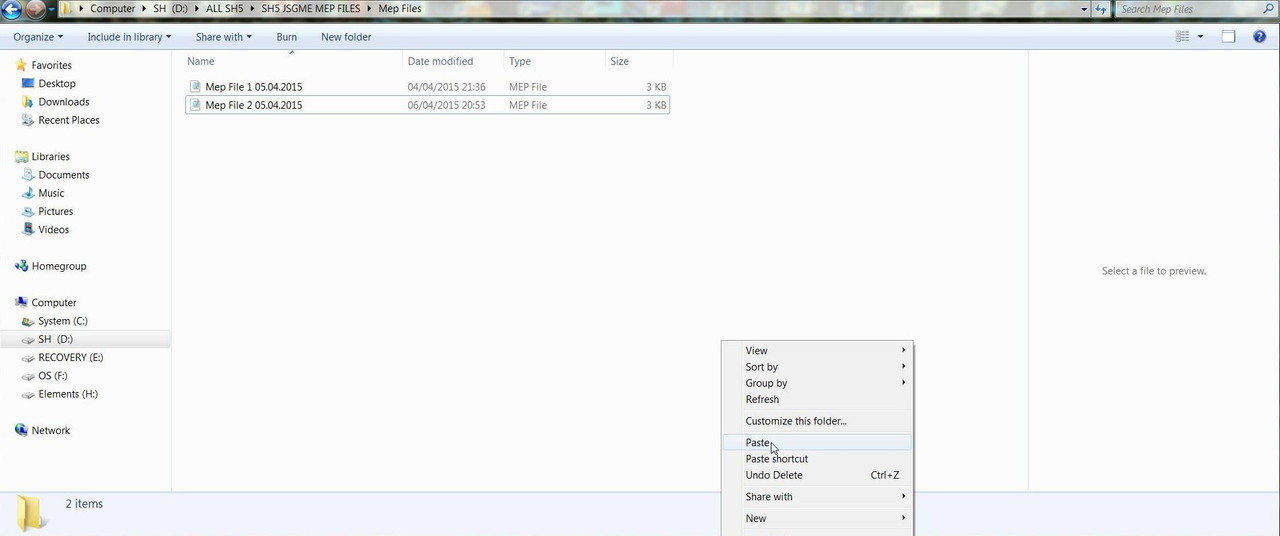
8. Go to an Empty Part of the Screen and Select Paste. (Picture 3)
Picture 3
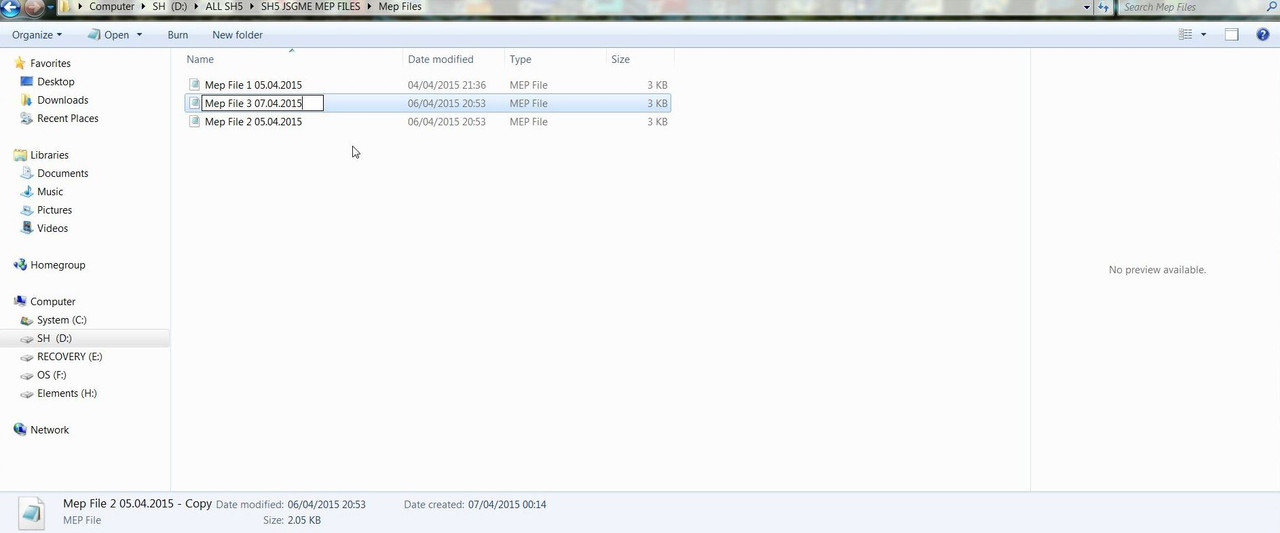
9. You will notice that we are now showing Mep File 2 05.04.2015 copy (Picture 4)
Picture 4

10. Select Rename (Picture 5)
11. I now the change the name to Mep File 3 07.04.2015 (Picture 5)
Picture 5
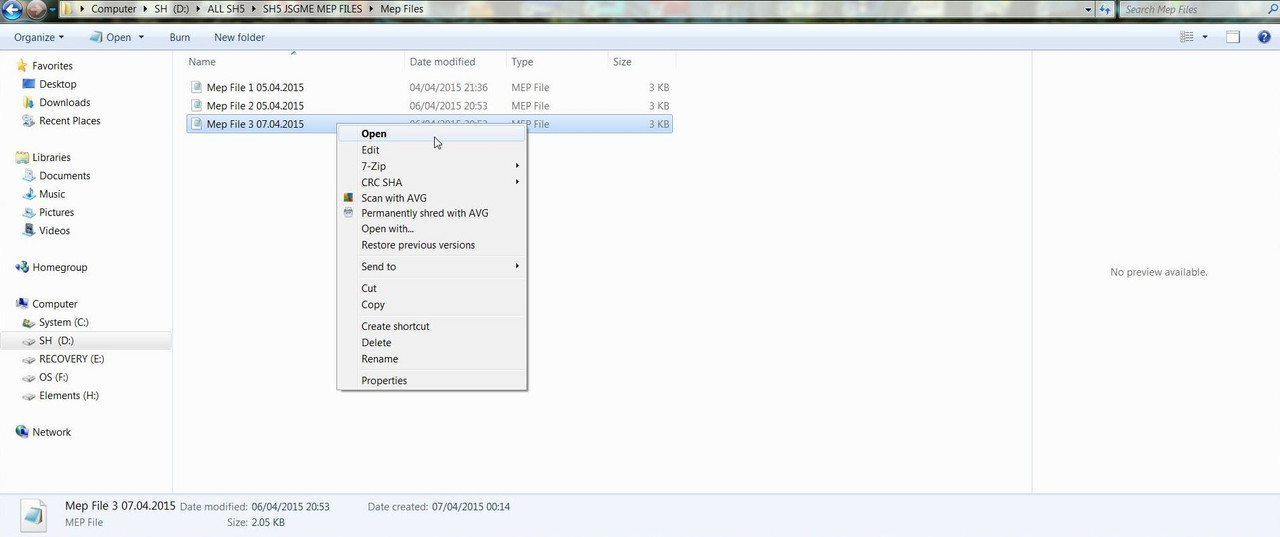
12. Double Click on the Mep File or Right Click with the Mouse and Select Open. (Picture 6)
Picture 6
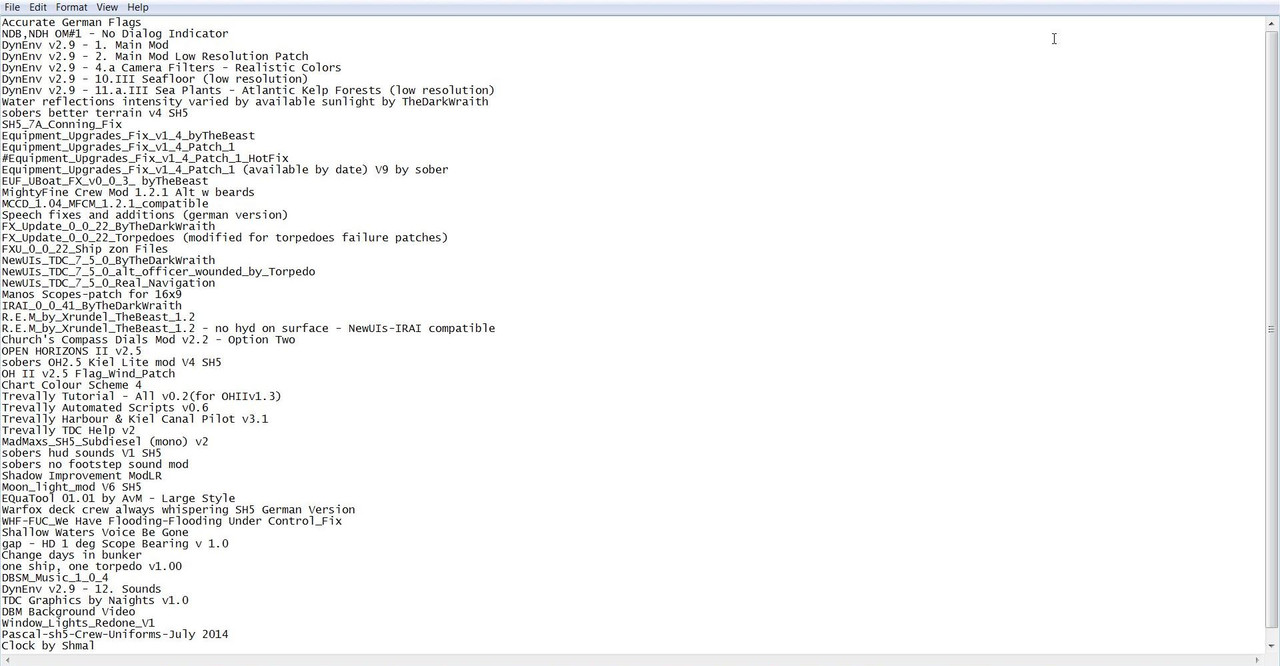
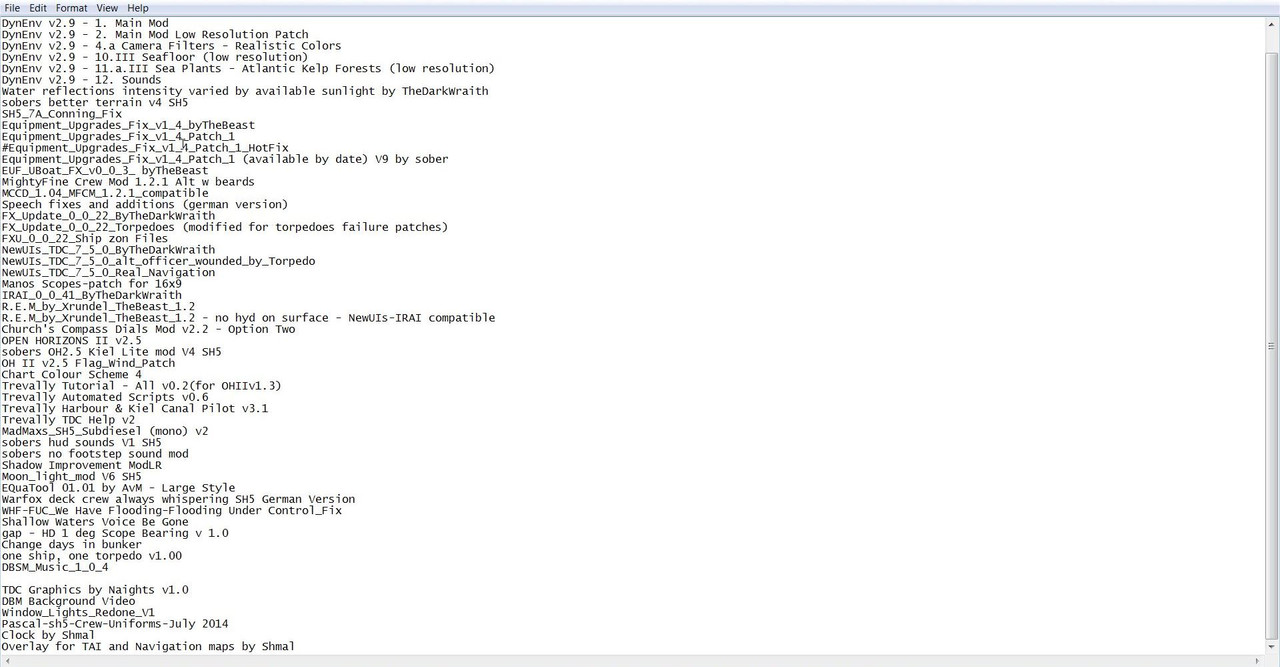
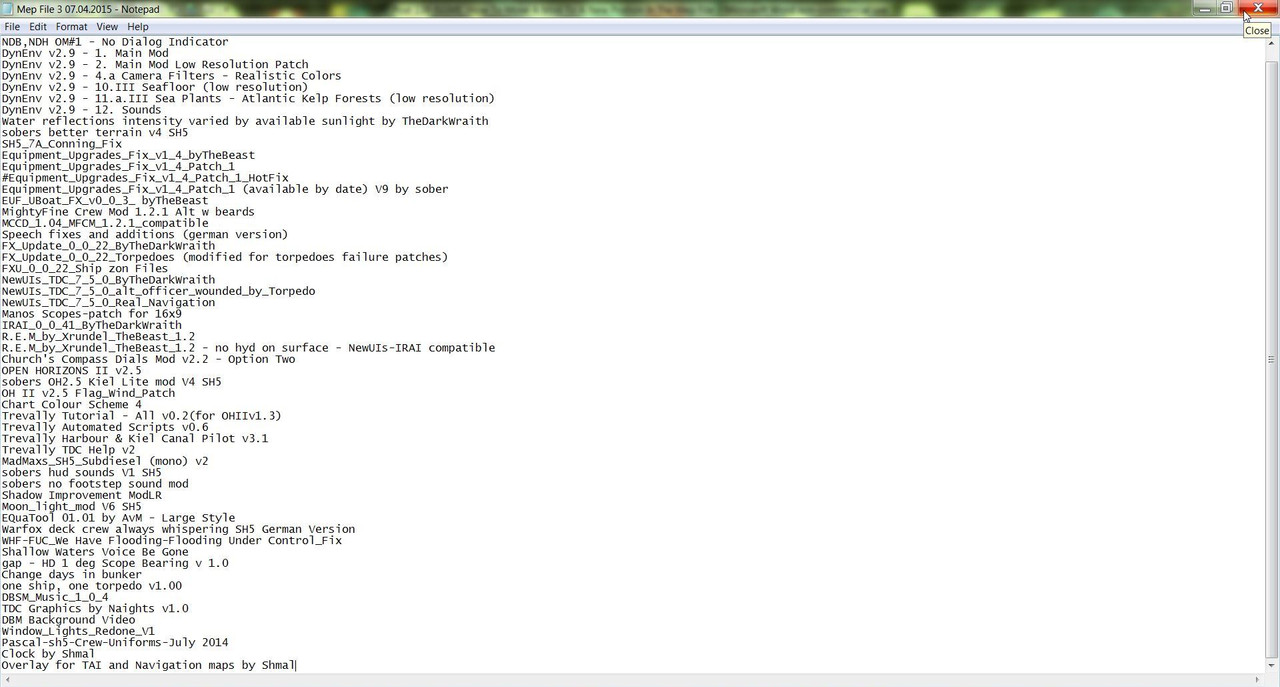
13.The Notepad has opened to show all the Mods Enabled in Mep File 3 07.04.2015 (Picture 7)
Picture 7
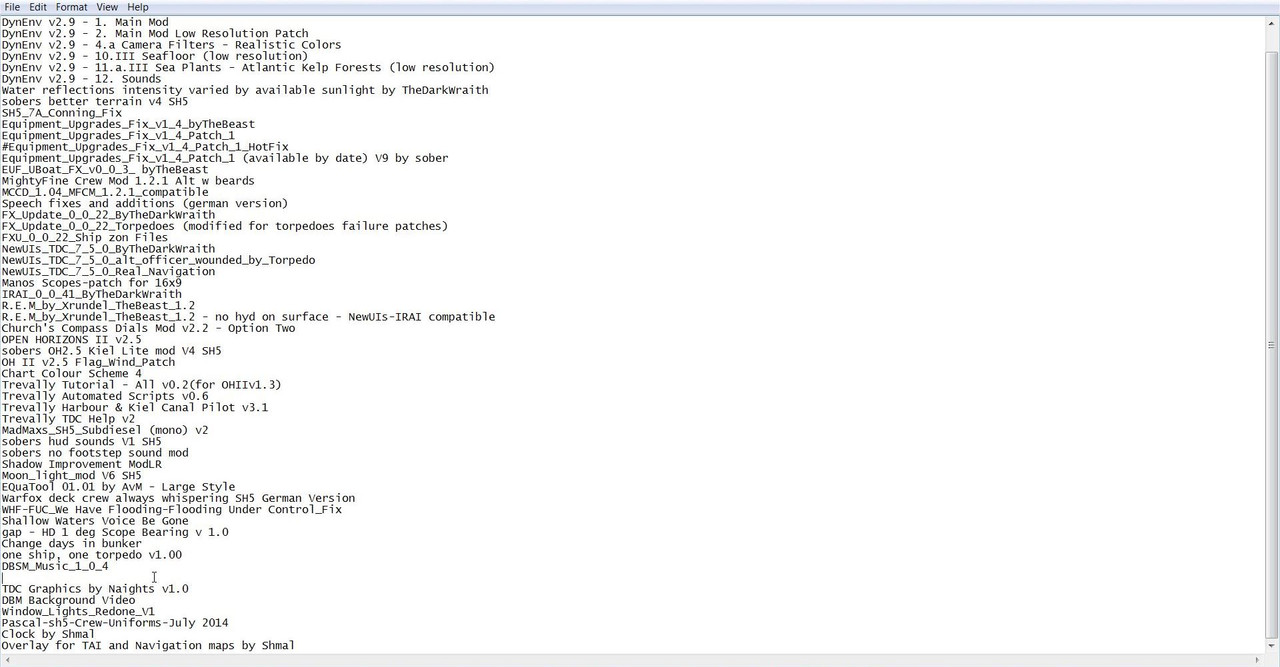
14. To Move the Mod to the New Position.
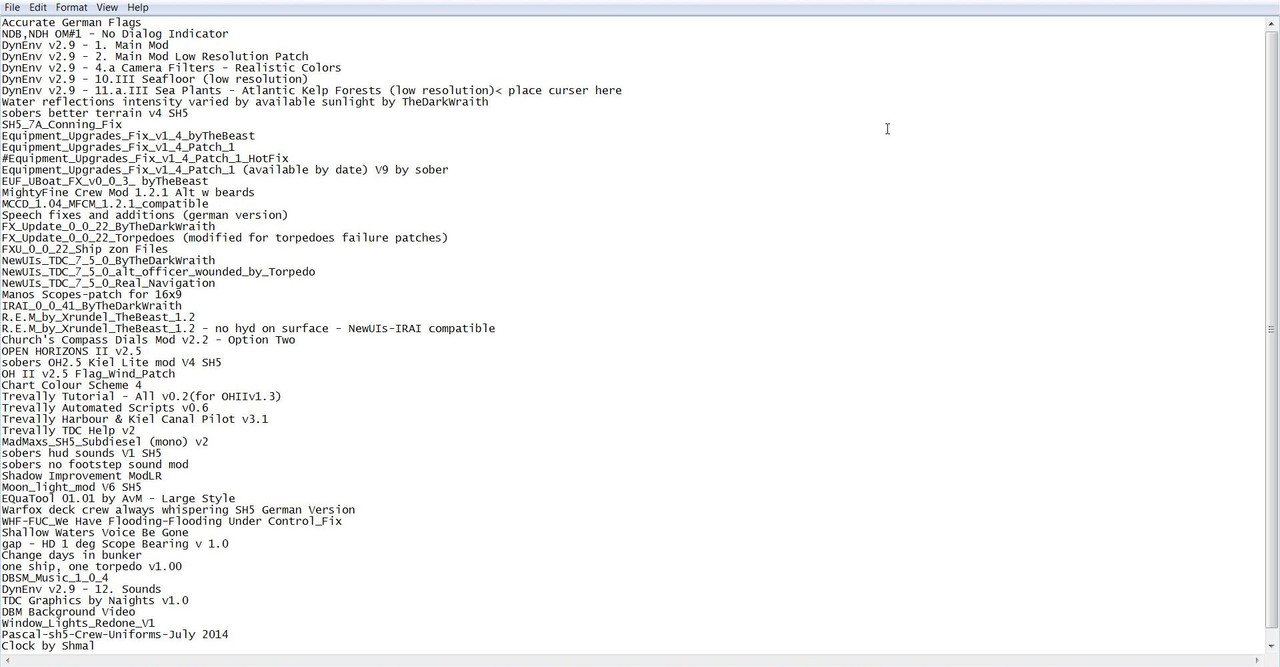
15. Place the Mouse so the Curser is at the end of the Mod > DynEnv v2.9 - 11.a.III Sea Plants - Atlantic Kelp Forests (low resolution) (Picture 8 )
Picture 8
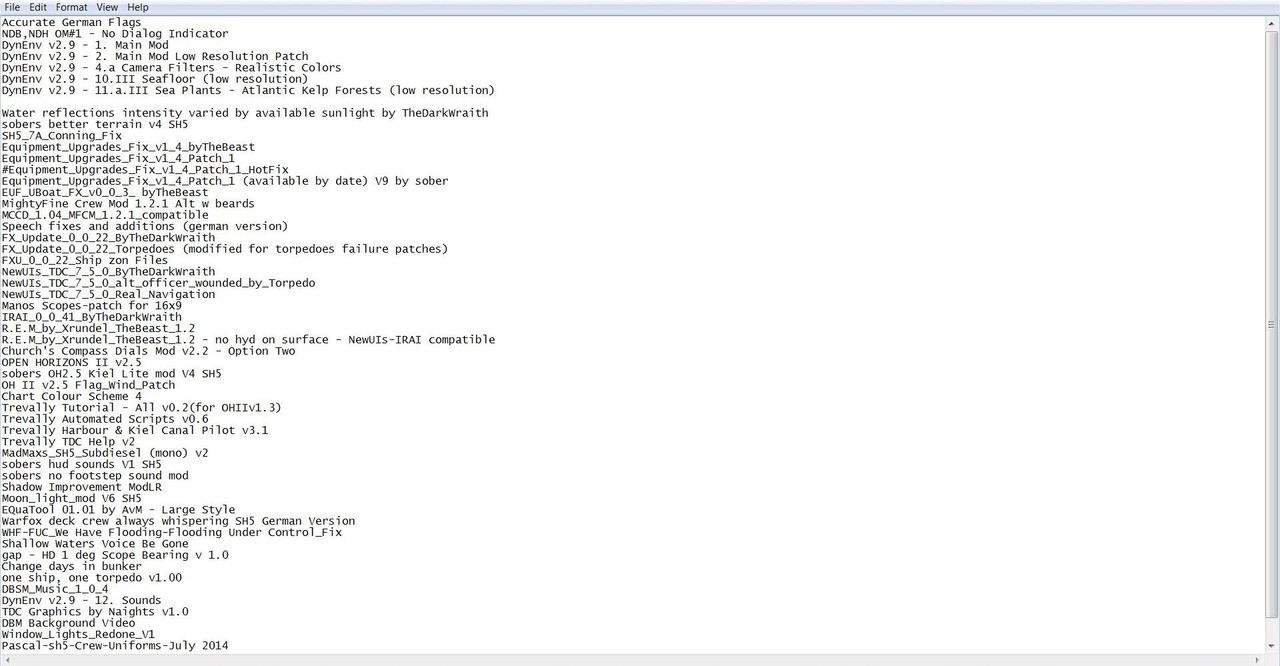
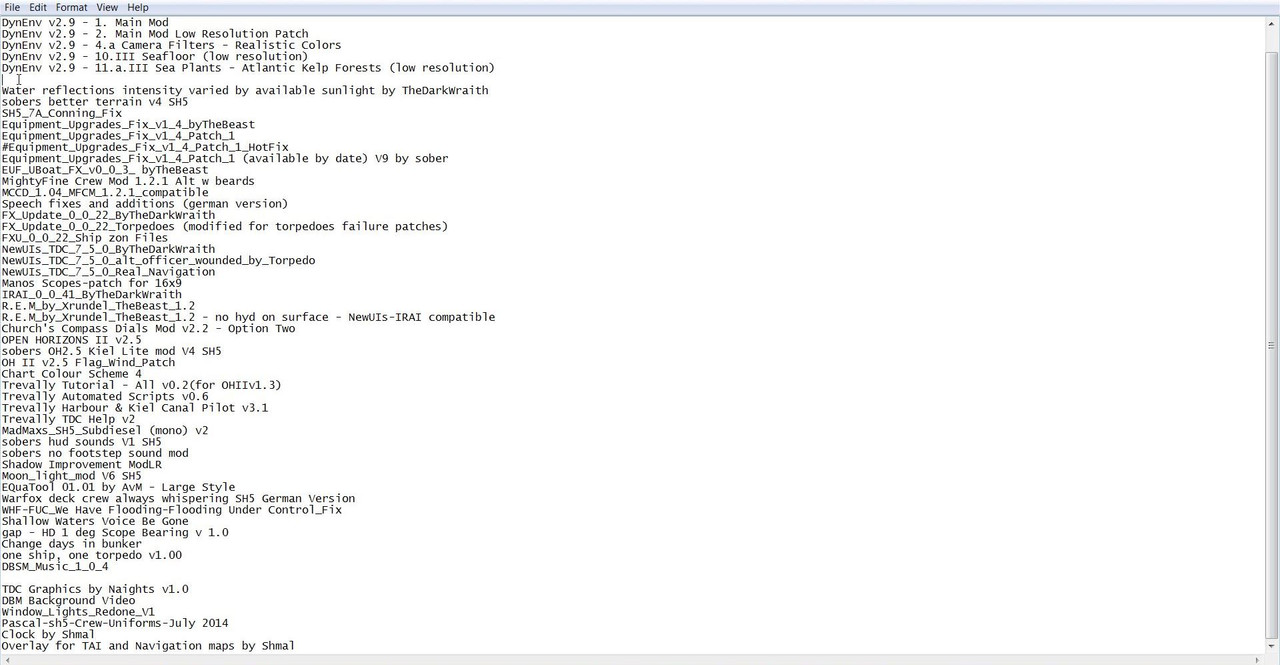
16. Press the Enter Key to enter a Blank Line Space. (Picture 9)
17. You can now see an Empty Line Space is showing. (Picture 9)
Picture 9
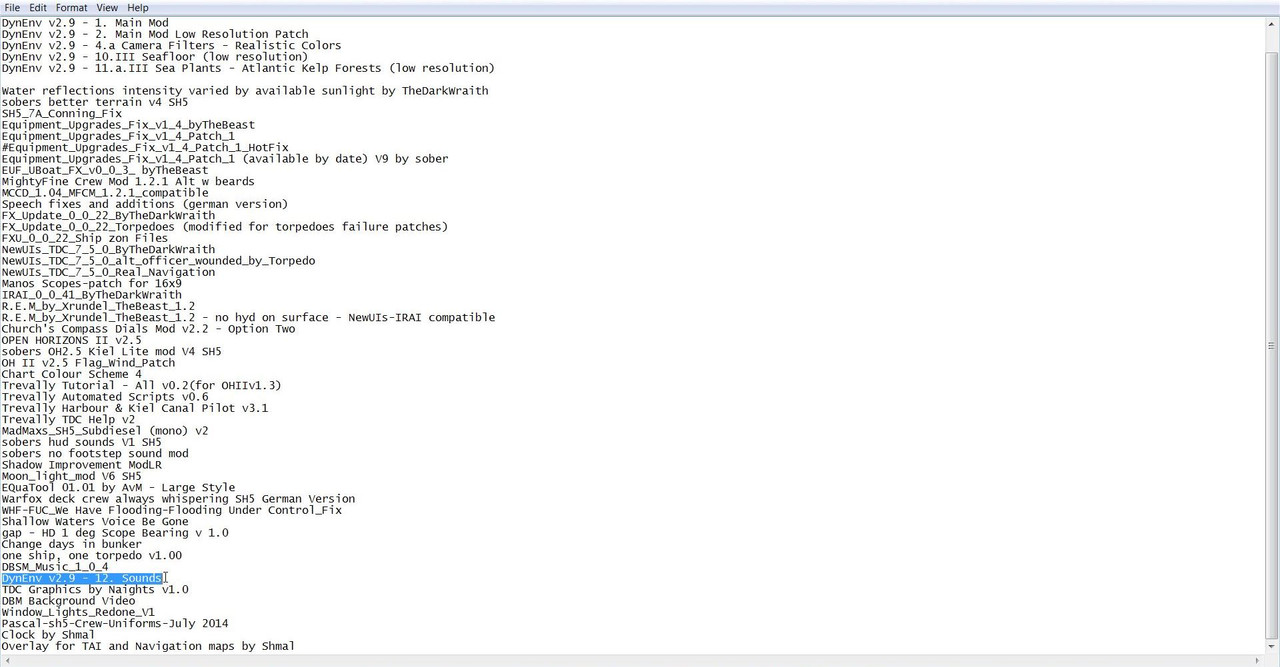
18. Highlight the DynEnv v2.9 - 12. Sounds Mod that is going to be moved. (Picture 10)
Picture 10
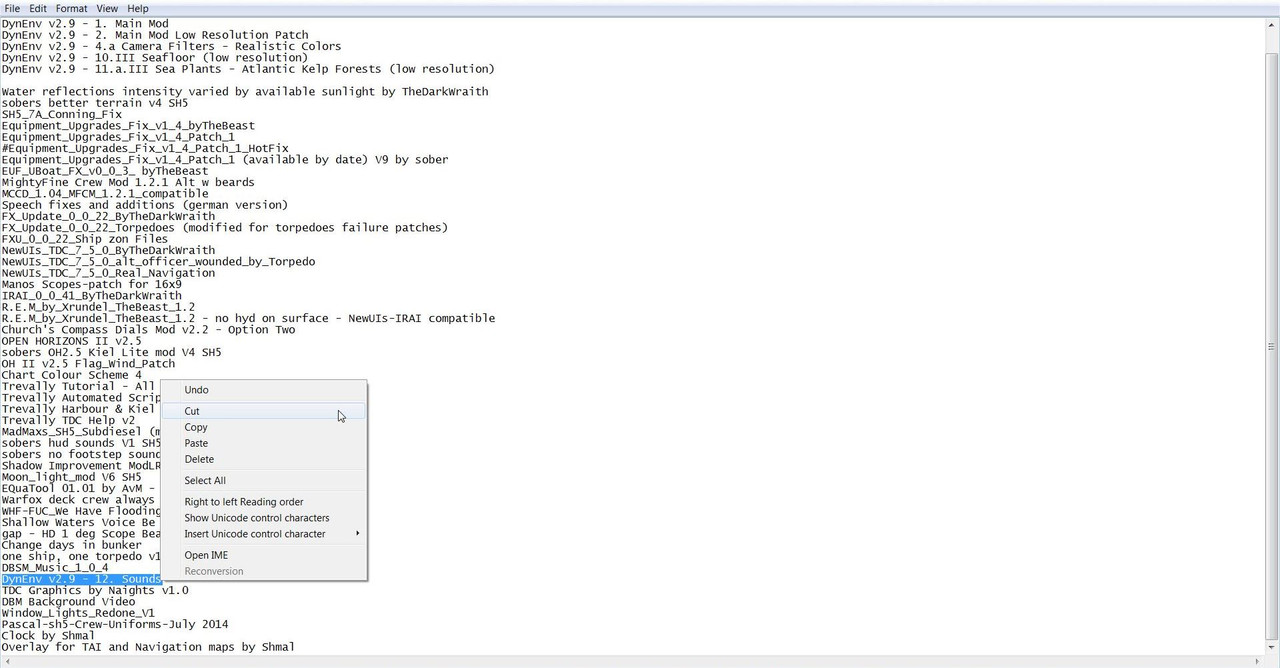
19. Right Click with the Mouse and Select Cut. (Picture 11 )
Picture 11
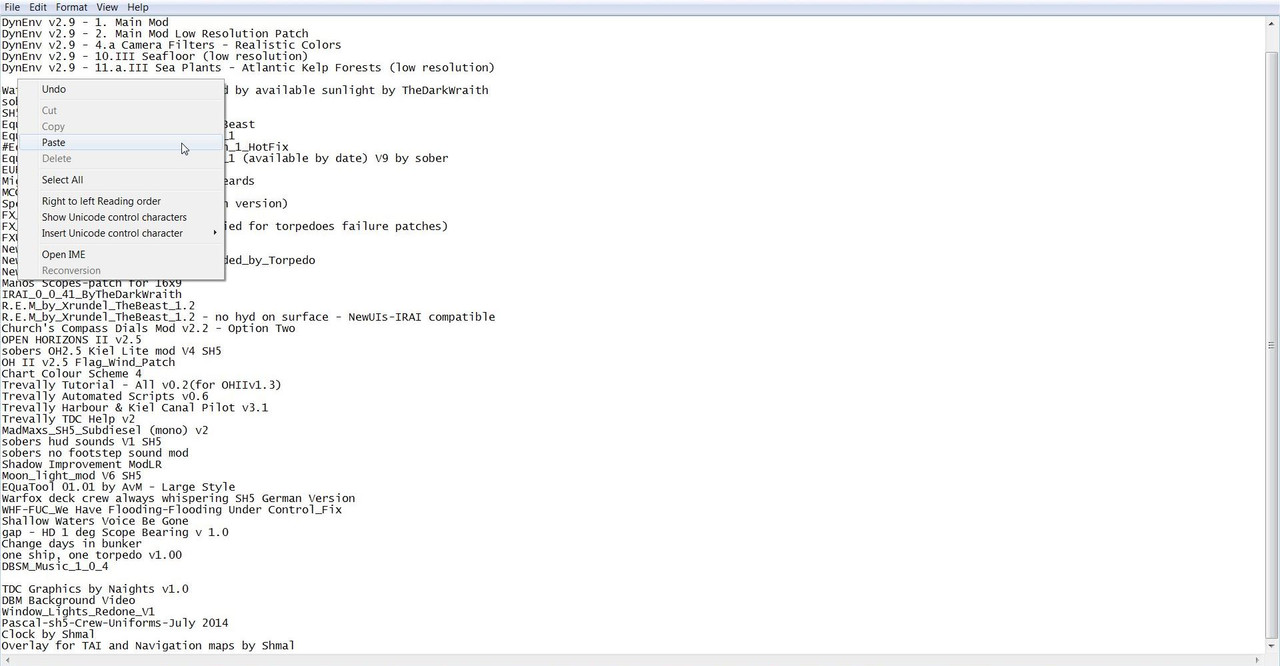
20. Place the Mouse Curser to the beginning (far left) on the Empty Space Line. (Picture 12)
Picture 12
21 .Right Cick with the Mouse and Select Paste. (Picture 13)
Picture 13
22. You now see the DynEnv v2.9 - 12. Sounds Modhas been Moved to its New Position. (Picture 14)
23. There is now an Empty Line Space where the Mod originally was. (Picture 14)
Picture 14
24. The Empty Line Space where the Mod was originally now needs to be Deleted. (Picture 15)
25. Place the Mouse Curser in the Empty Line Space and then Press Del Key. (Picture 15)
Picture 15
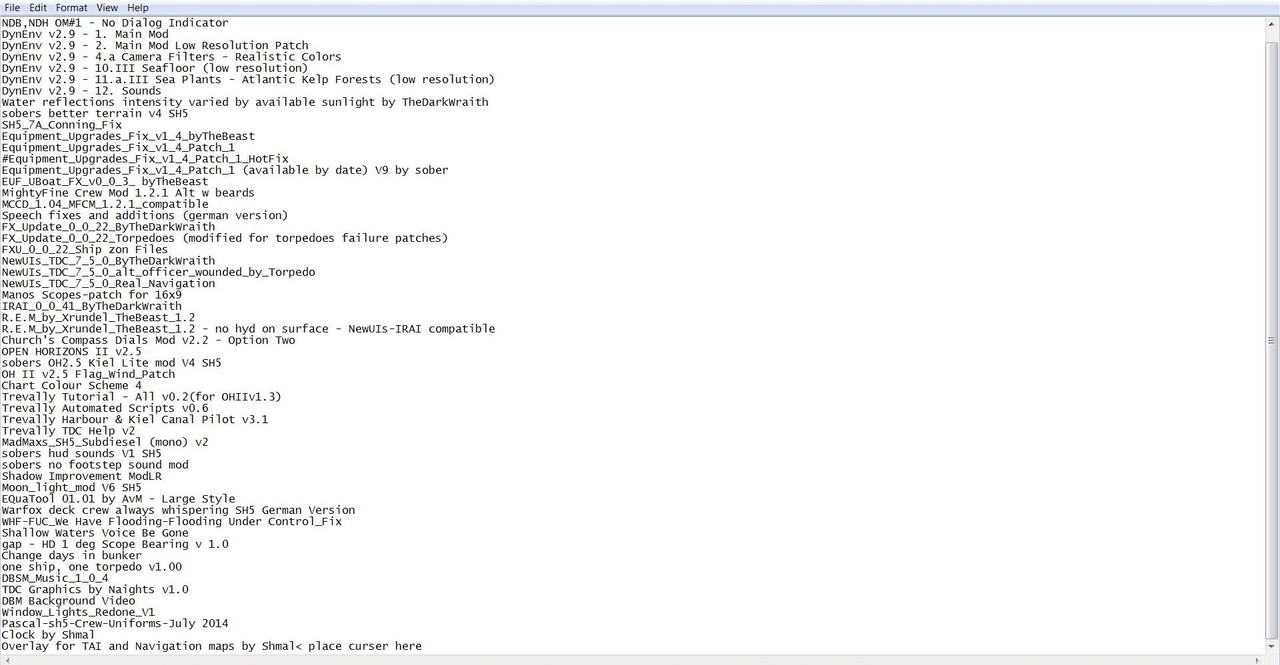
26. To Save this Mep File without a Load Mod Profile Error the Mouse Curser must be placed at the very end of the Last Mods Text. (Picture 16 place curser here)
Please note this action is very important. (Picture 16)
Picture 16
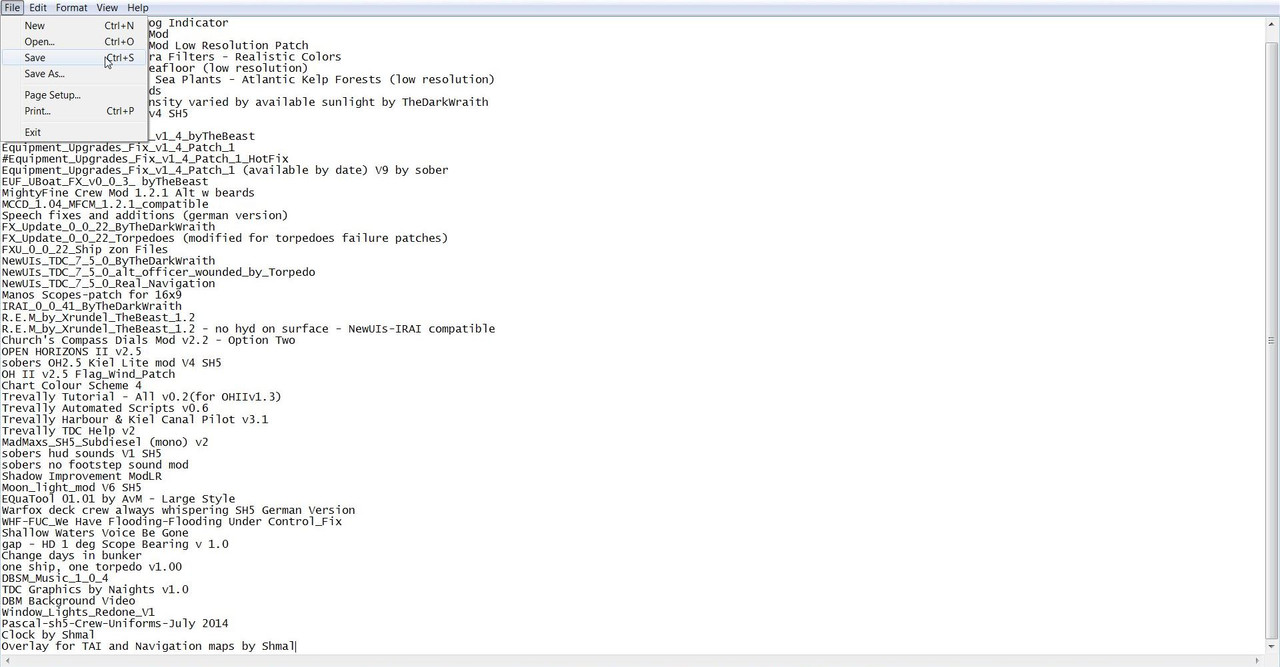
27. Go to the File Tab. (Picture 17)
28. Select Save (Picture 17)
29. After Saving you will notice in (Picture 17) that the Mouse Curser is correctly positioned at the end of the Last Mod.
Picture 17
30. Exit the Mep File. (Picture 18)
Picture 18
31. Open JSGME
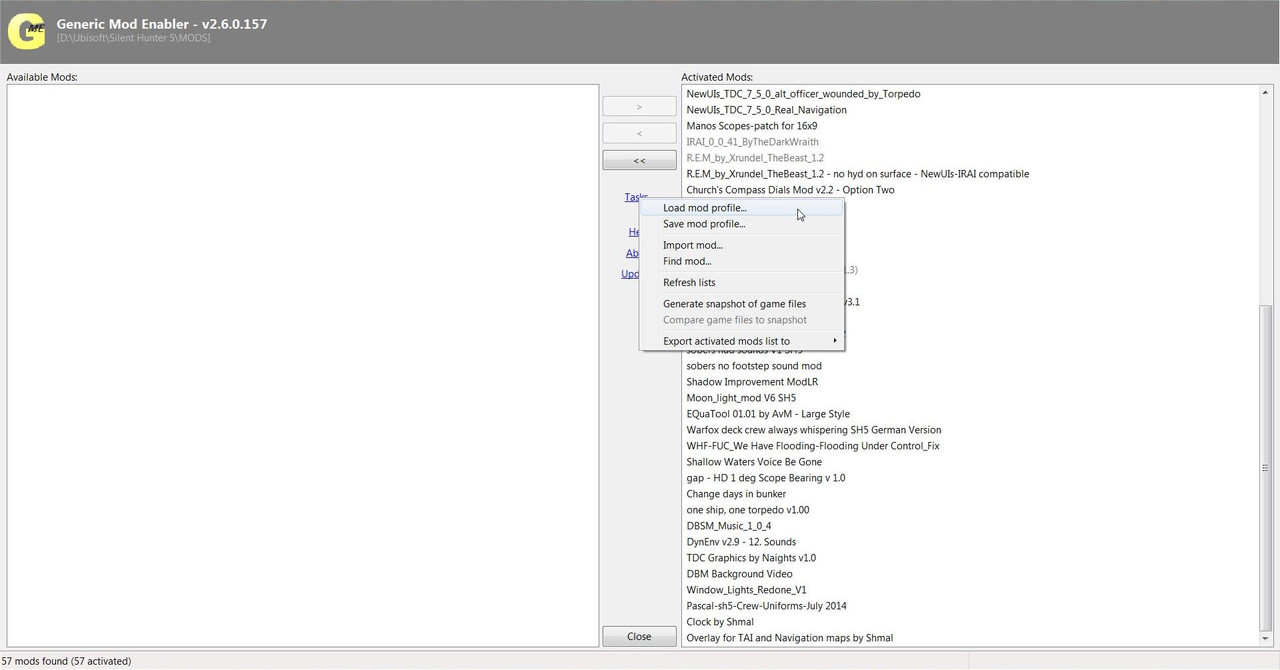
32. Select Tasks and Load Mod Profile (Picture 19)
Picture 19
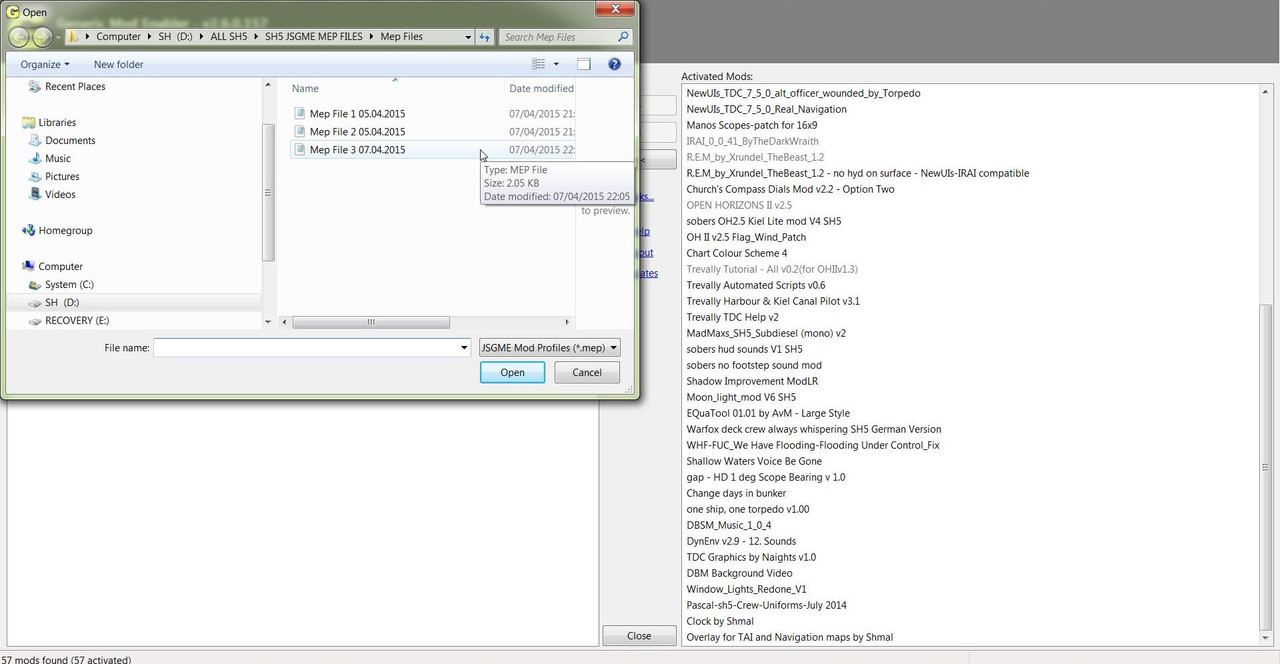
33. Go to the Mep Files Folder (Picture 20)
34. Double Click or Open the Mep File 3 07.04.2015 and JSGME will start its Disable and Enable processes. (Picture 20)
Picture 20
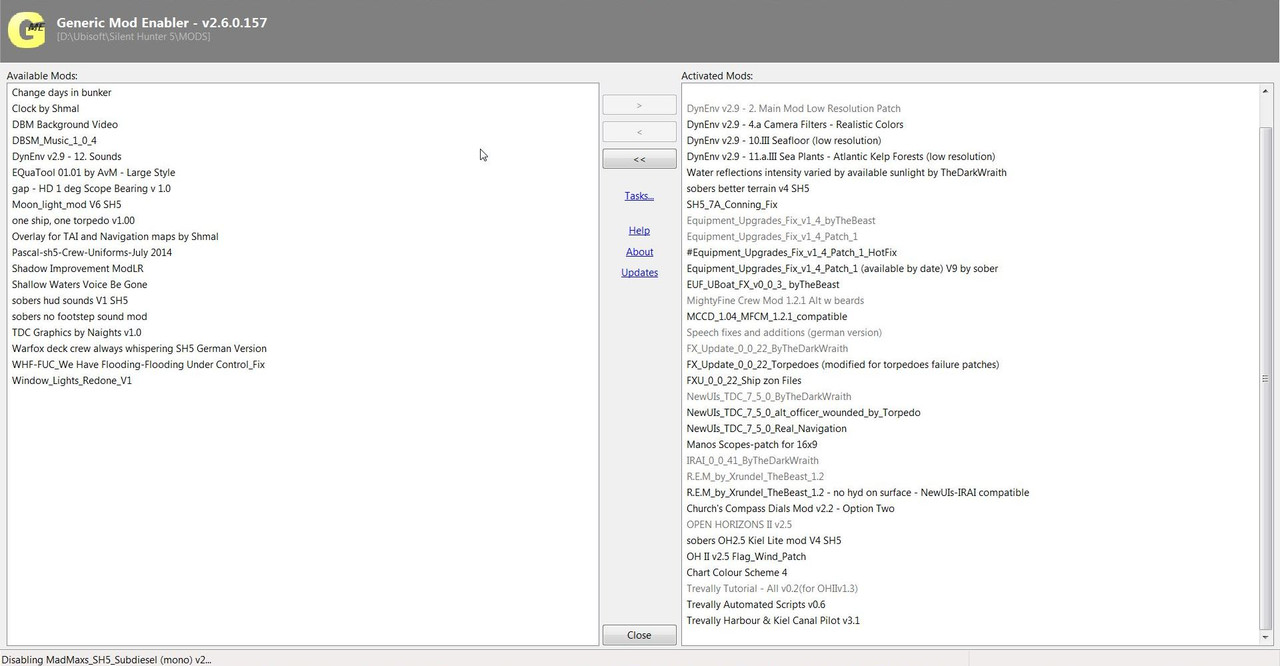
35. You can see in (Picture 21) JSGME has started its process of moving the Mods so it can place the DynEnv v2.9 - 12. Sounds Mod to the New Position it was Saved to in the Mep File.
Picture 21
36. DynEnv v2.9 - 12. Sounds Mod has now been placed in its New Position. (Picture 22)
Picture 22

37. Close JSGME.
How To Move More Than 1 Mod At A Time.
1. To Move a number of Mods around create multiple numbers of Empty Line Spaces for the number of Mods you want to move.
Picture 8
Picture 9
2. Highlight the first Mod to be moved.
Picture 10
3. Cut and Paste Mod 1 to its new position.
Picture 11
Picture 12
Picture 13
4. Highlight Mod 2
3. Cut and Paste Mod 2 to its new position.
4. Repeat these actions with the remaining Mods.
5. Now Delete all of the Empty Line Spaces.
Picture 14
Picture 15
6. If the Last Mod was one of the Mods Moved make sure there is no Empty Line Space behind the New Last Mod showing.
Picture 16
7. Make sure the Mouse Curser is Placed at the End of the Last Mod Before Saving the Mep File as inPicture 16.
8. This is very important otherwise you will get a Load Mod Profile Error.
9. Save the Mep file as in the Tutorial.
Picture 17
Last edited by THEBERBSTER; 04-27-18 at 03:23 AM.
Reason: Replaced missing pictures
|