Quote:
How many torpedoes does your kayak have? 
|
If I'd been in the middle of my last SHIII obsession, I'd probably draw such comparisons while kayaking (like seeing another boat and thinking "oh ****, is she friendly? Do I need to dive?"). I'd literally stroll the harbour in my hometown and look at the cruise ships and catch myself wondering how much renown I'd get for sinking them.
But no, my kayak doesn't have torpedoes, nor can she dive. However, she can probably do an eskimo roll in a pinch, once I learn how to carry them out, and she's kinda hard to spot with her small size.
Quote:
I have Google Earth (free version)...
How do you that!:hmm:
|
I have the free version, too, and this feature used to be off-limits but has since been unlocked. It's really simple, really, so I'm sure you'll get the hang on it really fast. In short...
Warning in advance: Google Earth is surprisingly prone to crash while doing this stuff, at least my copy is. Make backups regularly by right-clicking the patrols folder you're about to make and choose "Save Place As...". To recover the backup, just exit Google Earth and open the file by clicking on it. This'll launch Google Earth and import the backup, which you can then drag back to My Places

.
1. Make a folder in My places for the patrol logs by right-clicking "My Places" and choosing Add, then Folder. Keeps things organized and makes it easy to show/hide all your patrols or make backups - all you do is choose this one folder. Experiment with names and descriptions. An example:
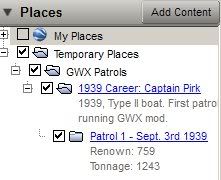
The grey text is the folder's Description field. Note that I use Temporary Folders to not clutter up My Places, since this is just a mock log for this tutorial and I'll delete it once this is done.
2. Look at the toolbar:

The icon with the yellow pin places
placemarks.
The three next icons, from left to right, are
- Hexagon (use this to show patrol area, etc.)
- Path
- Image Overlay
Placing
Placemarkers is fairly straightforward. You hit the icon and the placemarker appears in the middle of the screen, and a window emerges. Click and drag the marker to where you need it, and fill in the fields in the window as you see fit. One example:

Clicking the icon with the red circle lets you customize the appearance of the placemarker. Note that colour changes sometimes don't show until you've left the Placemarker window.
If you mess up, just right-click the placemarker and choose "Properties". This will let you move or edit the marker.
Placing
Paths works much the same way. You hit the icon and click-and-drag the path. You then choose the path's colour and width. It might be an idea to give each patrol's path its own colour. It might also be an idea to make the patrol multiple paths, so that you don't have to remove the whole thing if you mess a segment up.
After placing the path, you can edit nodes by clicking on them and then either holding the node to drag it or erasing it by right-clicking.
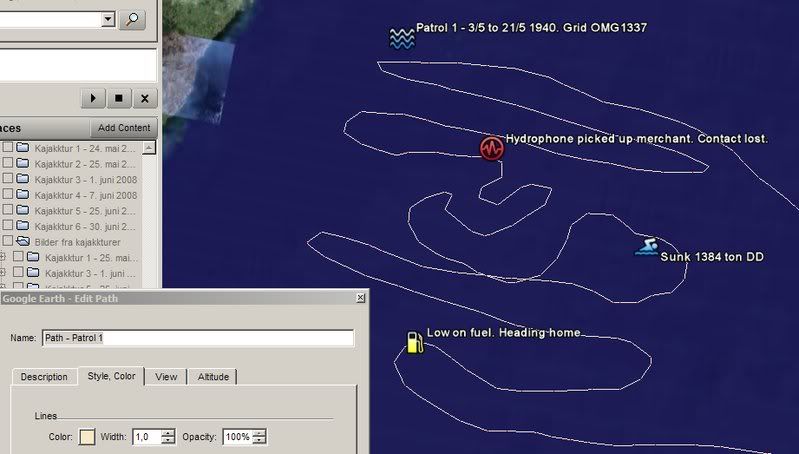
Draw Hexagons to denote patrol grids, hunting grounds, etc.
Use Image Overlay to place Screenshots or overlay the SHIII map, as shown in an earlier post.
That's all I can really be bothered to jot down right now, as I'm dog-tired and need a shower. Ask if you need anything else, and above all,
feel free to experiment.
Oh, and again, backup often!
(To UBI: Idea for SH5: Make SH5 save patrols, including events in placemarker form and hunting grounds as overlays, etc., as kmz files that can be imported into Google Earth

).