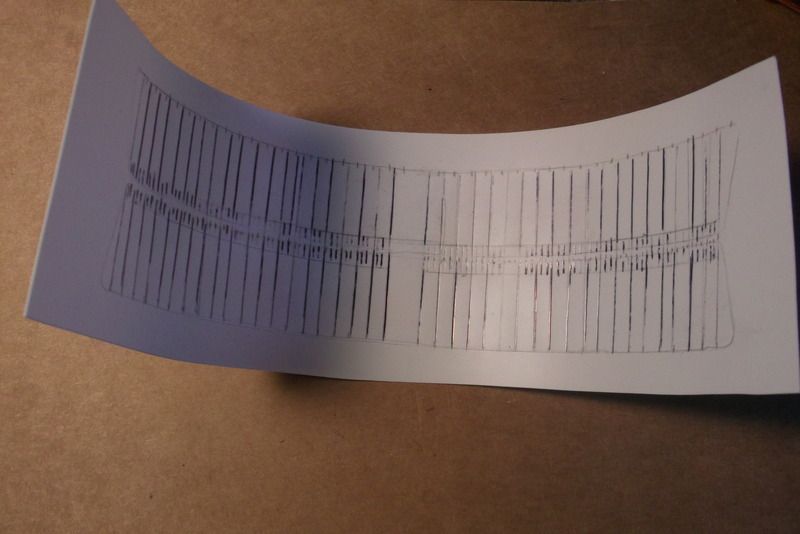
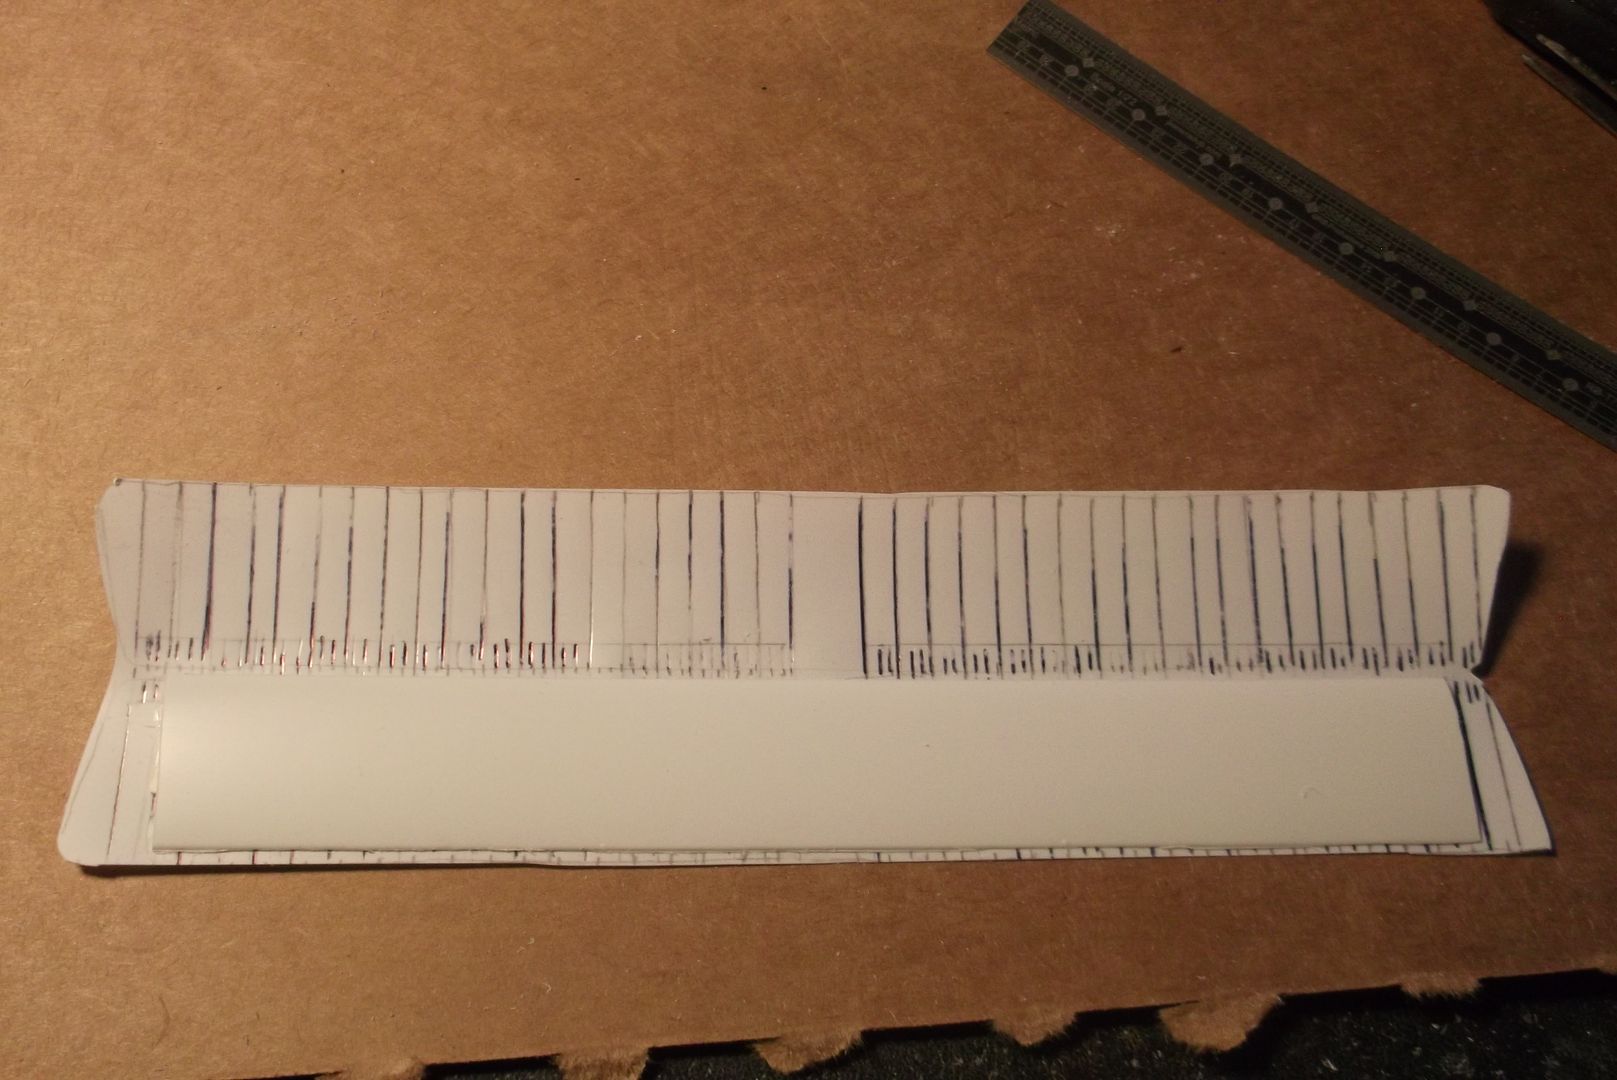
First step for the lower wing is scribing all the rib lines from the inside, including the little secondary riblets at the leading edge. This made the plastic curl up.
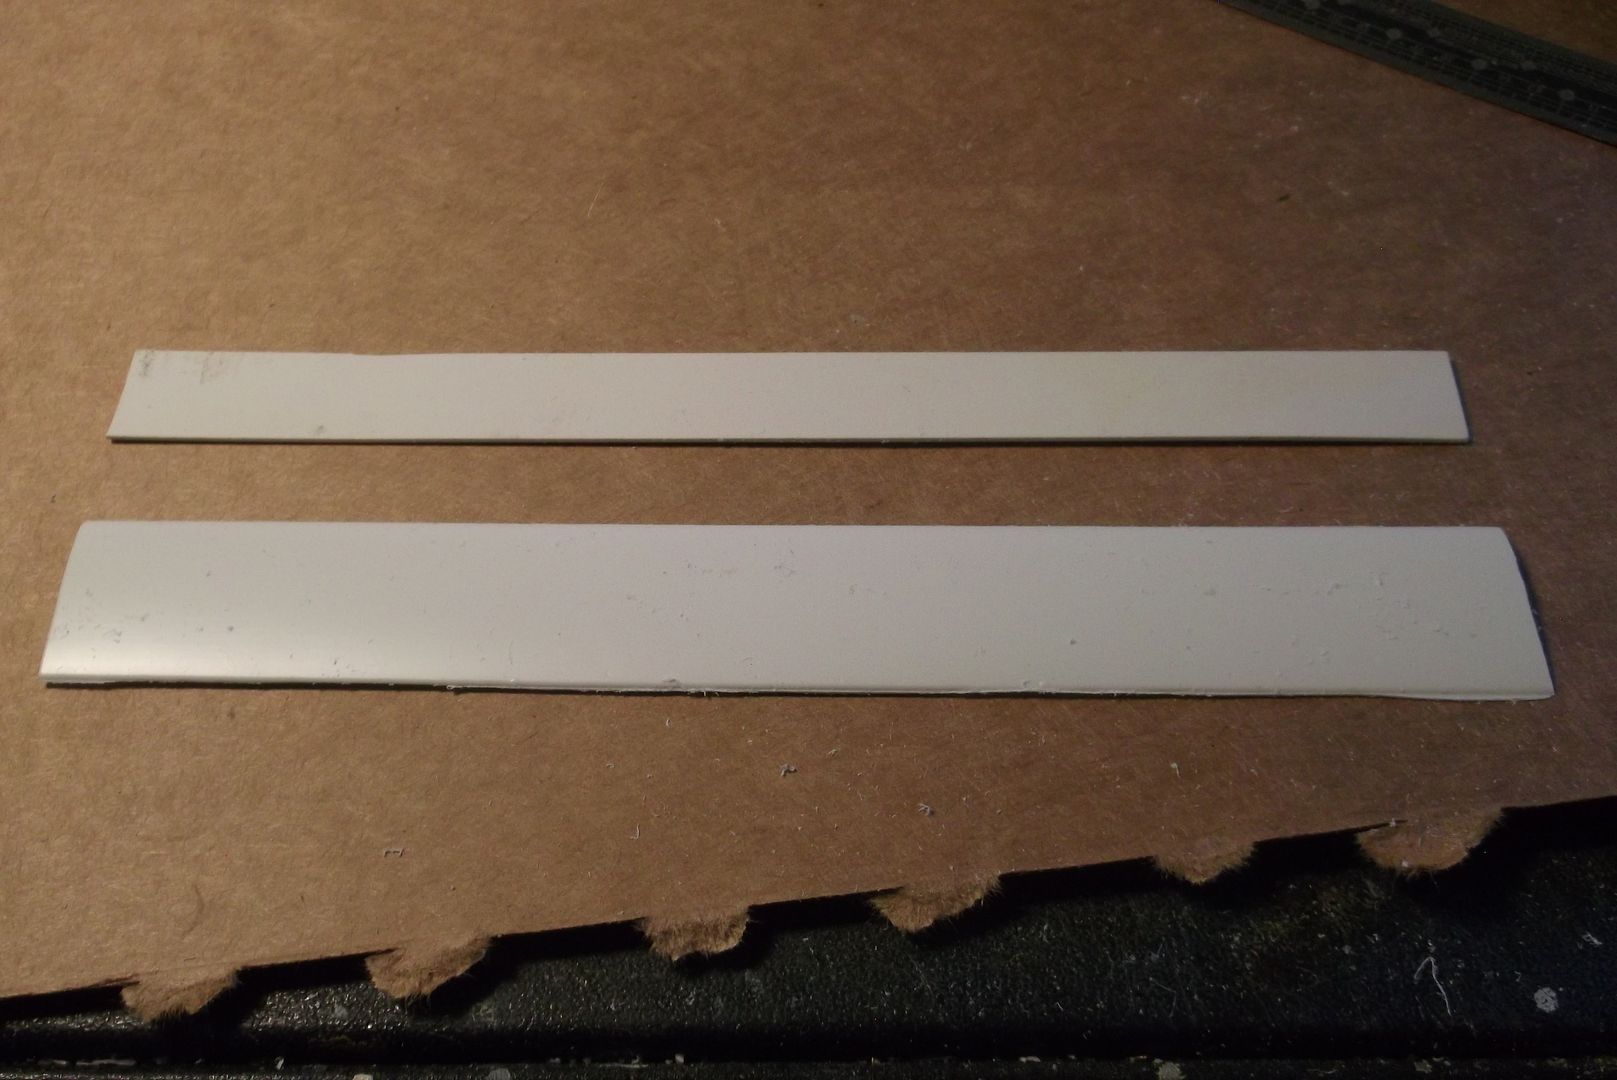
Second came the internal bracing. This is cut from some of the RoseWings wing stock I've had for years.

The wing stock is made to represent wings for World War I aeroplanes, so they have that characteristic curved bottoms. The Boeing had a more modern flat bottom, so I had to cut a strip of thick plastic stock to fill the inside of the wing.
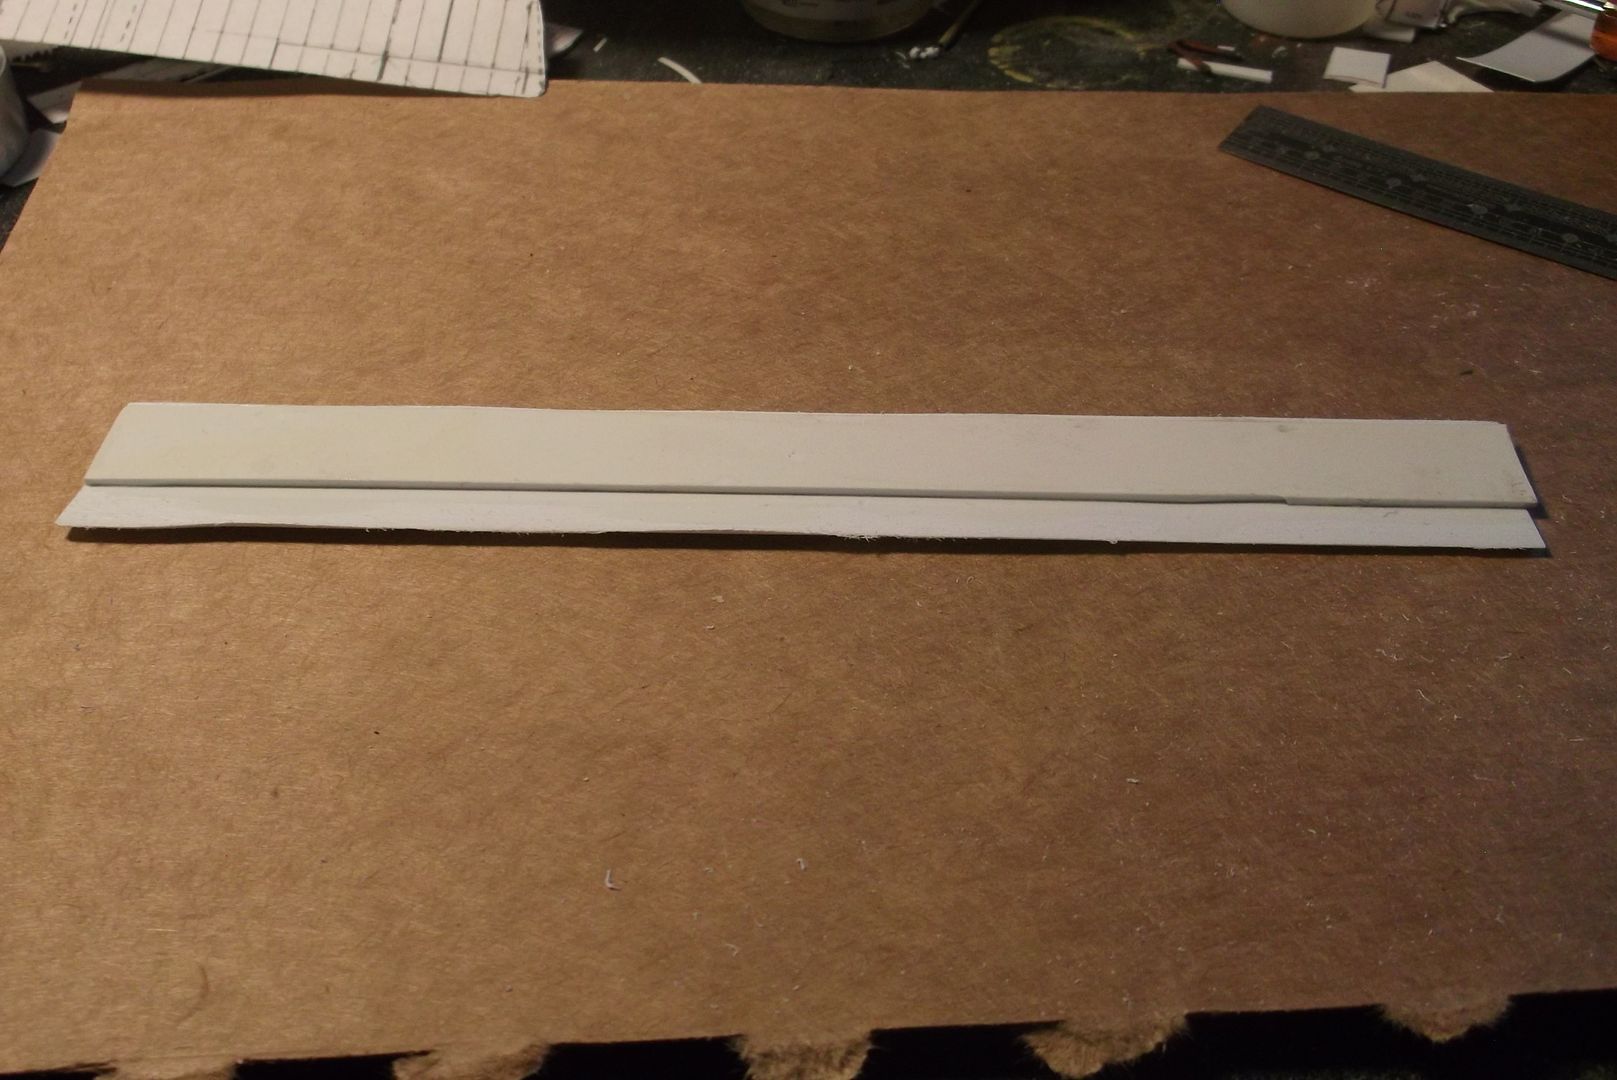
Once the insert was dry the whole thing is glued to the bottom half of the wing. Then comes glue applied to the leading edge to soften it up for easy bending. Then the top is folded over.
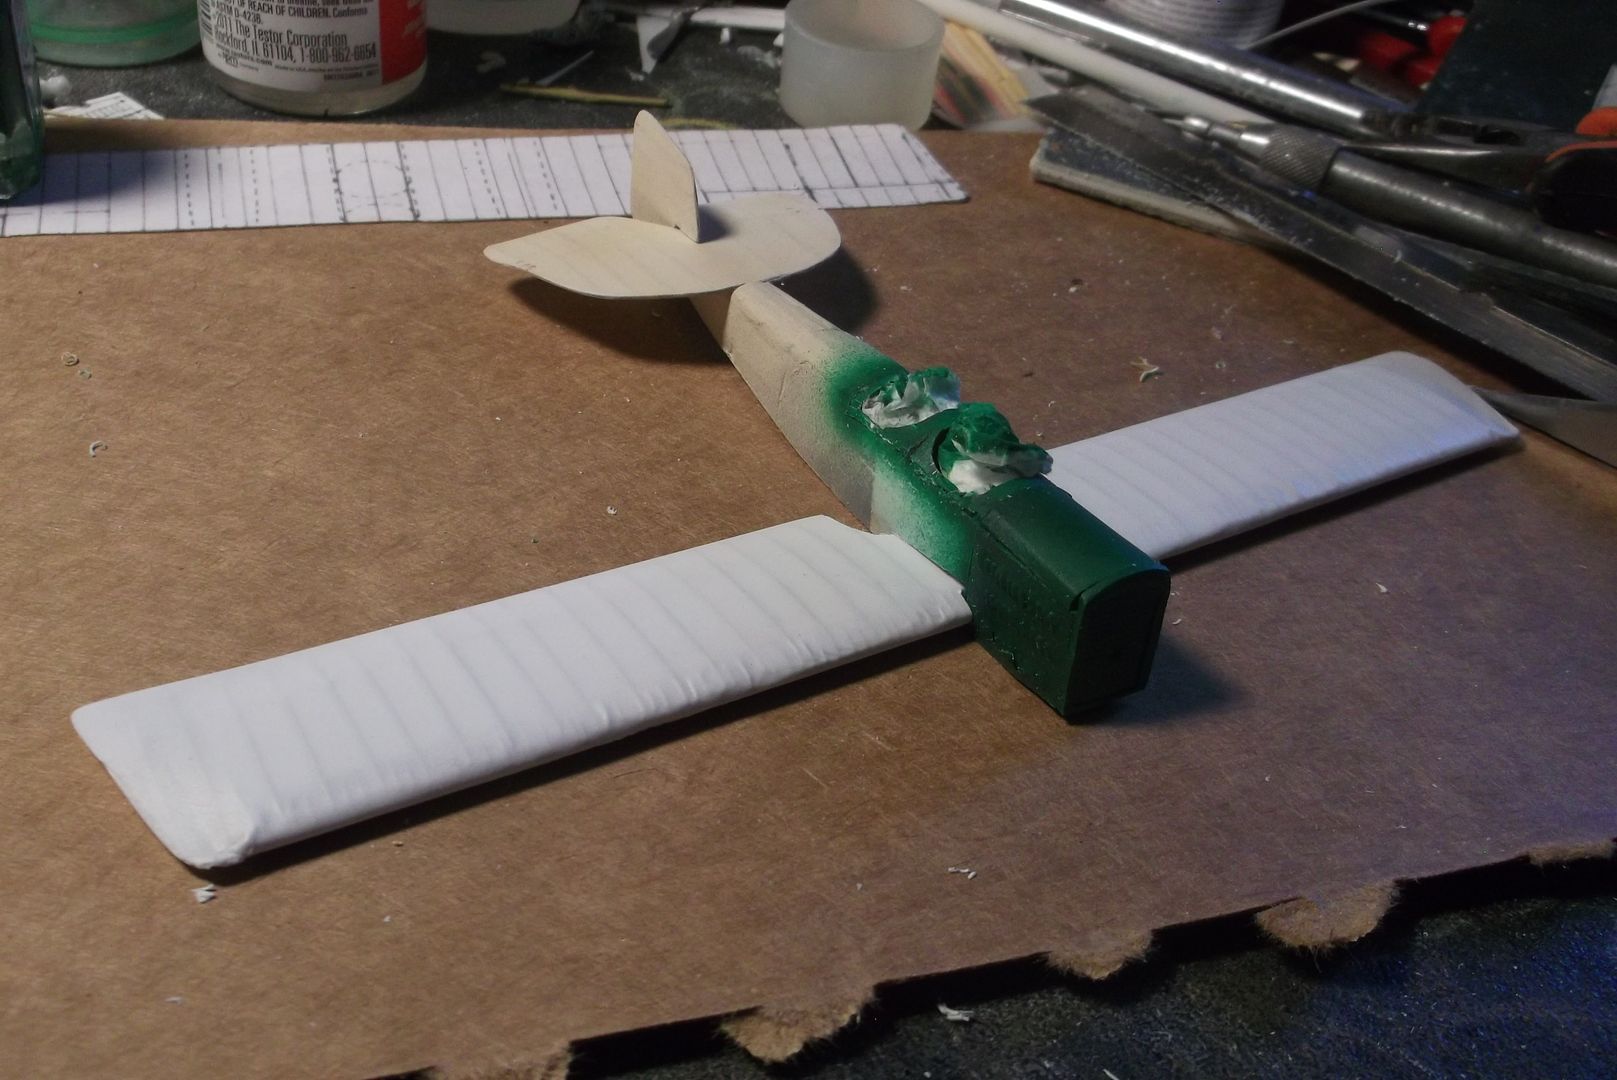
I had a couple of choices here. I could cut the center section out and run brass wire through the fuselage for support for the two halves. I could cut the wing in half, make the right sized holes and put the two halves through the fuselage. I chose the third option: cut out the forward edge to bypass the internal bulkhead. The aft cutout is because the back part of the wing
was cut out like that. This left a slot in the fuselage the whole wing could slide into.
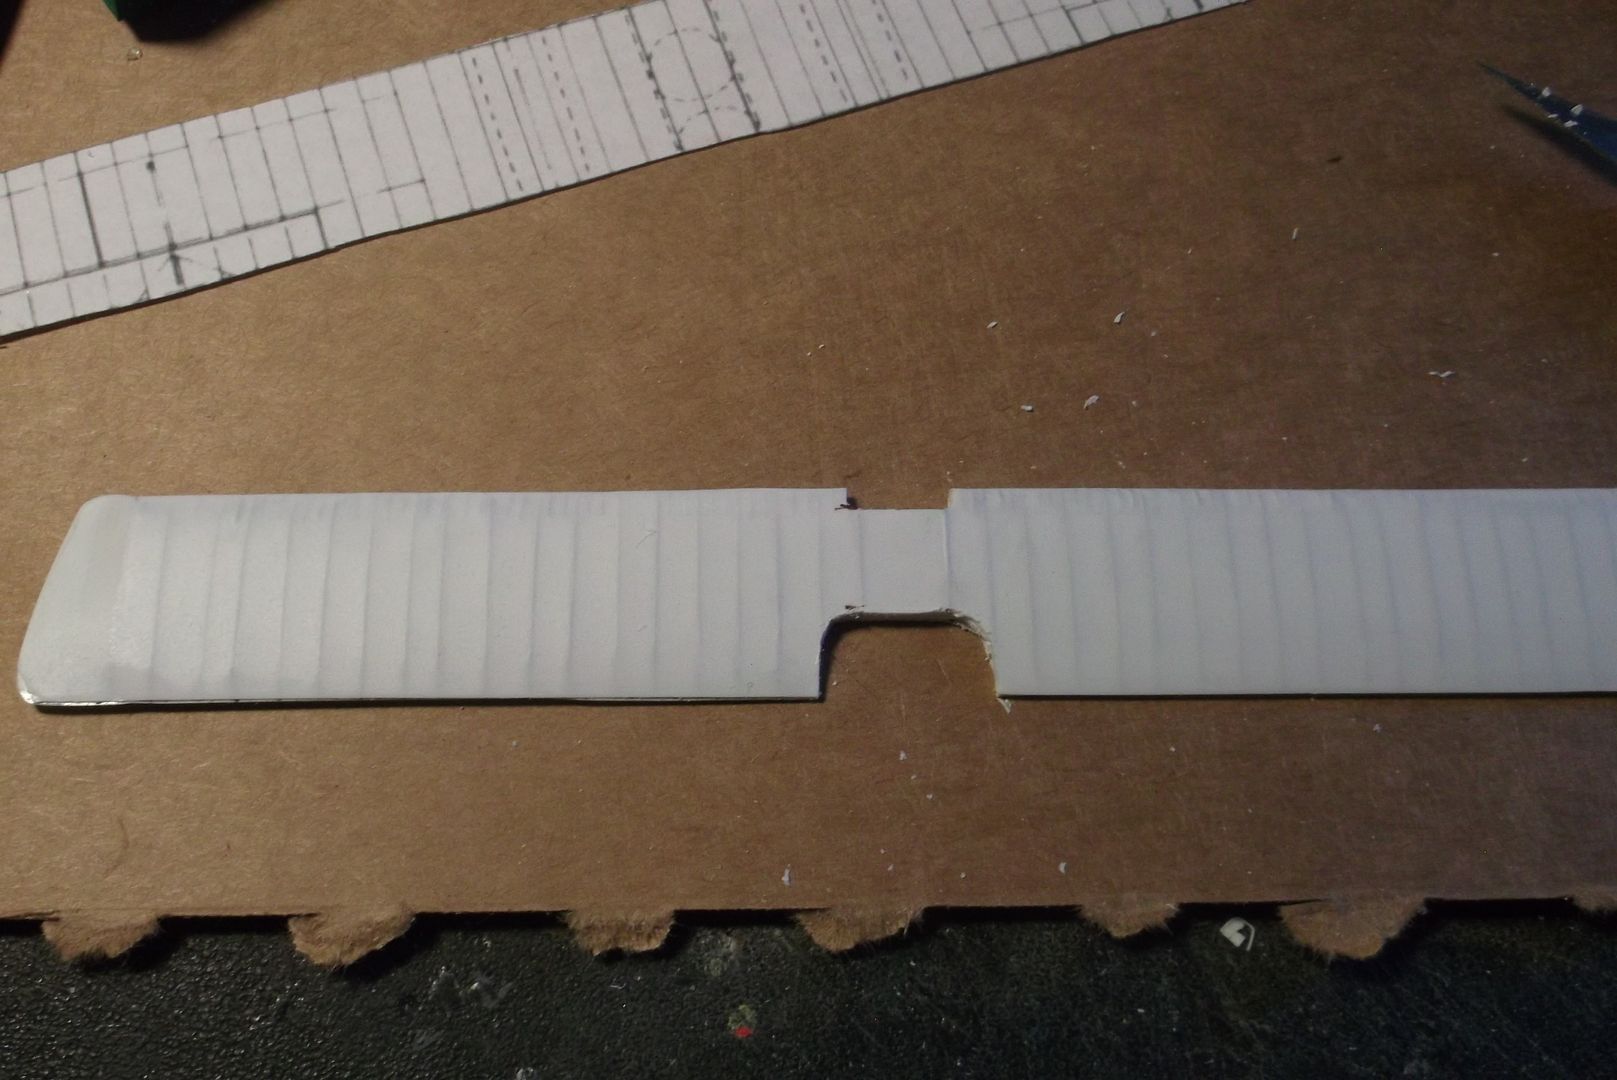
And the wing is mounted. This method leaves an exposed area that has to be re-skinned, but the wing remains in one piece and very solid.