 Rockall Bank First Encounters in AM18.
Rockall Bank First Encounters in AM18.
This will give you some idea of what to expect from your First Mission.
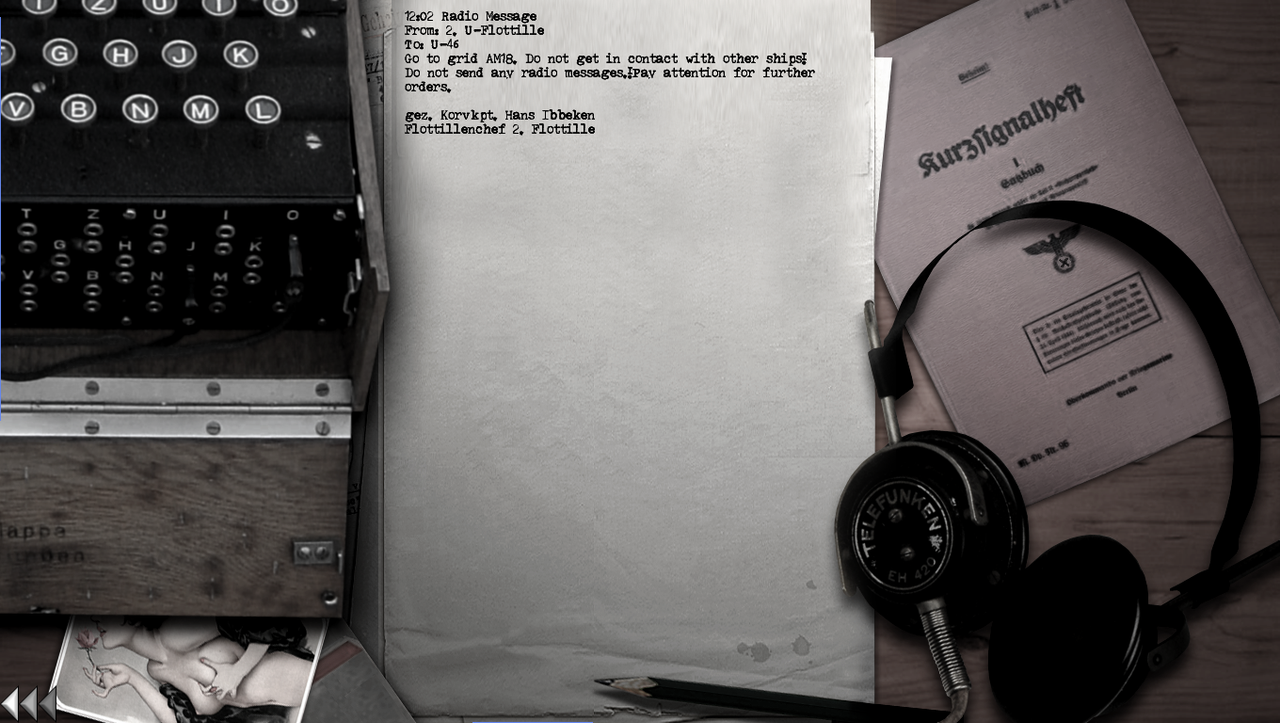
Picture 1 > I had to use a lot of TC to pass the days before the 1st Radio Message on August 26th 12.02.
Confirms the original Grid AM18 orders.
Picture 2 > The 2nd Radio Message was on August 29th 18.45 informing me of a Neutral Convoy in AM15.
This will be the Enemy Convoy on September 3rd.

Picture 3 > The 3rd Radio Message on September 1st 03.01 updated information on the 2nd Radio Report giving the Convoy size.
It also indicates a position where you need to be.
This Message will be repeated later on September 3rd.

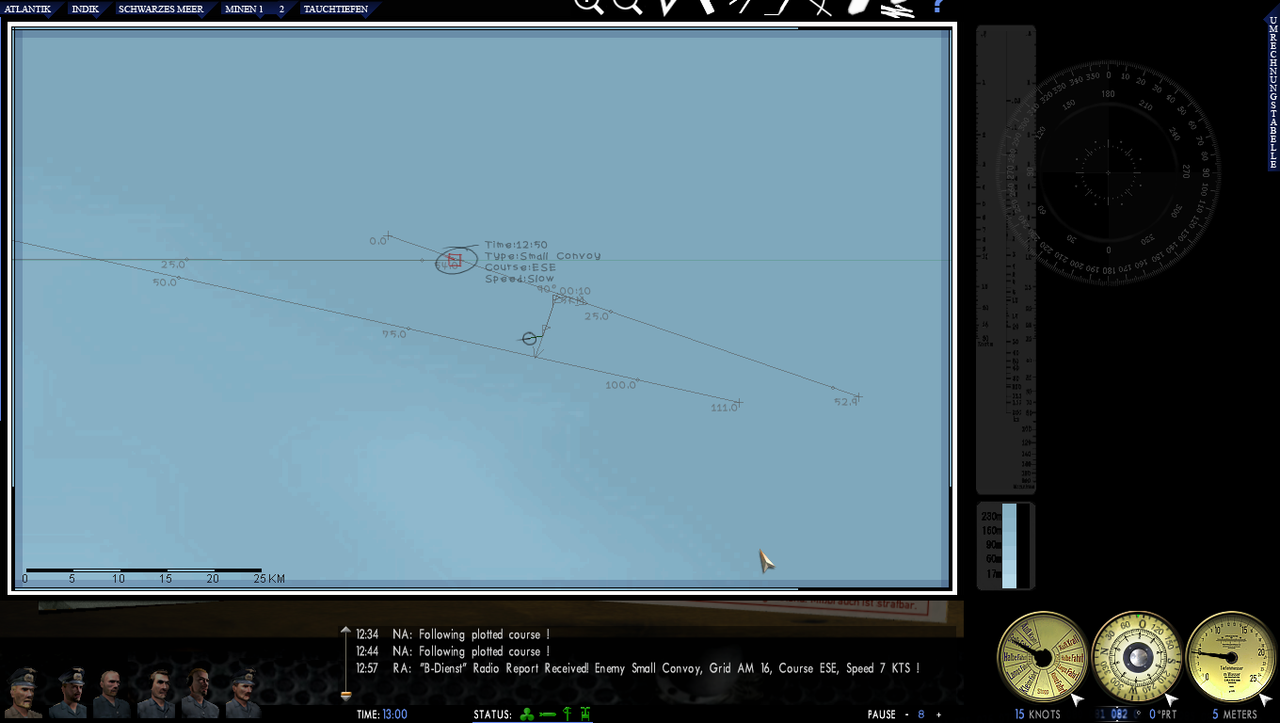
Picture 4 > The 4th Radio Message Sept 3rd 12.57 contains more information regarding the Convoy now in AM16.

Picture 5 > Shows the Convoy entering AM18.
The distance is 54km along the AM18 Grid Line from the right angle.
Convoy course 110ᵒ.
Speed 7 knots as in the Radio Message.
I had drawn a Targets Course Line from the AM16 Map Contact and had taken up an attack position.
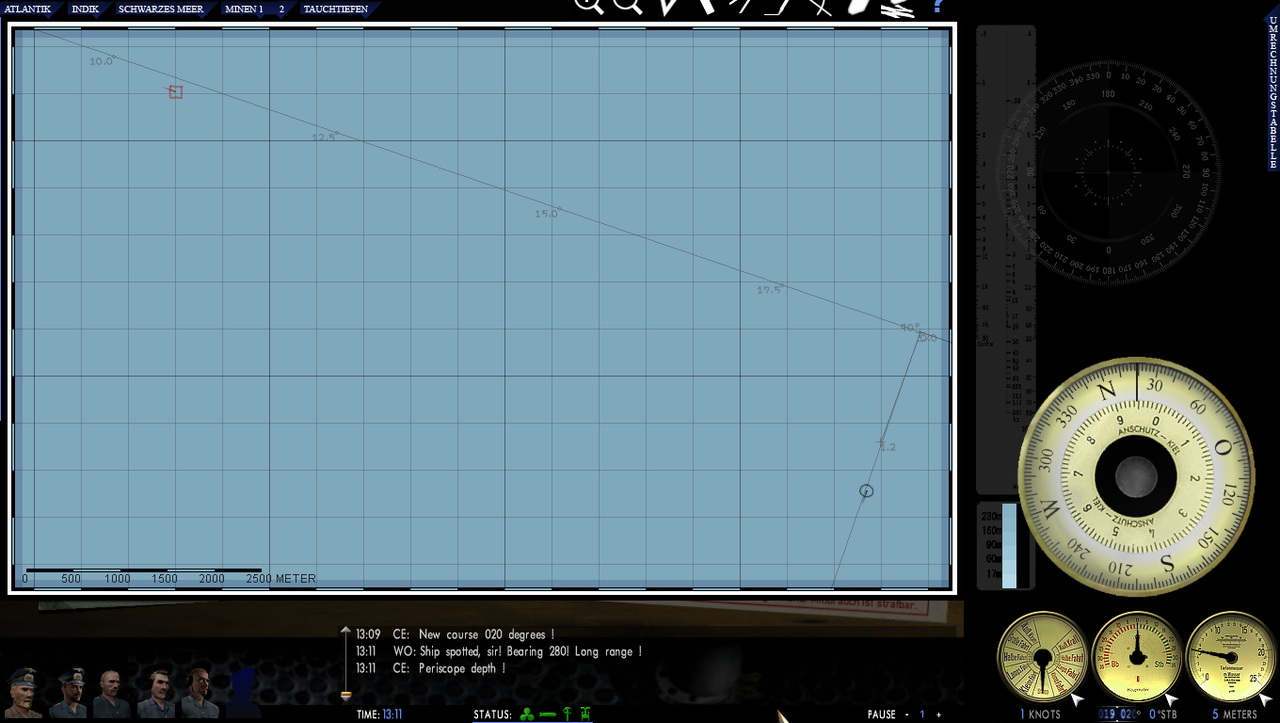
Picture 6 > Time to Dive > Periscope Depth ordered.
New position taken up on the AM18 Targets Course Line 110ᵒ.
Picture 7 > Go to the > Weapon Officer Icon.
He is going to do everything, all the calculations etc.
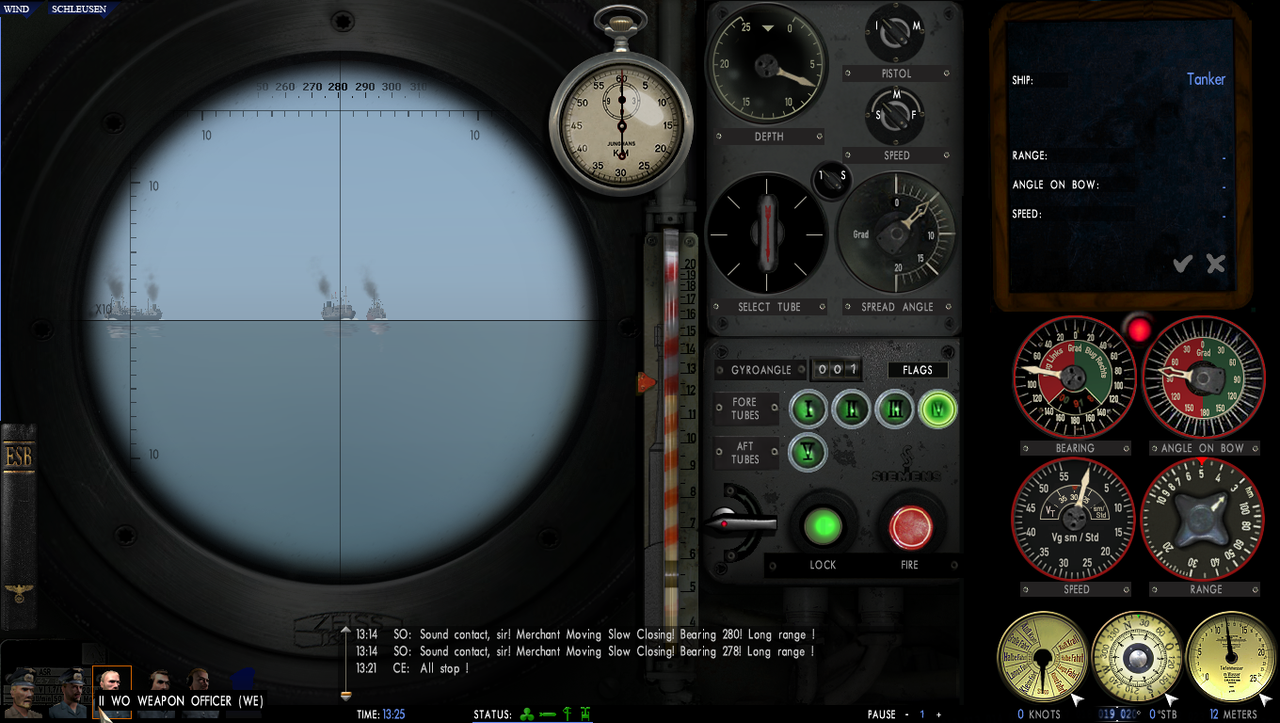
Picture 8 > Showing the > Torpedo Attack Icon.
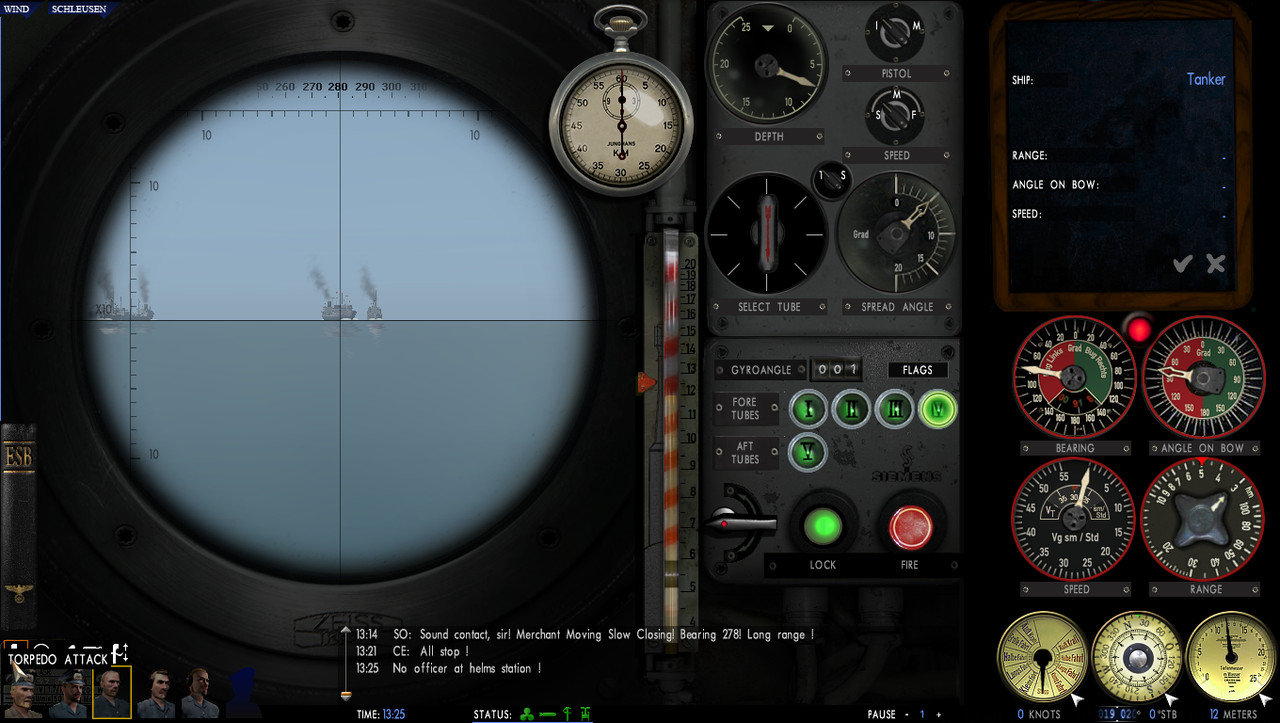
Picture 9 > Ship Identification Icon.
Pressing the Lock Button > Short Cut Key > L identifies the Target Type but not what it is.
Once you have identified each of the 4 Targets go to the > Navigation Map F5 and click on any of the > Map Contacts and each one will be identified.

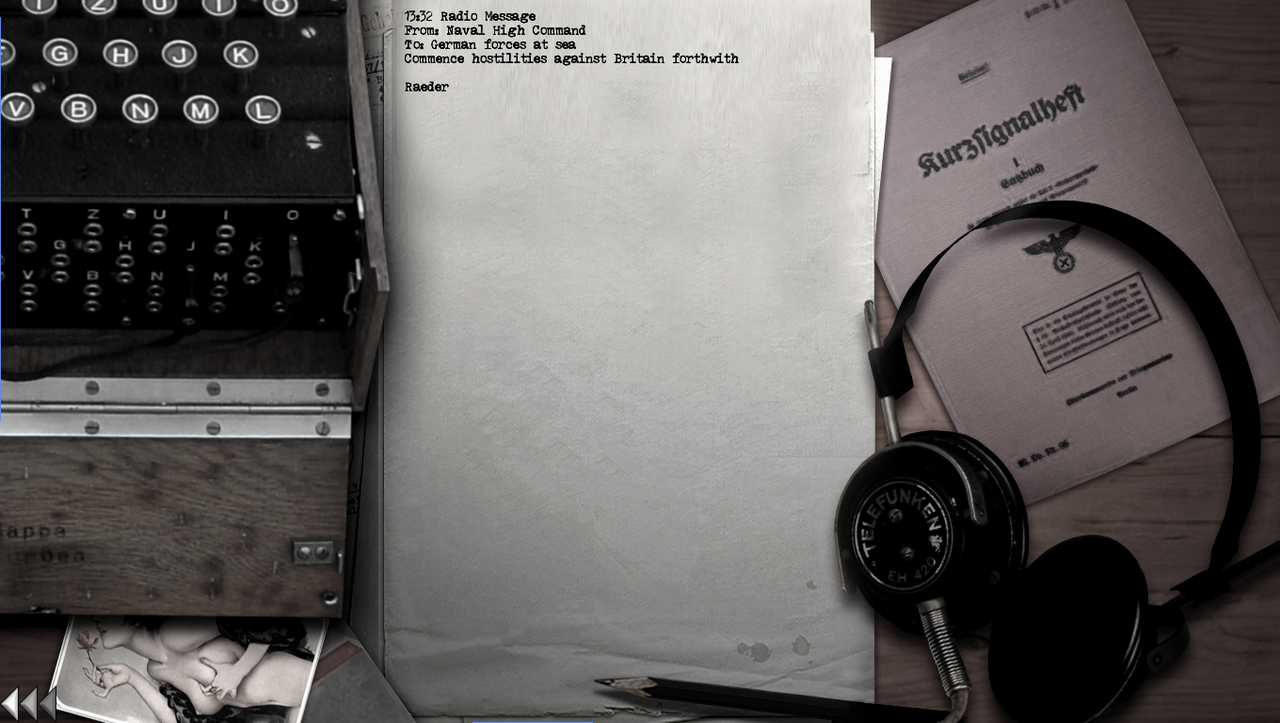
Picture 10 > This 5th Radio Message on September 3rd 13.32 gives the Orders with permission to go on the Attack.
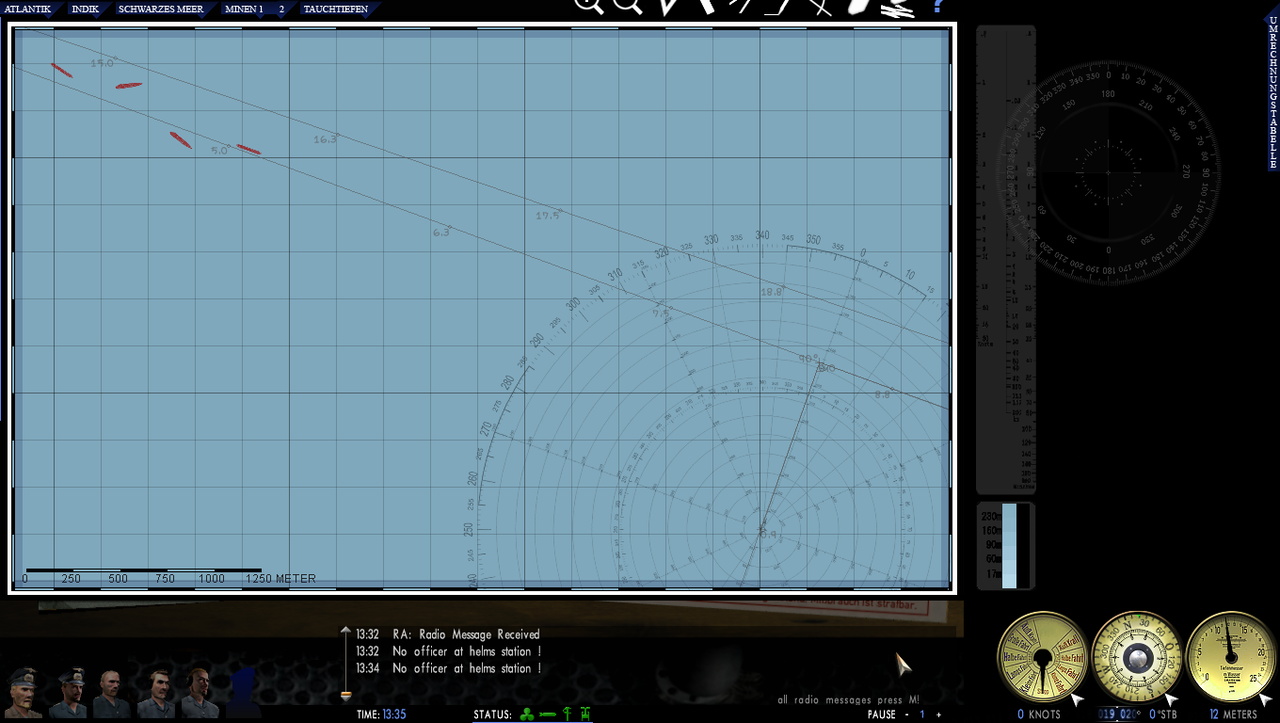
Picture 11 > Notice that only 1 of the 4 Targets maintains a constant course 110ᵒ.
The 1st line is the original Targets Course Line 110ᵒ from AM18.
The 2nd Targets Course Line nearest has been adjusted by drawing a line through the first ship which is on course 110ᵒ.
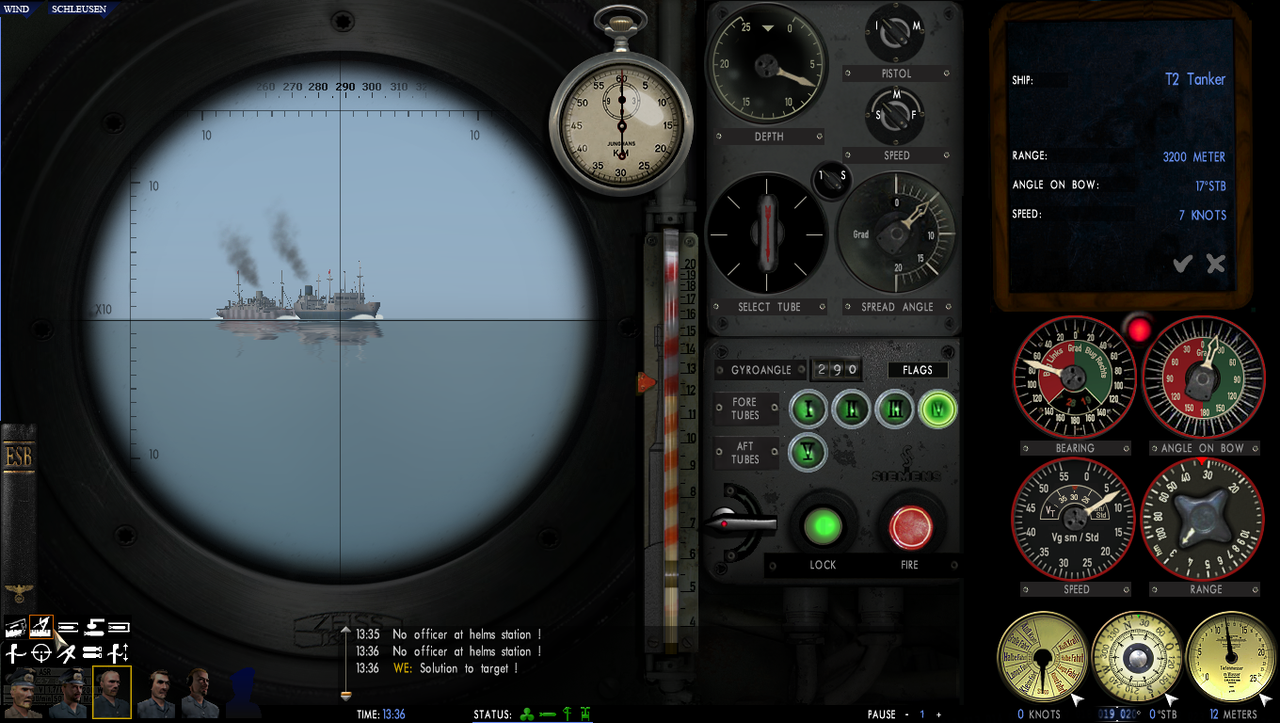
Picture 12 > Time to use the TDC Solution Icon.
I take frequent updates so as to be as accurate as possible.
This can be done on more than one Target.
Lock and Unlock each Target to update the TDC using the TDC Solution Icon each time.
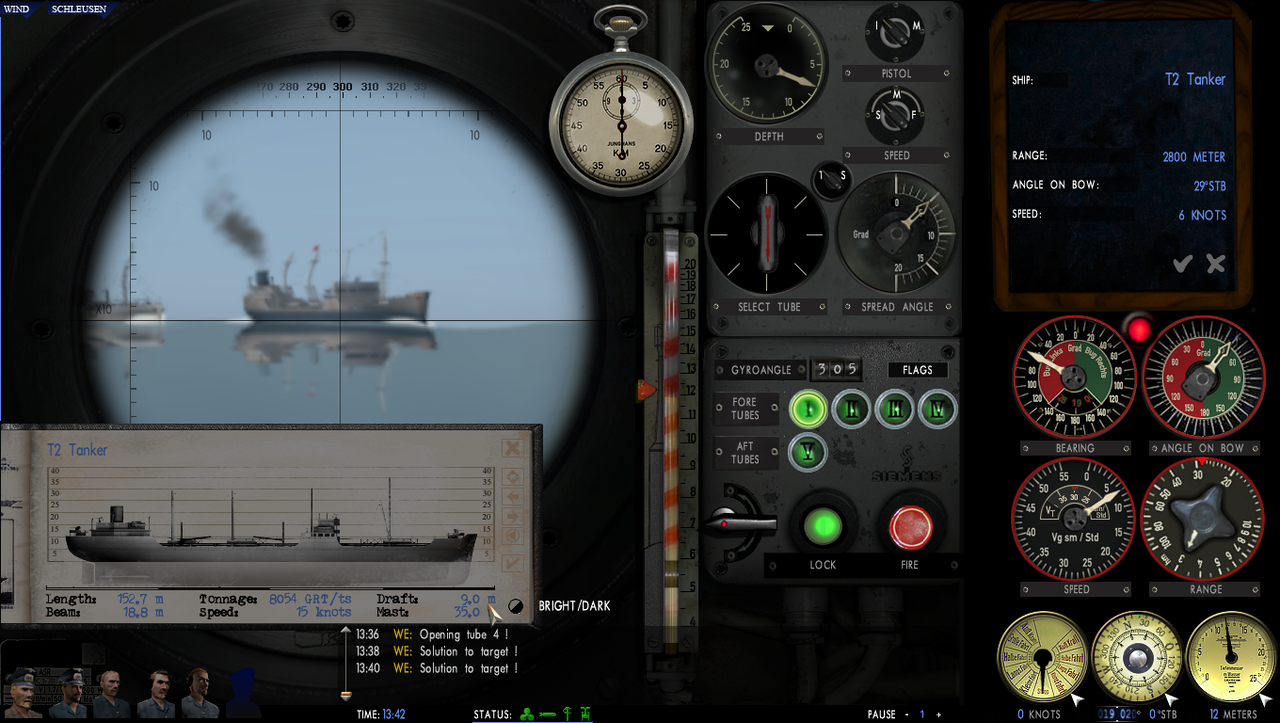
Picture 13 > You will need to use the Recognition Manual to get the Targetss Draft.
Short Cut Key > N.
Click on the Left Arrow to show HANDELSSCHIFFE > Merchant Ships.
Click on the Recognition Manual Cover to open it.
The Drafts for all 4 Targets is 9.0 metres.
The Torpedo Depth Dial can be moved at any time.
Set up the Torpedoes in good time so you are not rushed.
I will set 2 Torpedoes for Target 1
Tube 1 > G7a > Impact > 7 metres.
Tube 3 > G7e > Magnetic> 10 metres.
I will set another 2 Torpedoes for Target 2
Tube 2 > G7e > Magnetic> 10 metres.
Tube 4 > G7a > > Impact > 7 metres.
I will update the TDC between the 2 Targets using the > Weapon Officers Solution Icon.
Picture 14 > Move the Periscope until the Gyro Angle shows 000.
The Periscope shows the Bearing Firing point.
This is known as a 90ᵒ fast shoot.
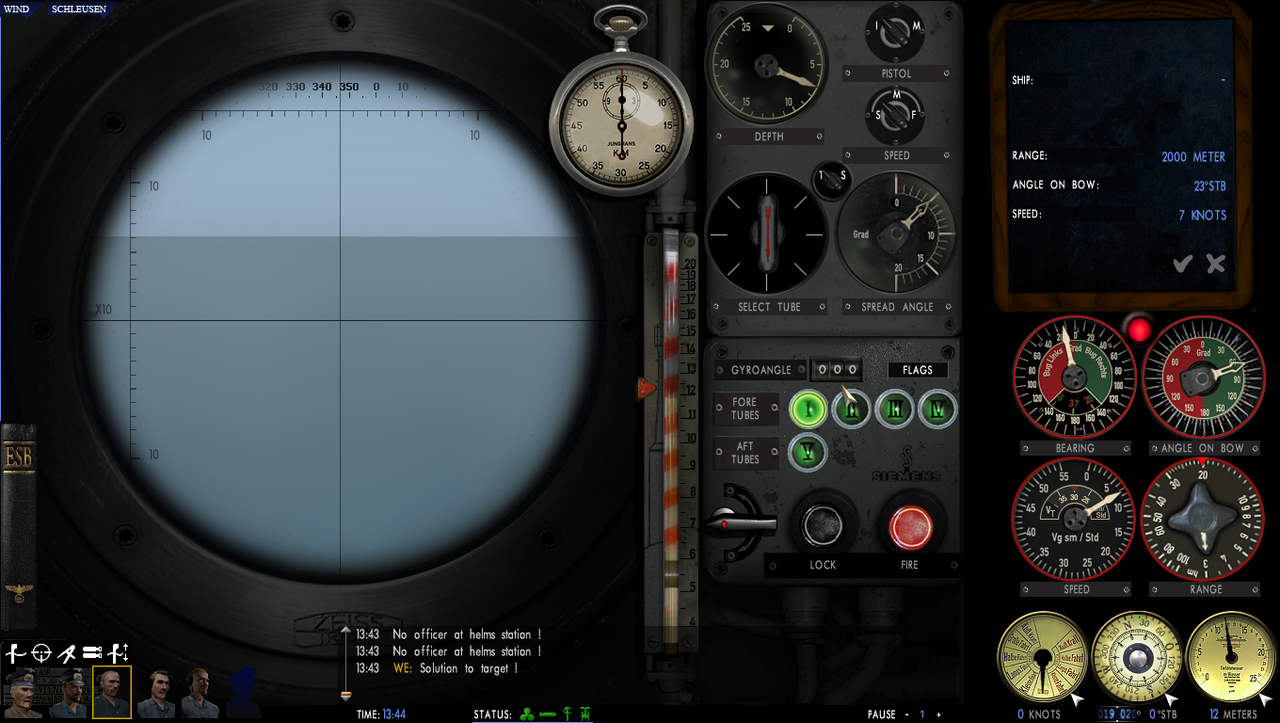
Picture 15 > Target 2 is the T2 Tanker showing in > Position 1.
Tube Door 1 is now Open.
When Target 2 is approaching 000 I will swing the Periscope and Lock on to Target 1 > get a Firing Solution > Fire Torpedo 1.
Then click on Tube 3 > press the Q key > press the Fire Button.
Press the L key to Unlock the Target.
I then swing the Periscope Back to Target 2.
The Gyro Angle will no longer show 000 > this is not a problem.
Lock on the Target.
Tube Door 2 is now Open.
I get a new Firing Solution > Fire Torpedo 2.
Then click on Tube 4 > press the Q key > press the Fire Button.
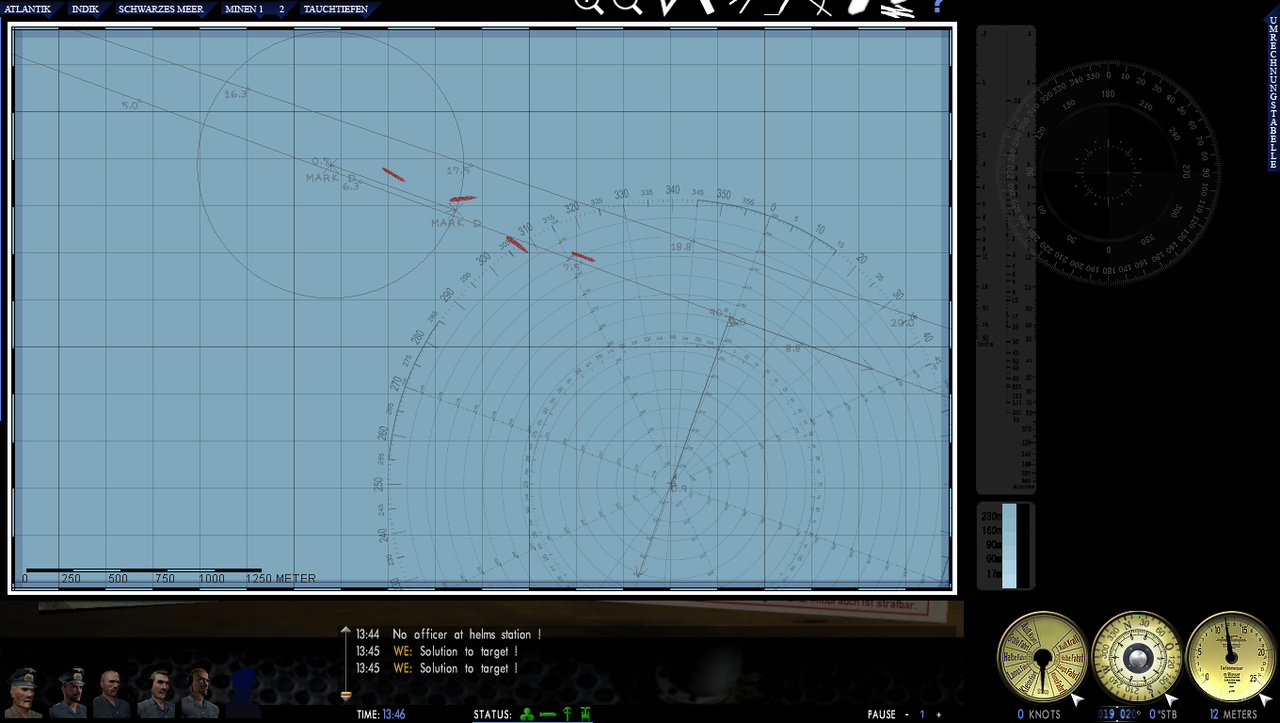
Picture 16 > I have hit Target 1 with 2 Torpedoes.
Tubes 1 and 3.
Fast Passenger Ship 5835 Tonnes.
Notice the Gyro Angle.
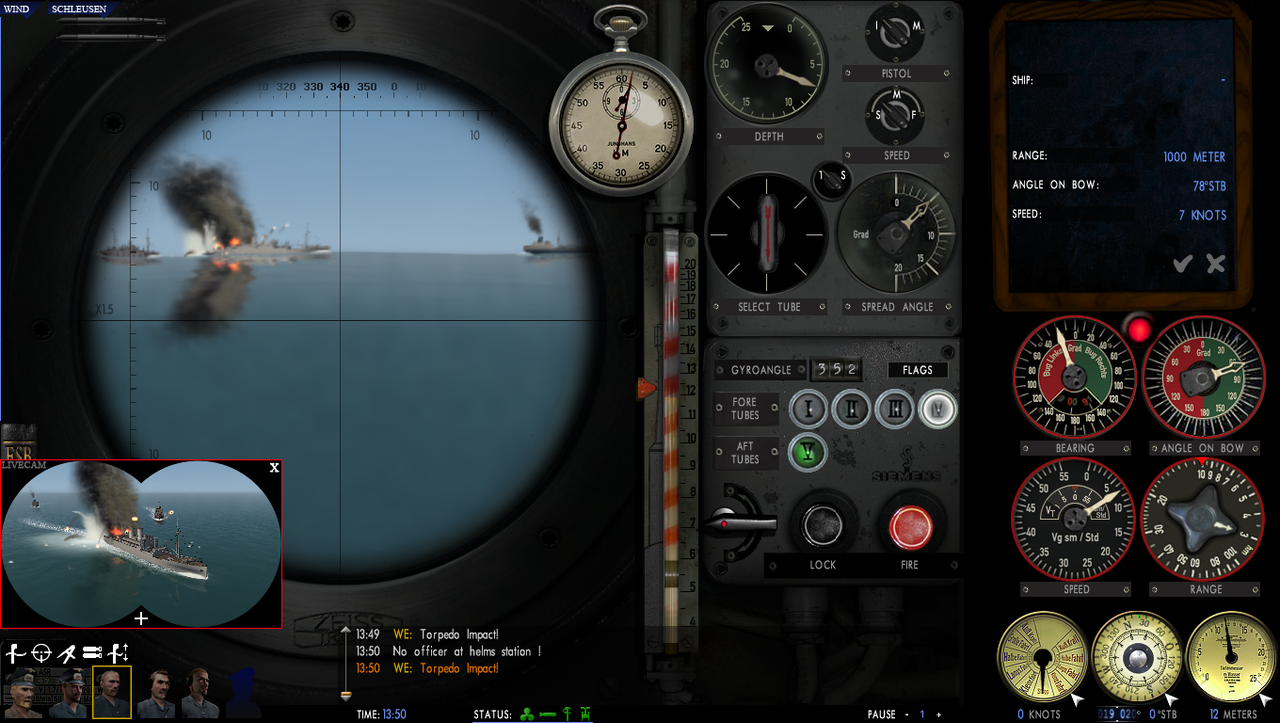
Picture 17 > 2nd Torpedo hit on Target 2 > T2 Tanker (Position 1 in the Convoy).
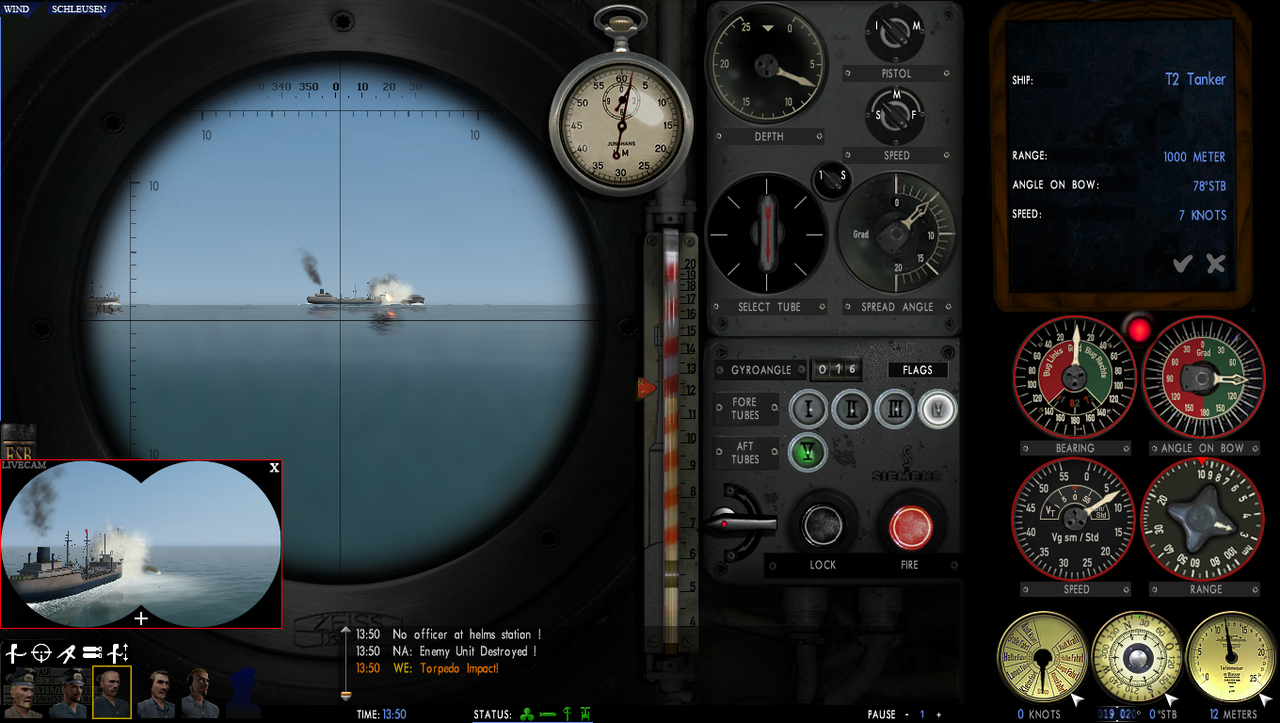
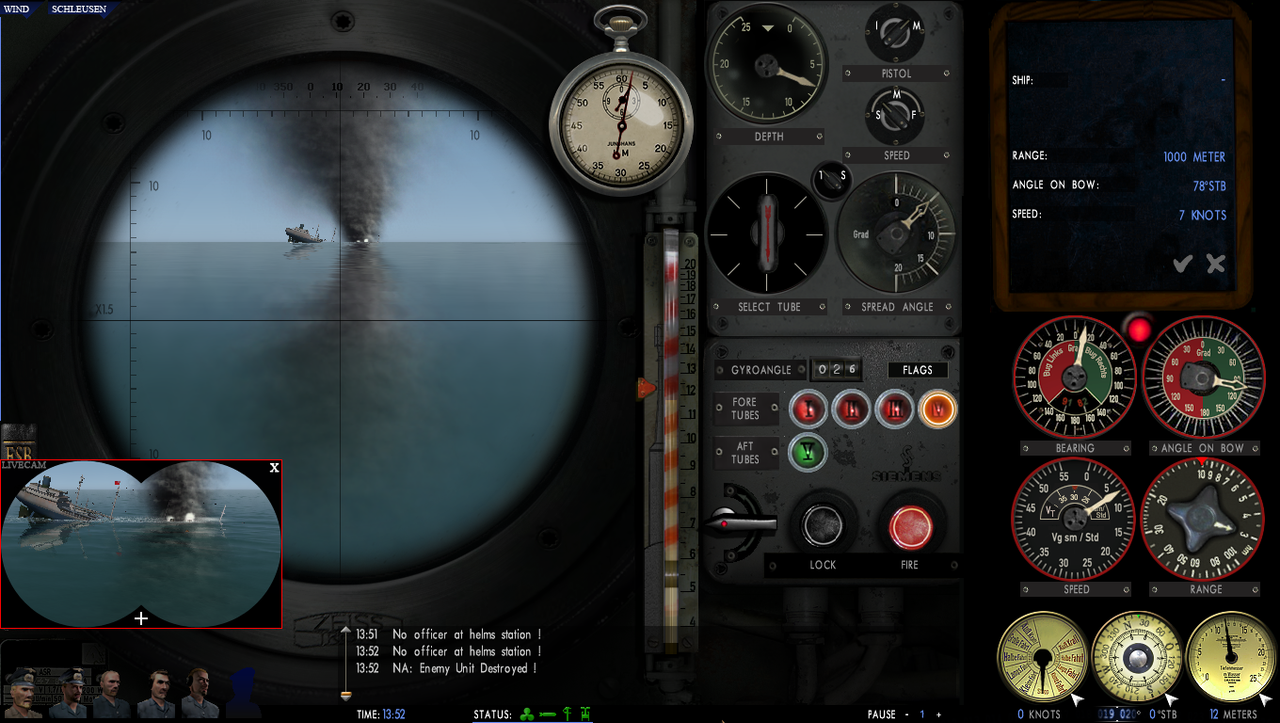
Picture 18 > T2 Tanker > Target 2 > Position 1 going down 8230 Tonnes.
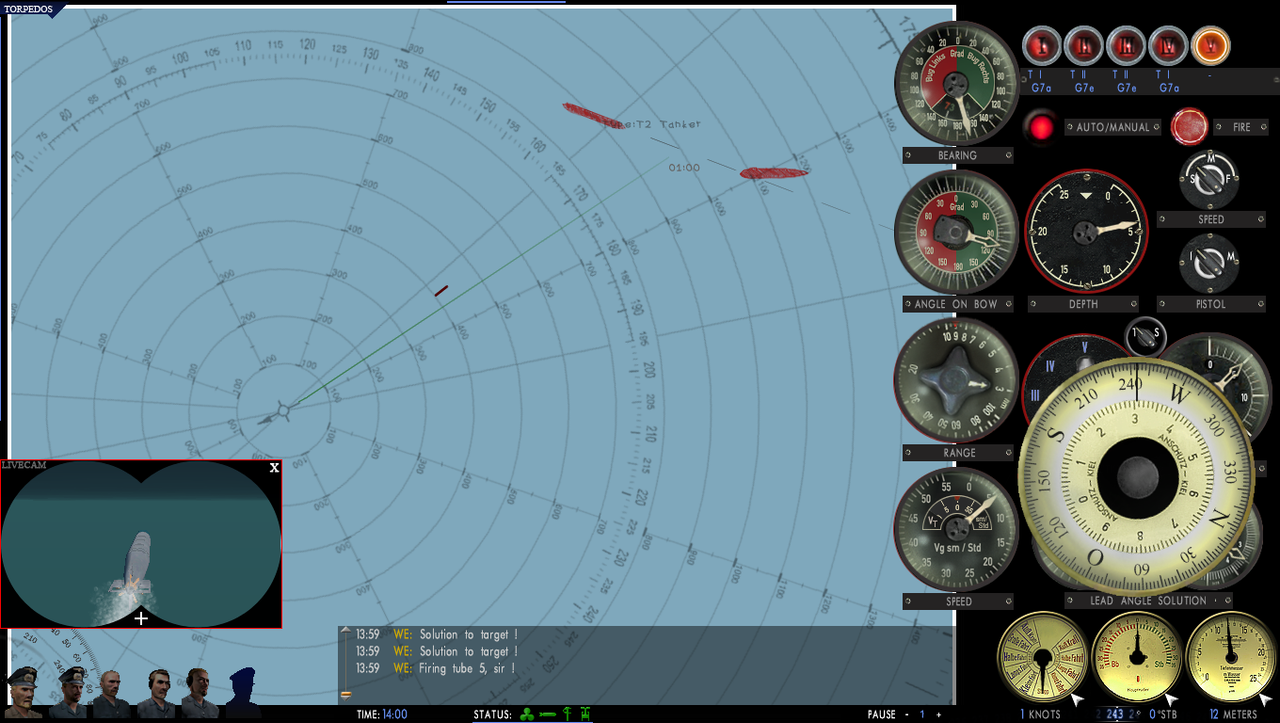
Picture 19 > Attack Map F6 showing the Stern Torpedo tracking towards the 2nd T2 Tanker.
Picture 20 > Stern Torpedo hitting the T2 Tanker.
I had to chase after this Target and I managed to cut off the angle and then swung round so the Target naturally came towards my Stern Tube.
In the meantime the Bow Tubes were being reloaded.
As the two ships were constantly zig zagging they would lose a certain amount of distance so I am able to close the Range by using > Ahead Full 7 knots.
I was able to predict where I thought they are going to be.
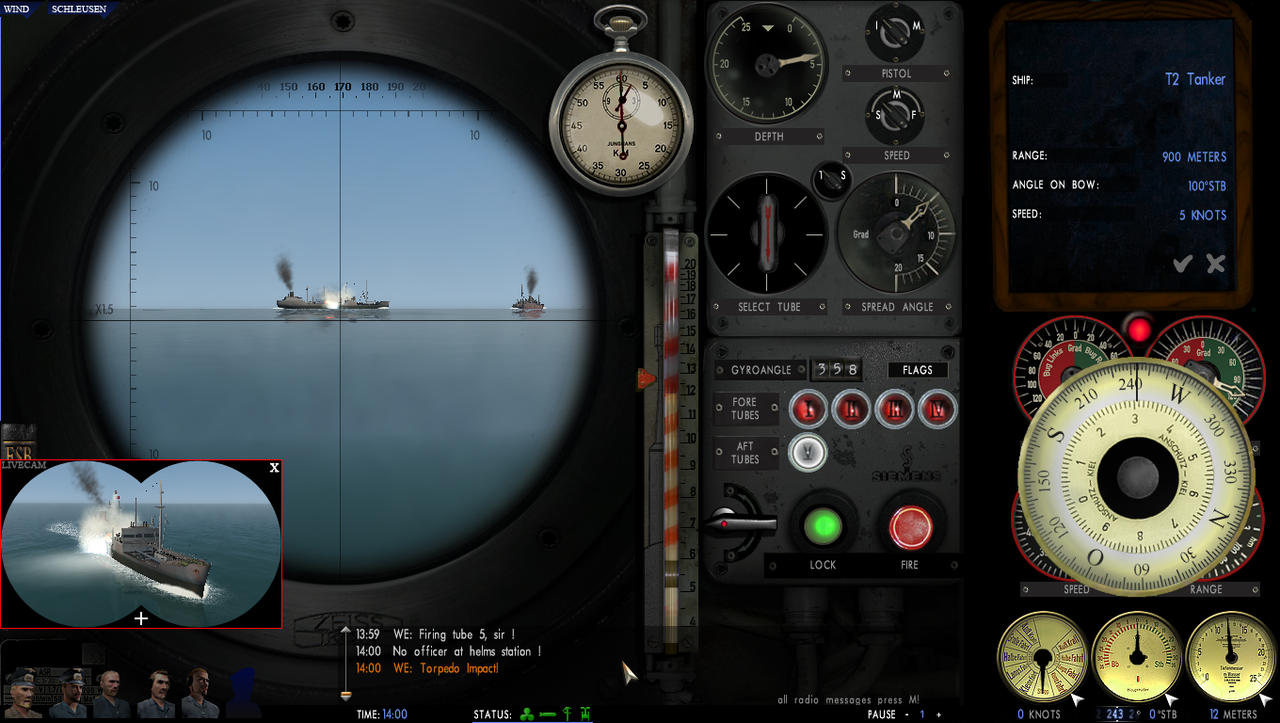
Picture 21 > The 3rd Torpedo is shown hitting the T2 Tanker after a Bow Tube reload.
This still did not sink it.
You can see a big plume of water has gone up.
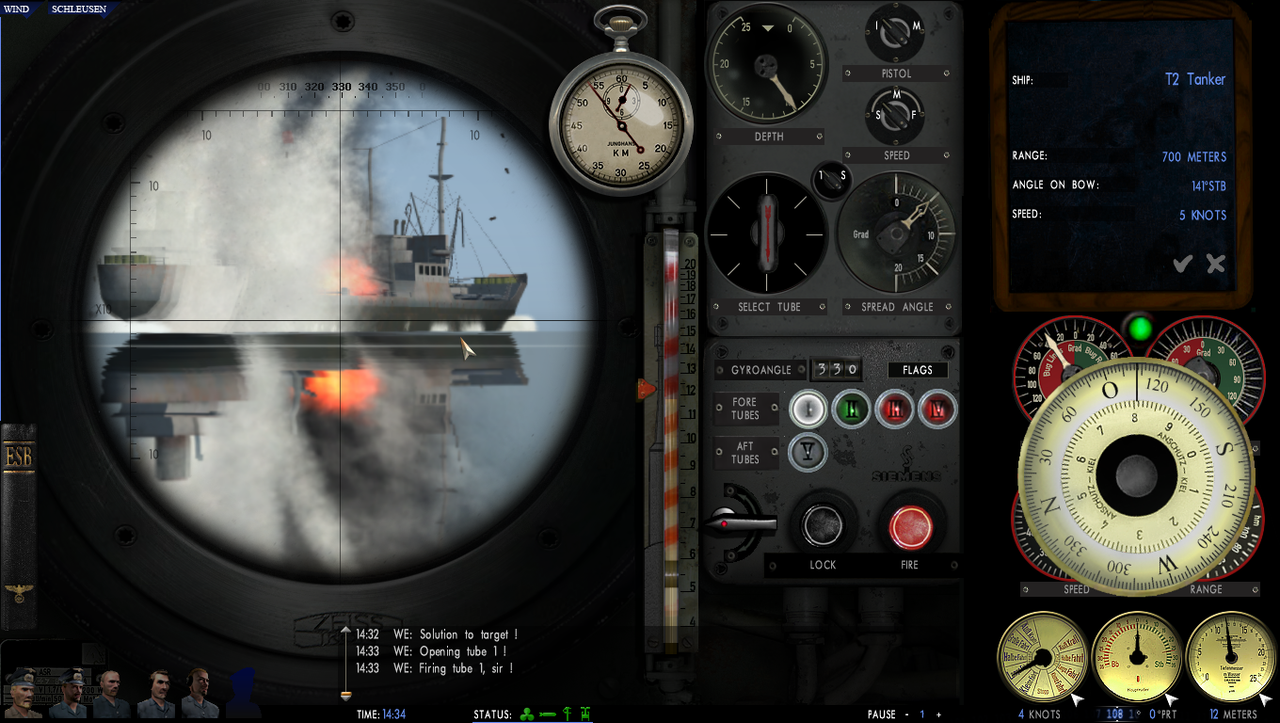
The Gyro Angle shows 330.
I have fired a diagonal shot at 10 metres deep 1 metre below the Targets 9 metre draft using a Magnetic Pistol.
This should cause an explosion anywhere it passes under the Targets Hull.
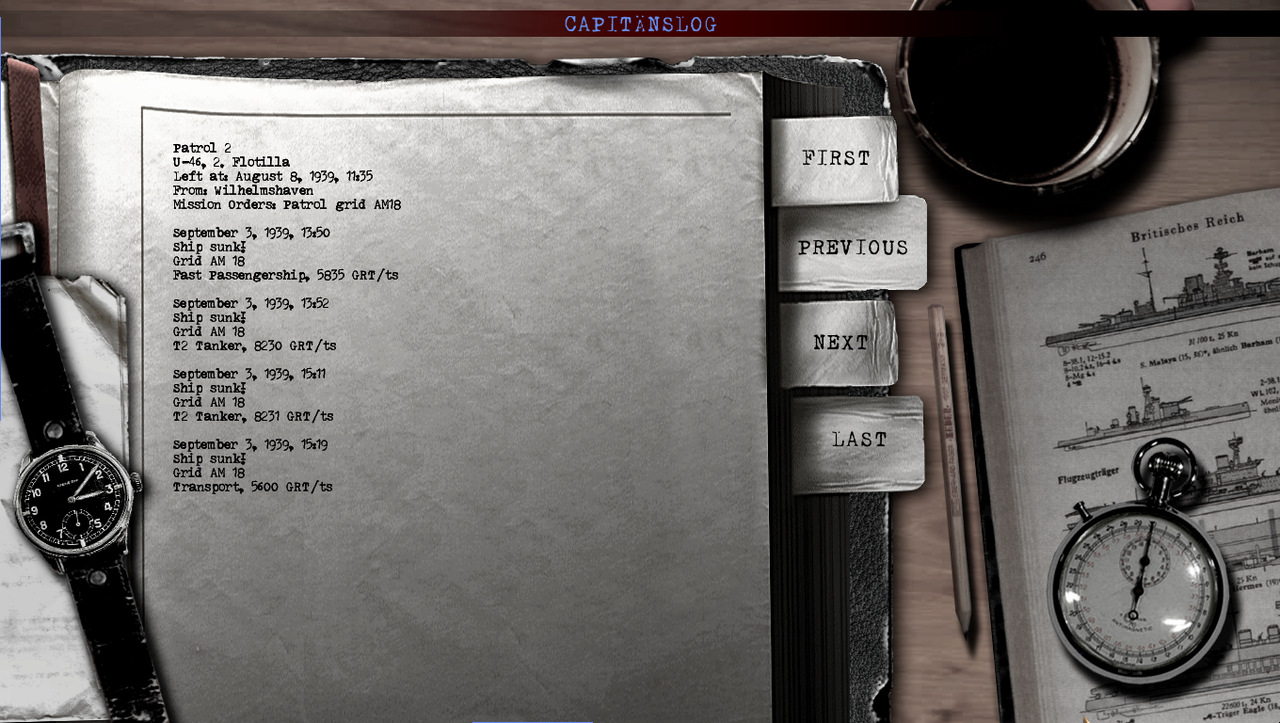
Picture 22 > Captains Log.
Shows all 4 Targets destroyed.
When you send a Radio Report you will get a Report back with your tonnage totals and number of remaining Torpedoes.
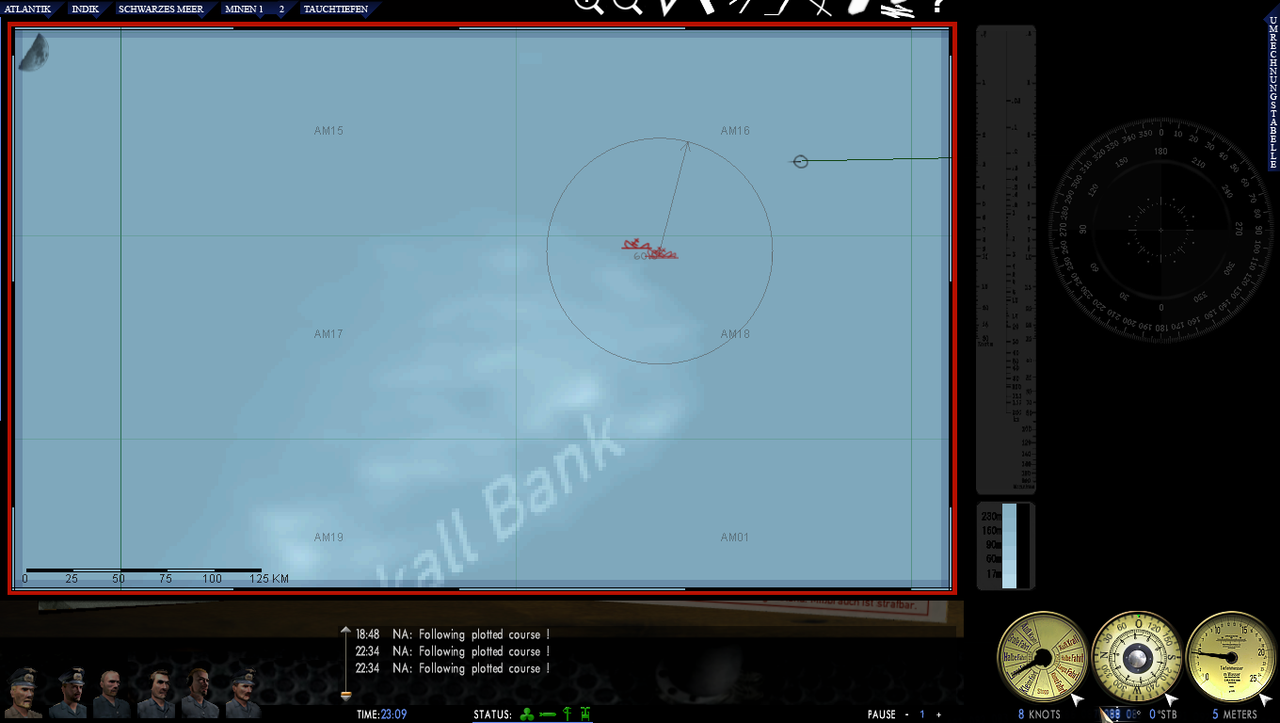
Picture 23 > Save Game 60km Boundary.
Try not to Save the Game within 60km of any Destroyed Marks or Coast Line.
Note 1.
The Torpedo Solution option available from your Weapons Officer (WE) is similar to using Auto TDC but you actually see what is happening and how it happens.
As long as you update the data to the TDC by making regular use of the Torpedo Solution Icon he will give you the data and all you need to do is Fire when the Gyro Angle goes to 000.
This means that even if you are not at the ideal 90ᵒ angle he will still compute a Firing Solution for you.
Note 2.
The shortcut key > Q must be used to open the Tube doors first.
The shortcut key > W closes the Tube Doors.
The shortcut key > Y cycles across the Torpedo Tubes.
Moving from one Torpedo Tube to the next automatically closes the previous Tube Door.
Note 3.
The 2nd T2 Tanker was finished off with the Deck Gun at a Range of 3000 metres with me firing it manually.
My speed was 7 knots to match the Targets.
I checked the Targets position from time to time by going to the Navigation Map and using the Compass Tool to check the Range.
At this sort of Range you are unlikely to come under attack from the enemies weapons.
It is pointless letting your Deck Gun Crew do the firing at this sort of range as they will not hit anything and waste ammunition.
Note 4.
The Transport ship was sunk by using the Deck Gun only.
It takes a lot of shells but if you can get them in the right place then you can get a result.
Armour Piercing > Aim at the Waterline.
High Explosive > Anything above the Deck line.
Note 5.
When you see No officer at the helms station ! this is because of the pictures being taken when submerged.
Last edited by THEBERBSTER; 05-08-18 at 03:01 PM.
Reason: Replaced missing pictures
|