 10-16-08, 08:25 AM
|
#2
|
Lucky Jack 
Join Date: Apr 2005
Location: Finland
Posts: 25,006
Downloads: 32
Uploads: 0
|

3. Details
Before I tell how I do few things to spice up the skin, I warn you; the less you use the blur filters the better! It's easy way to soften something, but it lacks the randomness, thus making it look kinda unrealistic.
3.1 Paint Chipping
Very easy to do, but is time consuming.
1. Take the pencil tool (no, hard brush wont do!), with size of 1 pixel
2. Pick a color that looks like metal shining thru the paint, lightgrey with a hint of blue is what I use.
3. Paint randomly chipping along the panel lines, heavier chipping on moving/used parts like flaps, ailerons, hatches etc.
4. Lower the opacity to 5-20%
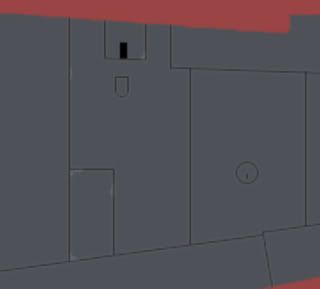
Without paint chipping

Paint Chipping added
3.2 Dirt
Now, you gonna use the 2 most useful tools for dirt, mottling, weathering etc. The maple leaf brush with scattering set up to 700-900% and the smudge tool, using the three strawed grass brush and strenght of 70%.
1. Pick the color you want to use for the dirt, I normally go with the solid black, but I imagine brown will work too.
2. With your maple leaf brush, paint over the parts you want to add dirt to, dont overdo it, just some areas.
3. Take your smudge tool and go crazy, smudge and smear the paint all over to look like someone took a greasy rag and played a prank on you.
4. Lower the opacity so it looks good.
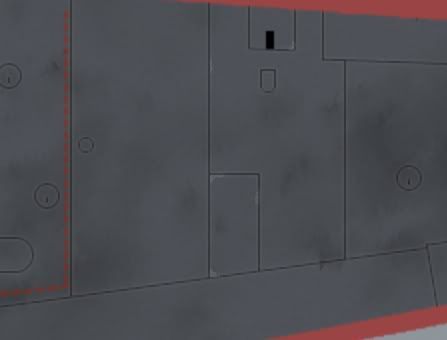
Without dirt
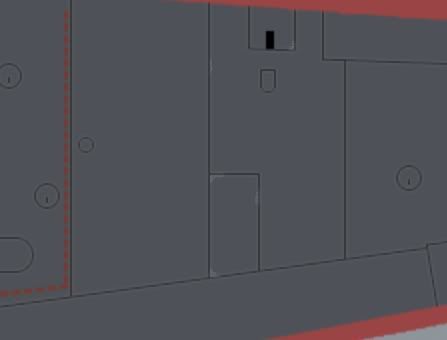
Dirtyyy

3.3 Weathering
Look the instructions for the dirt, I do it the same way but just on small areas.  I dont do very much weathering as the dirt & texturing usually are enough. I dont do very much weathering as the dirt & texturing usually are enough.
3.4 Optional texturing
To give more 'life' to the skin, duplicate the paint layer, noise ~5-10% and blur it few times. Then just lower the opacity to 10-20%, gets rid of the plain look of the paint.
Another good way is to use a pic of metal, preferably with scratches etc. and just paste it over your skin and lower the opacity.
No texture
Noise texture with 20% opacity
Scratched metal texture with 25% opacity

4.Panel lines
Very easy to make them look "sufficient", but can also be time consuming, depends how you make them.
4.1 Panel Lines from Void.bmp
Some of the IL2's void files are clean, so you can take the lines from them easily. Go to the Simmer's Paint Shop and download the remove white tool for Photoshop. Then just use it and it removes all the white.
4.2 Panel Lines by hand
Some void files have weathering and dirt in them, so you cant necessarely get clean panel lines by using the remove white tool. In that case, the only way is to make a new layer and just simply paint the panel lines 'again' to the new layer. Remember to use 100% hard brush or the pencil tool to get nice crisp lines. 
4.3 Shading
Now that you have your black ugly panel lines, it's time to smooth them in to the skin. Again, very easy to do and pretty nice effect.
1. Go to your black panel lines layer and select all
2. Nudge the layer up and down (CTRL+up/down). This because if you just CTRL+click to the layer, the selection isnt usually perfect.
3. Make new layer and invert the selection
4. Fill the selection with white, feather by 1 pixel and hit delete.
5. Move the new layer below the black line layer and tone down both's opacities.
Ookie, I think that's it. Cant remember anymore atm. I'll upload a vid sometime today where I make a skin from paint to finish, so you get a look how I do it.
Last edited by Dowly; 10-17-08 at 07:12 AM.
|

|

|